How to Start a Bee Hive in 7 Steps
Starting a bee colony for the first time may be stressful and confusing, but Mann Lake is here to help new beekeepers. Our guide outlines all the necessary steps and information to lay the foundation of a successful beekeeping experience. From setting up to understanding honey bees, let’s equip you with everything you need to start your colony with confidence.
1. Determine the Location of Your Apiary
Choosing the location of your new hive is an important step in setting your hive up for success. This entails more considerations than you might think. Even factors such as close proximity to pollution sources or pesticide use could affect your colony’s health.
Conduct a careful study of your proposed site beforehand to ensure it’s safe for the bees. To start, try to pick a location that has the following:
- Easy access
- Protection from the elements
- Plenty of sunlight
- Level ground
- Access to resources
| Hive Hint: Bees are creatures of habit. Frequent changes in their environment can hamper their work, so aim to keep things like hive location consistent. |
2. Determine How Many Colonies You Need
The most important part of beekeeping is the bees. It’s recommended to start with a minimum of two colonies. Having two hives provides a helpful comparison and gives you access to resources should one colony be stronger than the other.
Make sure that you pre-order your honey bees early! If you’re not sure what breed is the best fit for your apiary, read more about the common varieties of honey bees.
Consider the size of your property, too. Managing honey bees requires space for the hives, bee flight paths, and your own movement area. Try to account for the possibility of expansion in the future. Successful beekeeping often motivates keepers to increase their colonies, so evaluate your space with this growth potential in mind.
3. Order Equipment Ahead of Time
Order the equipment you need at least a month prior to the bees’ arrival. This ensures that you’re ready when your bees arrive.
Learning the proper operations of each hive tool is also essential. This helps avoid any misuse that could potentially harm your bees. For instance, understanding the proper way to use a smoker can make the difference between calming your bees and causing them unnecessary stress.
Supplies Needed to Start a Colony
The following items will help you be fully prepared and ready to initiate your beekeeping journey in a seamless way. Ensure that you have everything on this list before you start.
- Feeder
- Hive tool
- Protective clothing
- Smoker and smoker fuel
- Liquid feed, like Pro-Sweet
- Pollen substitutes, like Ultra Bee or Bee Pro
- Hive components, like hive stand, bottom board, hive bodies (use only one until the colony is established), honey supers, frames, inner cover, outer cover, and queen bees excluder
| Recommended Tip: If you plan on preparing your own sugar water mix, we recommend adding a stimulant such as Pro-Health that will help prevent the fermentation process. |
4. Setup the Hive Before Bees Arrive
After your bees and equipment are ordered, get ready to set up your hives in your apiary. Make sure that the hives are set up prior to the bees’ arrival.
Be more prepared by surrounding your honey bee hive with a windbreak like a fence or hedging. This could provide added protection during strong winds or harsh winters. Evaluate potential threats such as mite infestation beforehand so you’re better equipped to maintain a healthy colony.
5. Introducing Bees to the Hive
Once the hive setup is complete, it’s time to introduce your bees. Depending on your order, the bees may arrive packaged or in a nucleus colony. Careful and gentle introduction is crucial to acclimate the bees to their new environment.
Immediately after arrival, install the bees into the hive. Package bees may require a slightly different method versus a nuc, so do your research. Remember, successful hive introduction is the first significant milestone in your beekeeping journey.
Establish the queen bee within the hive, which essentially means ensuring the worker bees accept her. This process may take several days, but you’ll know it’s successful when you start observing worker bees feeding her through the cage.

6. Feeding Your Bees
Early-stage bee colonies often require supplemental feeding to thrive. It’s crucial, especially if natural food sources around the hive are scarce. You can initiate feeding with options like sugar syrup or a dedicated feed like Pro-Sweet, depending on the recommended dietary needs of the bees.
The feed can be administered using a hive-top feeder, entrance feeder, or frame feeder. Each of these methods has unique advantages and considerations depending on your particular beekeeping situation.
The following table provides a comparison of these three common feeding methods.
| Feature | Hive Top Feeder | Entrance Feeder | Frame Feeder |
| Description | Sits on top of the hive frames | Placed at the hive's entrance | Replaces one of the frames inside the hive |
| Capacity | Large, can hold several gallons of syrup | Smaller capacity, usually up to 1 quart | Varies, but typically holds 1–2 gallons |
| Ease of Refilling | Can be refilled without opening the hive entirely | Needs to be refilled more frequently due to smaller size | Requires opening the hive and removing frames for refilling |
| Accessibility | Easy for bees to access without leaving the hive | Bees need to leave the hive to access | Integrated into the hive, easy access for bees |
| Protection from Robbers | Better protected from robbing by other bees and insects | More exposed, higher risk of attracting robbers | Inside the hive, so less risk of robbery |
| Monitoring Consumption | Easy to monitor without disturbing bees | Easy to monitor, but can disturb bees at the entrance | Harder to monitor without disturbing the hive |
| Suitability for Winter | Suitable for winter feeding due to large capacity and less heat loss | Less suitable for winter as it requires bees to go outside | Suitable, especially when placed in the middle of the hive |
| Cost | Generally more expensive due to larger size | Less expensive | Moderate cost, depending on size and material |
7. First Week Observations
In your first week, observe the bees’ activities without disrupting them. Look for bees getting in and out of the hive, a sign of an active, healthy hive. Watch for bees carrying pollen back, indicating the presence of a brood and a functioning queen bee.
Pay attention to possible threats like mites or any signs of diseases like unusual behavior or dead bees. It’s important to catch such issues early when management is easier and more effective.
Monitor the hive environment, too. Ensure the hive maintains a dry interior and a fluctuating temperature conducive to the bees. This first week sets the stage for the health and prosperity of your hive.
Common Mistakes to Avoid When Starting Your Bee Hive

Certain mistakes can significantly impair your hive’s health and productivity. Understanding these common errors on the front end can ensure your beekeeping journey is successful and sweet right from the start! Let’s tread ahead carefully to avoid the common pitfalls.
Not Doing Enough Research
It’s tempting to jump straight into the world of beekeeping, but without a firm understanding of the variety of bees, their habits, and their needs, this could prove harmful to your bee colonies.
Successful beekeeping also involves adhering to your community’s specific guidelines. Familiarize yourself with local beekeeping laws. Every location has its unique set of regulations about keeping bees, and overlooking such regulations could lead to compliance issues.
Improper Hive Setup
An incorrectly set up hive can stress out your bees, disturb their natural routines, and potentially decrease honey collection and production.
The components of the hive should be properly arranged to mimic the bees’ natural environment. An upright orientation, enough space for comb building, and ease of access are non-negotiables for a stress-free hive.
Neglecting Regular Hive Inspections
Caring for a colony isn’t a set-and-forget task; it requires constant observation and timely interventions. Regular hive inspections can ensure your bees’ well-being and enhance productivity.
During regular inspections, you get to understand the behavior and health of your bees, identify potential issues, and take necessary actions. Not paying attention to this step could risk colony collapse.
Over-Harvesting Honey
One of the key goals of beekeeping is honey production. However, remember that honey is also the primary food source for your bees. Over-harvesting can leave them malnourished, especially during colder seasons.
Knowing the right time to harvest is essential. The rule of thumb suggests waiting until at least 80% of the frames are fully capped. So, practicing patience is key to a successful bee-harvesting experience.

Ignoring Signs of Illness or Parasites
Bee colonies can be susceptible to various diseases and pests. Ignoring signs of such hazards can rapidly escalate to severe hive health deterioration. Early detection allows for quick responses to protect the colony and prevent the spread of diseases.
Common red flags include a sudden drop in colony population, irregular brood pattern, or unusual bee behavior. Pests such as hive beetles, wax moths, or the dreaded Varroa mites also pose significant threats to colonies.
| Quick Fact: Varroa mites, among the smallest of bee pests, are actually visible to the naked eye. Timely detection can save your hive! |
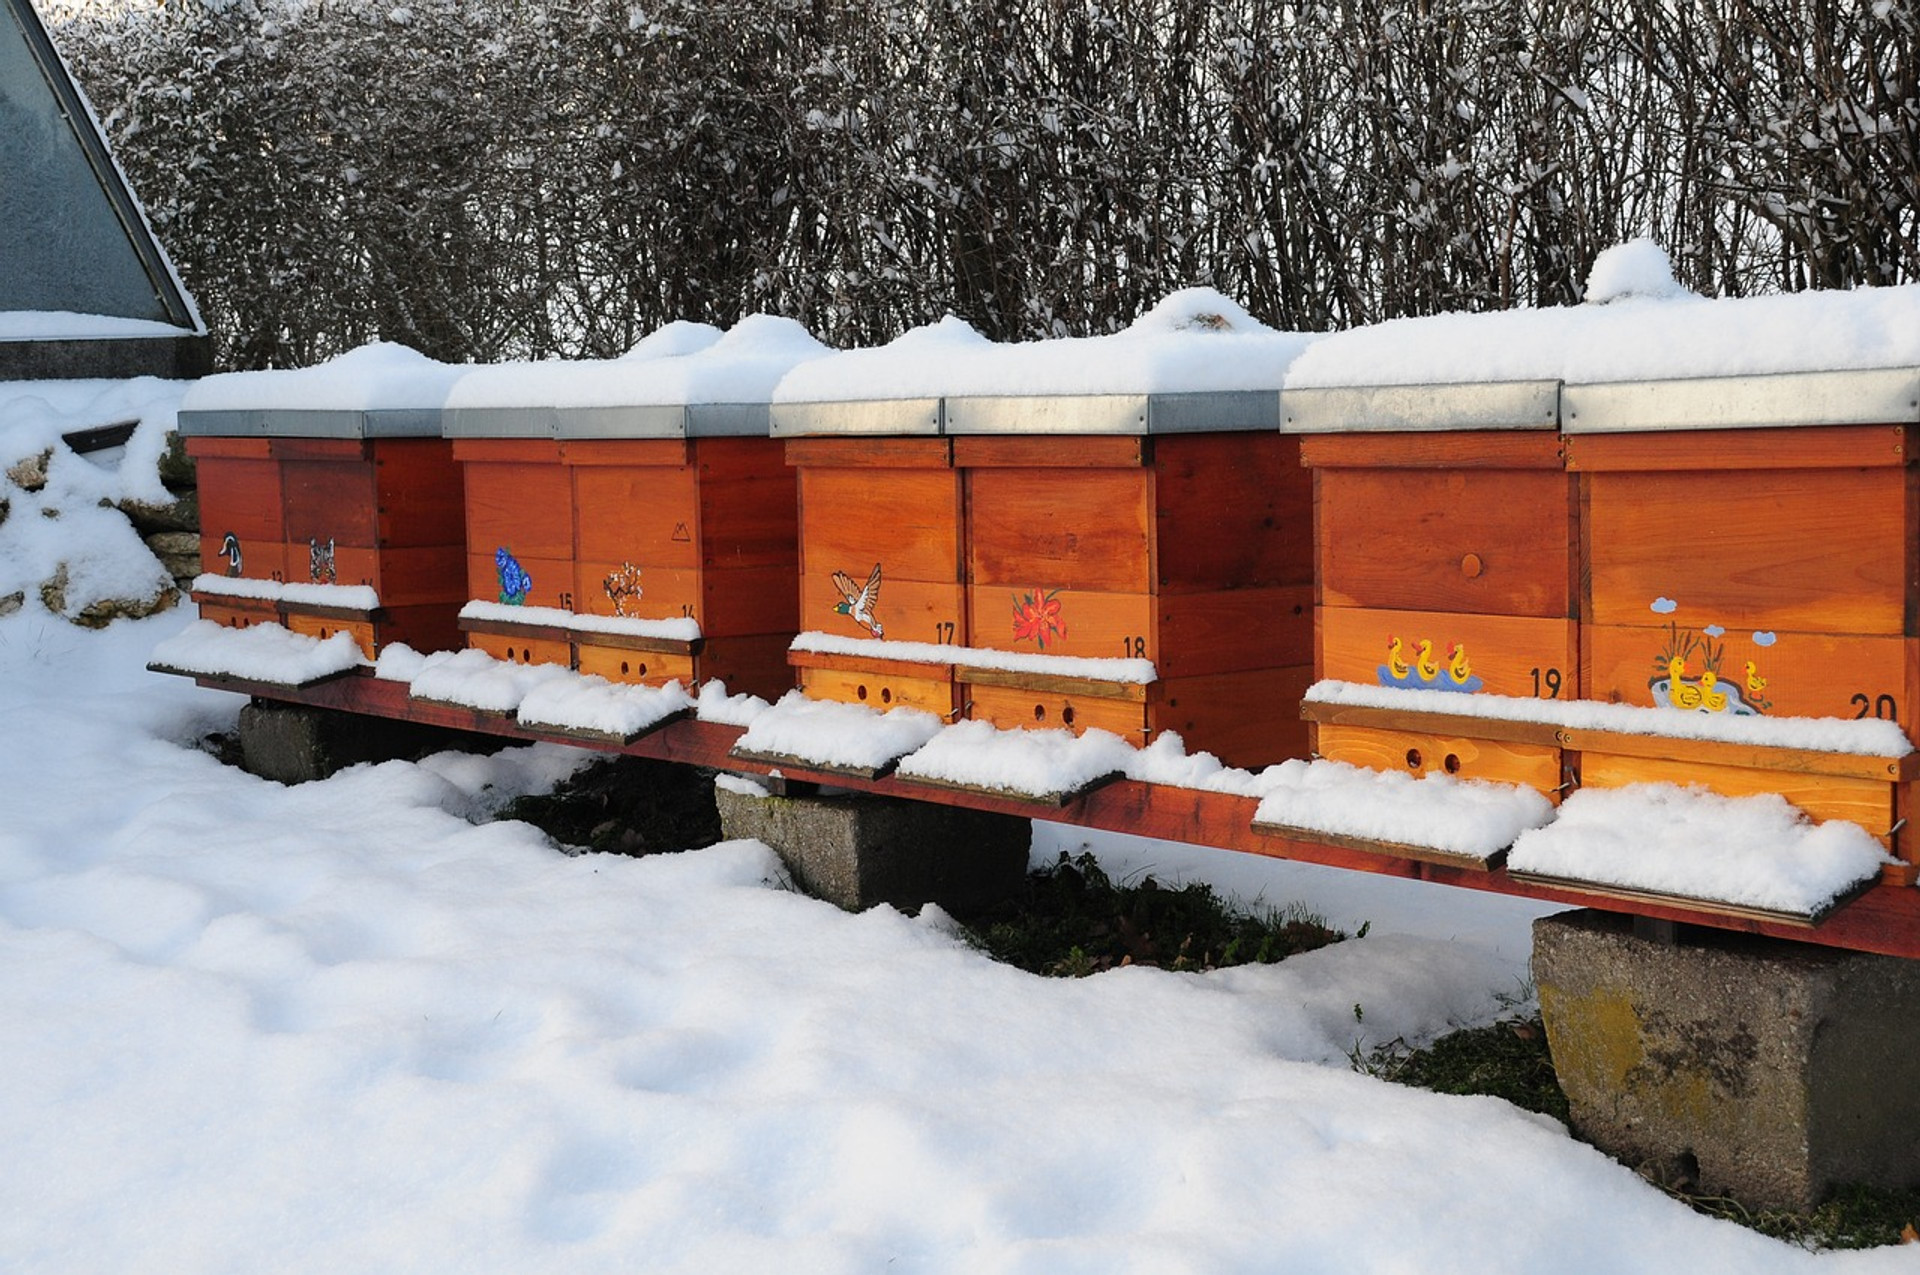
Inadequate Preparation for Winter
Bees have specific needs to survive winter, and preparing the hives for colder months is a key task. A common mistake local beekeepers make is neglecting or inadequately winterizing their hives, risking the survival of their colonies.
Insufficient honey reserves can lead to starvation during months when forage is sparse. Ensure that your bees have a sufficient food supply for winter. Provide extra insulation to fight cold drafts but also ensure moisture control to avoid mold growth inside the hive.
Ready to Buzz: Sealing Success in Beekeeping
Starting a bee hive demands care and a keen eye for detail. The bee colony’s health and honey yield rest on the beekeepers’ willingness to learn and adapt. So, begin this journey with readiness, follow the right steps, and understand the common pitfalls. Soon enough, the sweet reward of honey and the pride of a healthy, bustling colony will be yours.