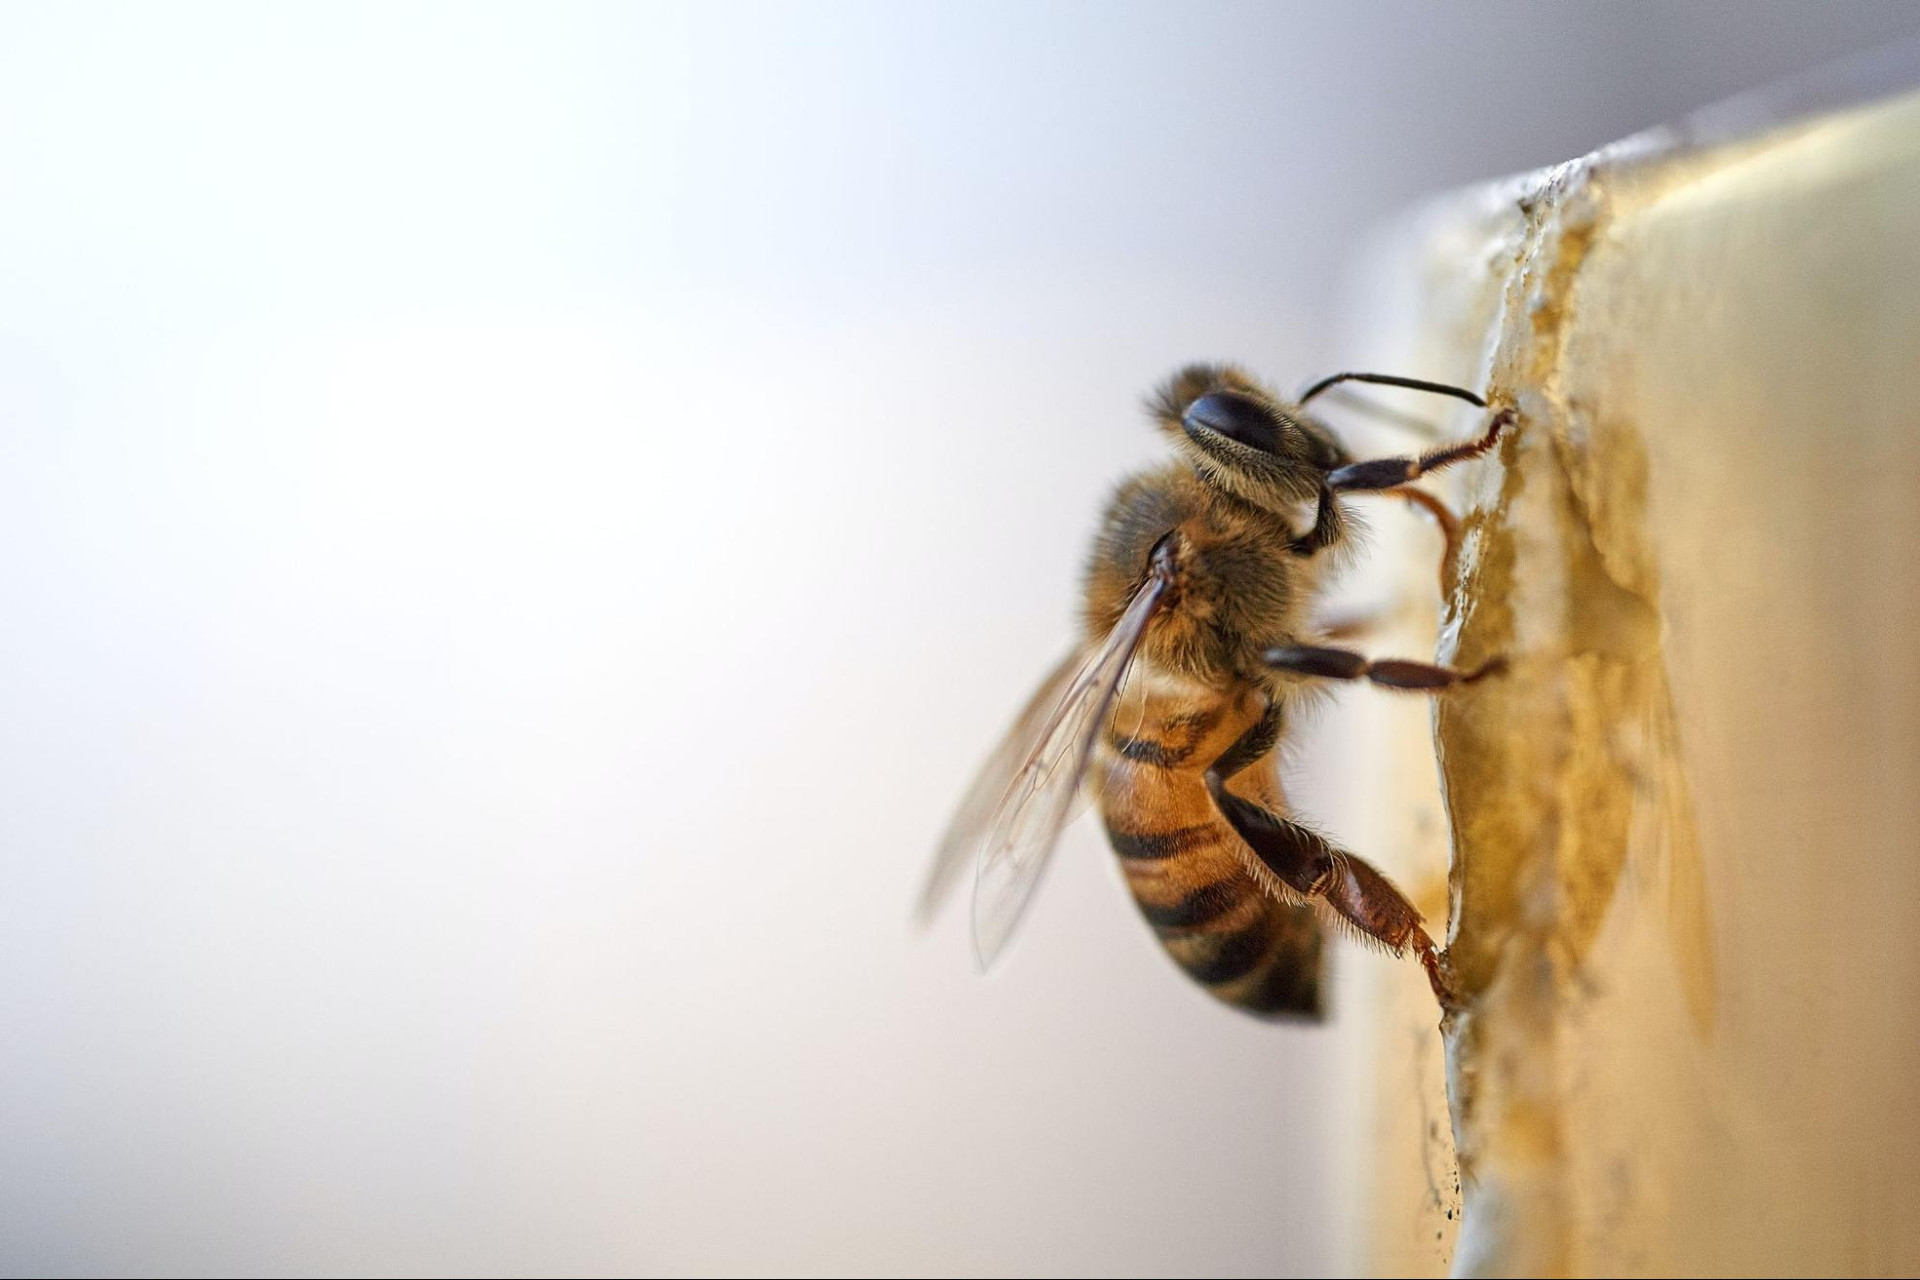
Everything You Need To Know About Raising Queens
Raising queens can vary in complexity. This can be as simple as performing a “walk-away” split, letting the bees naturally rear a new queen, or as intricate as instrumental insemination procedures.
If you're a beekeeper intrigued by the prospect of raising queens, this guide can be a valuable resource. Each method outlined here is designed to maximize your chances of success, bolstering your queen-raising efforts.
Why Raise Queens?
Gaining a deep understanding of the queen-raising process can provide intimate knowledge of your colonies, ultimately enriching the beekeeping experience. Actively practicing queen-rearing can elevate your skills as a beekeeper.
Raising queens focuses largely on economic necessity, supply availability, the propagation of desirable traits, or even as a source of income. Regardless of your motivations for queen rearing, it's essential to grasp the developmental periods of different castes.
The chart below presents averages, which may fluctuate with changes in weather and genetics, represented in days.
| Caste | Egg Larvae | Capped Cell | Pupae | Emergence | Fertility |
| Queen | 3 | 7.5–8.5 | 8 until emergence | 15–16 | 23 and up |
| Drone | 3 | 9–10 | 10 until emergence | 23–24 | 39 |
| Worker | 3 | 8–9 | 10 until emergence | 18–22 | NA |
Being familiar with these cycles can be beneficial. For example, introducing new queens in the spring is not ideal unless you have mature drones available for mating. This understanding aids in timing critical procedures, such as grafting, creating cell builders, and establishing mating nucs.
Walk-Away Splits as Swarm Prevention
Walk-away splits are a significant part of hive management and swarm prevention. They can also be an effective way of raising new queen honey bees using a more natural and less intrusive method compared to other queen-rearing techniques.
This approach involves a detailed understanding of honeybee behavior and the deliberate manipulation of the hive to encourage the bees to raise a new queen.
Honeybee Propagation and Swarm Triggers
The inherent nature of a species is to increase and propagate its numbers. This is true for honey bees as they tend to swarm when their nests become overcrowded and, in some races, even when overcrowding has not occurred. Managing hives for swarm prevention rather than trying to catch swarms requires careful attention to the colony. Swarming activity usually peaks during the first strong honey flow in the area.
Identifying Potential Swarm Preparations
Regular inspection of hives should include noting the available empty cells for the queen to lay eggs in. If most cells contain eggs, larvae, stores of pollen, honey, or capped brood, the bees may start swarm preparations. The emergency queen cups should be noted and observed for the presence of eggs and enlargement of their structure.
| Swarm Secret: Honey bees perform a “waggle dance” to communicate new home locations. Watch out for this—it may indicate imminent swarming! |
Queen Cells and Swarm Preparations
Swarm cells are typically built towards the bottom of frames, while supercedure cells are built nearer to the top. In a two-deep brood nest, the top box should be tipped up to observe the bottom of the frames for queen cells.
Swarm Launching
Once bees enter swarm mode, it is challenging to dissuade them from it. The queen stops laying eggs and begins to slim down in anticipation of flying with the swarm. The workers reduce foraging activities and start to gorge on honey while the scouts begin to seek a new home. When the new queen cells near maturity, the swarm will launch with the old queen along with approximately 70% of the colony.
Using Walk-Away Splits
Keeping the brood nest open and adding room (preferably drawn combs, but blanks will suffice) can help prevent swarming. Transfer of eggs, open and capped brood, pollen, honey, and enough nurse bees to cover the brood is necessary for a walk-away split, which can be into a nuc box or an 8- or 10-frame hive body.
Handling Queen Cells in Splits
If a frame containing swarm cells is present, it is advised to move the largest and most developed queen cell with the most stippling or cratering on the surface to the split. The remaining queen cells should be eliminated or used in other splits.
Creating a Queen Bank
A viable alternative for the remaining queen cells is to create a queen bank for future usage. If opting for this, queen cells need to be secured into queen cages for confinement upon emergence. A high-quality queen bank does not contain a queen but is full of young nurse bees and an open brood.
Managing Splits and New Queens
The largest queen cells are often the most viable as they have received better feeding during the larval stage. These splits could be retained in the same yard as the original hive or moved to a different one. You may need to close the entrance before transferring the frames for splits that need to be moved.
Observing and Maintaining the Hive
When you do open this hive for inspection, you should do it rapidly but thoroughly and look for the queen and the presence of eggs. If eggs are not observed, and you are certain she is not in the box, you can assume one of two things. She is either on a mating flight right now, or something has occurred while she was on her flight, and she’s not coming back.
Steps to Take When a Queen Is Lost
In the unfortunate circumstance that a queen is lost and there's no hope of her returning, a few strategies can be applied as follows:
- Introduce another frame of eggs and nurse bees from a donor hive and allow the split to raise their own queen.
- The split can be recombined with the original parent colony on the top using the newspaper method, which is also a swarm prevention measure.
- The split could be added to another strong colony to consolidate hive strength.
- A queen can be purchased from a supplier and introduced to the split, thereby providing the hive with new leadership.
| Queen Tip: Always check your local regulations before purchasing queen bees from suppliers. Importing bees can inadvertently introduce new diseases or invasive species. |
Walk-Away Splits for Increase

Walk-away splits are an effective method to increase the number of hives. However, there may be situations where a queen cell is not immediately available. In such scenarios, make sure a frame with fresh eggs is added during the split. Bees have the capability of making their best queens from larvae that are between 4 and 20 hours old, hatched from a fresh egg.
Given the lifecycle of a queen bee, eggs laid by a queen raised in this way will not be visible until at least 23 days have passed. Regular checks during this period to monitor the progress of the split in the cycle are advised.
As an additional preventive measure against the development of laying workers within the split, it may be necessary to introduce a frame of open and capped brood. This helps steer the hive development in the desired direction. Monitoring and conscientious adjustments throughout this period are pivotal to the successful increase of the hive.
Double Screens
As the name implies, a double screen consists of two screens nestled between wood and features small openings on three sides. This method is ideally used for swarm control, particularly when resources are limited.
Like the walk-away split for swarm prevention, prepare the split box in the same manner and set it on top of a double screen placed on the colony below when completed. Keeping the entrance opposite the colony below open allows nurse bees to attend to the virgin queen.
If the virgin queen successfully mates, returns, and lays eggs, this box can then be split off and moved to another location. If not, the double screen can simply be removed to recombine the colony while still effectively preventing the swarm.
Grafting

The grafting method of raising queen bees might initially seem daunting to newer beekeepers. However, it is a popular method employed by commercial and seasoned beekeepers. Mastering the basic techniques can make grafting highly effective, as it is the optimal way to raise a large number of queens.
Grafting also offers the best opportunity to select preferred traits in the queens, making it a highly favored method for queen rearing. Here is a step-by-step overview of the grafting process to demystify this popular technique.
Day 1
Select a strong hive that has the traits that you are trying to propagate. These traits can be gentleness, overwintering capabilities, rapid spring buildup, disease and mite resistance, or honey production. This will be your parent or queen's mother colony.
Find the queen in this colony and confine her to a single box with the use of a queen excluder if multiple boxes are in use.
You may additionally want to purchase our queen grafting excluder frame, which will confine her to a single-frame face. This will allow workers to come and go, but she will be forced to lay eggs in available empty cells. Take note of the date and time of her confinement.
Day 2
Start by transferring one frame of young larvae and capped brood, along with three frames of pollen and honey stores, from a robust colony into a five-frame nuc box. This transferred brood frame should occupy the center of the nuc box, with the store frames filling the sides.
Additionally, nurse bees should be transferred from about four to five brood frames into this cell-building nucleus colony. If possible, move this box to a different location to reduce drifting. The entrance should be reduced, and feed provided.
If using a queen-rearing starter kit, remove the bars from the cell bar frame and insert the desired number of pin cell cups into the groove. These should be spaced about three-fourths of an inch apart. Ensure they're fastened securely, as falling out can be detrimental to the graft.
Cover these bars with a cloth to prevent dust from settling into the pin cell cups. Due to the unpredictable nature of grafting and mating success, it could be beneficial to rear more queens than needed—potentially twice the number essential.
Day 3
Inspect your nucleus cell-building colony for the presence of any started queen cells. If any are detected, remove them. Then, proceed to inspect the frame where the queen has been confined in the parent colony. Look for hatched eggs and the presence of new larvae.
Eggs would typically hatch up to the third day from being laid. The best queens are typically raised from larvae that are 4–20 hours old. These larvae will have barely begun to form a “C” shape, with rings forming on the larvae, either not visible or just beginning to form.
If larvae of the appropriate age are spotted, release the queen back to the colony and take the frame of larvae to a well-lit, warm grafting area.
Grafting Proper Preparation and Procedure
When preparing to graft, gather and prepare the necessary tools to execute the grafting process correctly and efficiently.
- Cell bars with pin cell cups should be laid out alongside the grafting tool. A lighted magnifying glass can be a substantial help.
- Using a Chinese grafting tool, slide the quill down along the side of the cell, positioning it under the royal jelly and the larvae before removing it in a single upward motion.
- Deposit the larvae into the pin cell cup. Aim to keep it centered in the pin cell cup by pushing on the plunger.
- After the cups on the bar are filled, cover the bar with a cloth for warmth and to keep foreign material from entering the cells.
- Gently reinsert the filled cell bars into the cell bar frame with the cups oriented downward, and cover this frame with a cloth.
- Take the covered frame carefully to the cell-building unit, remove the cloth, and position this frame in the center of the cell-building unit.
- Make a note of the date and time of these activities.
- The frame used for grafting should then be returned to the parent colony.
- Ensure continuous provision of liquid feed to the cell-building unit.
From the confinement date of the queen, new queens will emerge in approximately 16 days, plus or minus one day from when the grafted larvae eggs were laid. If older larvae were accidentally grafted, they would emerge earlier and could potentially kill all other developing queens in the graft. This potential danger underscores the importance of inspecting the cell-building unit before the grafting installation.
Painting Your Mating Box
Like all beekeeping equipment, only the exterior of the boxes needs to be painted. This not only keeps the wood protected from weather conditions but it also helps to extend the life of the equipment. Mating boxes have three different opposing openings. For higher queen return success, consider painting each of these three sides of the mating box in different colors, as it can aid in queen orientation and return.
Day 12–13
Here are the steps involved in setting up the mating box:
- Add three frames of open brood, stores, and bees into each compartment.
- Consider stuffing grass into each compartment’s opening to allow easy identification.
- Position the box near a distinctive landmark, such as a tree line, for easy recognition by the bees.
- If the location is shady, the grass can be left in place until the queen cells are installed.
- Ideally, set up the box two miles away from the colonies where the frames were taken from. This prevents the bees from drifting back to their original hive.
- Remember not to transfer queens from the donor hives into the mating boxes. These boxes need to be queenless during this stage.
Day 14
During warmer weather, the queen may emerge from her cell as early as day 15. Therefore, you'll need to place her into the mating box no later than day 14.
Here is a step-by-step process:
- Revisit your cell-building unit. Extract the cell bar frame and carefully remove the pin cell cups. Choose the cups with the largest and most stippled cells for removal.
- Place each individual cell into one of the queen cell protectors.
- With gentle handling, bring these to your mating boxes and press the cell protectors containing the queen cells into the wax between two frames.
- Finally, remove the grass from the openings of the mating box.
Day 23–28
Between day 23 and day 28, from when the eggs were initially laid, a pattern of egg development should be visible if the queen has been successful in her mating. The successfully mated queens can then be transferred to splits that have been queenless for 24 hours.
In situations where an existing colony is being re-queened, these queens can be placed into hives where the previous queens have been removed 24 hours earlier. A queen introduction cage may be used to house the queen until acceptance.
Managing Extra Queens from Grafting
Sometimes, extra queens may emerge from grafting. Here are some suggestions on how to manage them:
- The round queen cages can hold and confine additional emerging virgin queens in the cell builders.
- The extra queens can be banked for a while in the cell-building unit and used later.
- The cages could also serve as introduction cages for new queens.
Geographic Impact on Queen Bees Rearing
The table below offers a basic understanding of the geographic factors influencing queen bee rearing. Adjusting practices based on these factors could improve your beekeeping outcomes.
| Geography | Pros | Cons | Key Considerations |
| Temperate Regions | Predictable climate | Sudden weather shifts | Hive placement and design |
| Tropical Regions | Year-round warmth | High humidity | Hive ventilation |
| Mountainous Regions | Diverse flora | Extreme cold | Hive insulation |
The Art of Successful Queen Rearing
Queen raising presents a unique challenge in beekeeping. With a solid plan, the right knowledge, and measured patience, beekeepers can achieve success in this area. Remember, every detail counts, from understanding bee behavior to perfecting grafting methods. Continue refining these skills and enjoy thriving queen bees. Happy beekeeping!