A Basic Guide To Installing Bee Packages
Honey bee packages make it easier than ever to get your hives buzzing. With a little online research, you can purchase live package bees that fit your preferences based on their features. After that, you simply have to wait for your honey bees to arrive and then place them safely into their new home.
The process is simple, but there are still a few things you should know. Make sure your new colony reaches its home safely with this basic guide to installing bee packages.
Bee Prepared
Before you receive your package of live bees, you need to ensure your apiary is ready for them. To make the transition as seamless as possible, set up your hives ahead of time. All your other beekeeping equipment, including protective gear and hive tools, should be ready as well.
Plan to install your new colony on a late afternoon. This will keep your worker bees in the hive overnight, which means they’re less likely to wander off or get lost when they do start foraging.
Install The Queen
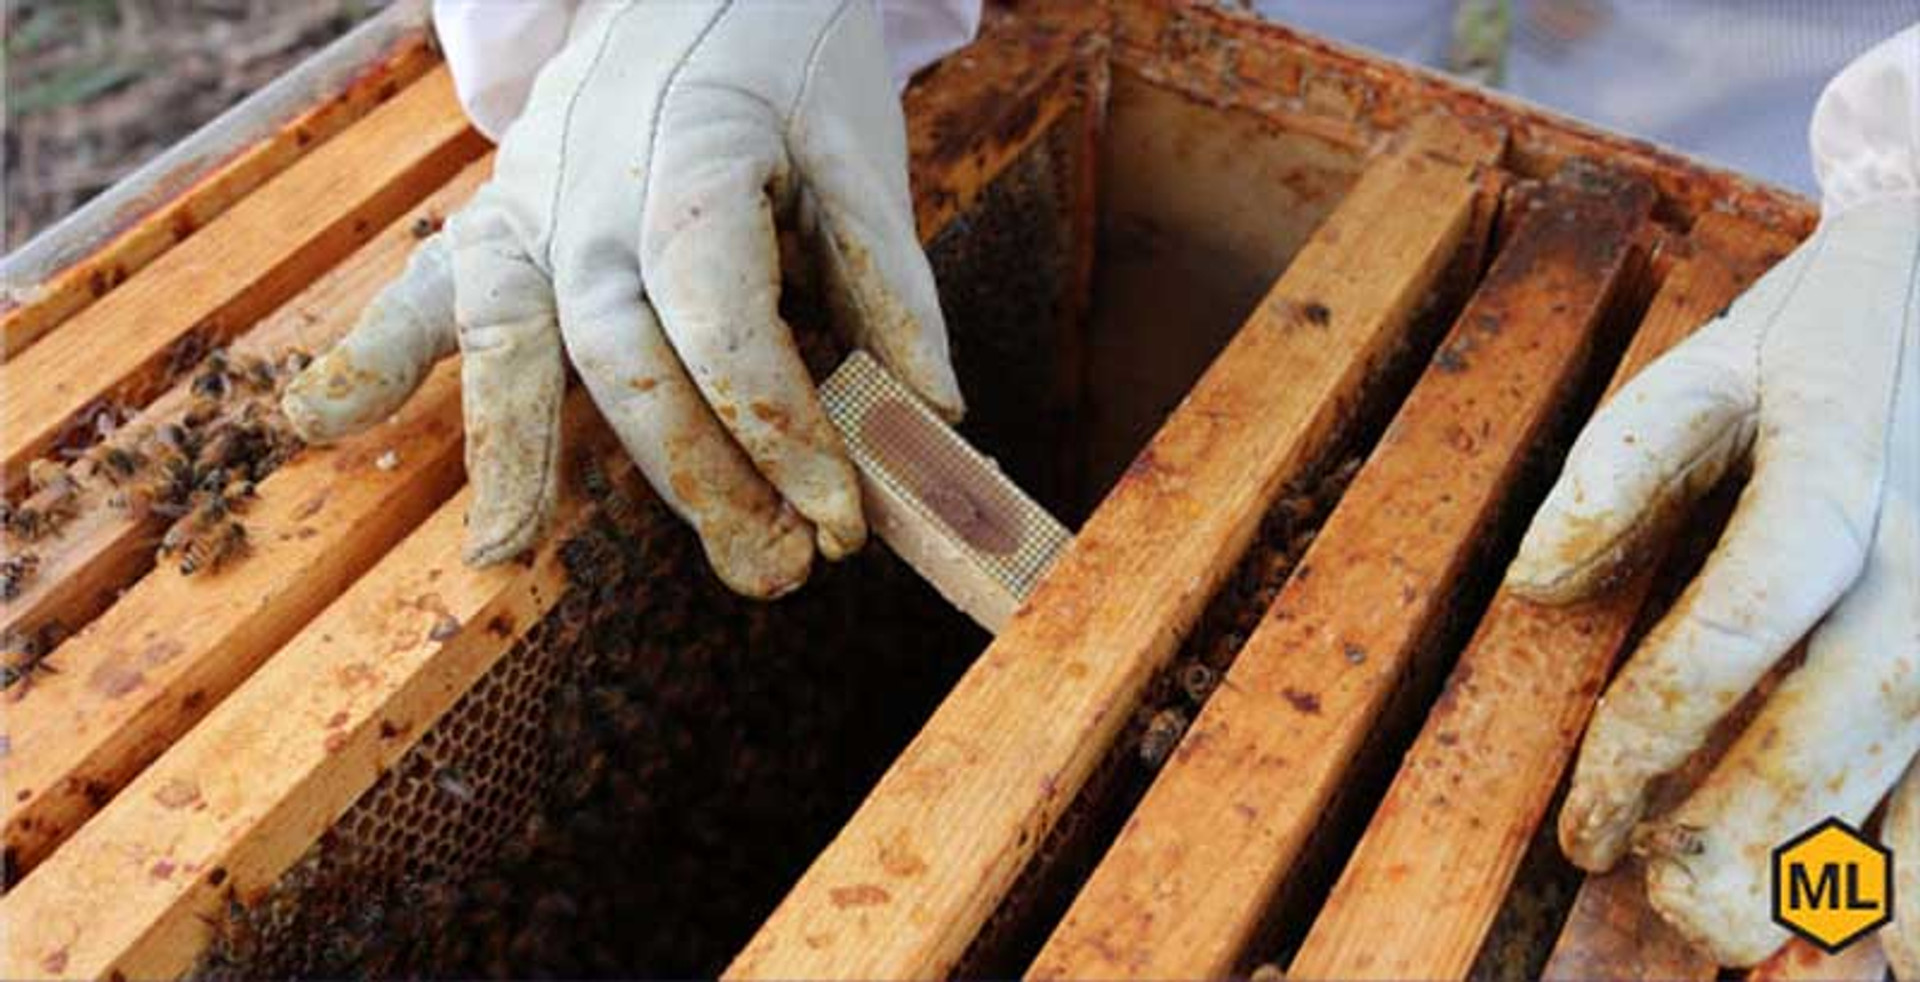
Placing the queen bee safely within her new home is essential. When you’re ready to install your honey bees, make room in the hive by removing three or four frames. Next, use your hive tool to pry open the lid of the bee package. Underneath, you’ll find the feeder jar and a tab to grab the queen’s cage. Gently remove both and replace the lid on the package. Use a bee brush to carefully dislodge any honey bees surrounding the queen’s cage and send them into the hive.
Take a moment to inspect the queen and make sure she’s in good health. If she isn’t, you’ll need to call for a replacement as quickly as possible. If she’s ready to install, simply place her onto one of the frames in the hive. You can use a rubber band to secure the queen’s cage to a frame.
Many queen’s cages will have a candy plug on one end. Remove the cork covering this candy plug so that the worker bees can gradually eat through the candy and free the queen. If there is no candy plug, leave the queen sealed in her cage and wait a few days for the colony to acclimate. After about a week, inspect the hive and free the queen so that she can begin her work.
Release The Bees
With the queen safely in the hive, it’s time to install the rest of your bee package. Gently flip over the package and shake the honey bees into the hive. Alternatively, you can place the entire package into the empty space you made when you removed the hive frames. The honey bees will find their ways out and toward the queen on their own. Just make sure you remove the package within a couple of days so that your honey bees don’t start making comb on or around it.
When everyone is safely within their new home, remove the package and replace the frames. As you start making regular inspections, keep an eye on your queen, the brood patterns, and the overall population of your colony.
With this basic guide to installing bee packages, you’re ready to take care of your own honey bees this spring. You can start the process early by purchasing starter bee hives and any other equipment you need from Mann Lake today. With the right tools on your side, you can ensure a successful spring for both you and your new colony.