Practical Tips for Inspecting a Beehive
Beekeeping is a surprisingly easy hobby to start. While you need to do your research and purchase all the necessary beekeeping supplies, the daily life of a beekeeper can be quite simple. Honey bees work hard to sustain themselves and keep their hives running. That said, there is one routine beekeeping task that you shouldn’t ignore or cut corners on.
Hive inspections are a key part of keeping healthy, thriving colonies. This isn’t an extremely complicated task, but establishing a familiar strategy will make each inspection easier. Make every beekeeping season successful with these tips for conducting a hive inspection.
What Is a Hive Inspection?
Think of your hive inspections as a regular check-up for your bees. It’s a great time to visit your hives and make sure everything is running smoothly. One of the biggest inspection mistakes new beekeepers make is visiting hives too often.
A hive inspection consists of opening and taking apart your hive to see the individual frames within. Doing this too often can disrupt productivity and stress out your colony. Limit yourself to one inspection every ten to fourteen days, or twice a month during spring or summer.
Be sure to inspect on warm, moderate days. Cold or rainy weather can make inspections uncomfortable and even deadly for your hive. When cold conditions and winter months set in, it’s important to be very careful when dealing with and inspecting your hive.
Inspections should be limited to once or twice a winter to limit disturbance and risk of the hive temperature dropping and your bees dying due to exposure. Having a plan and everything ready will help reduce stress on your bees. Check out more information in our blog about winter hive checks.
Preparing for Your Inspection
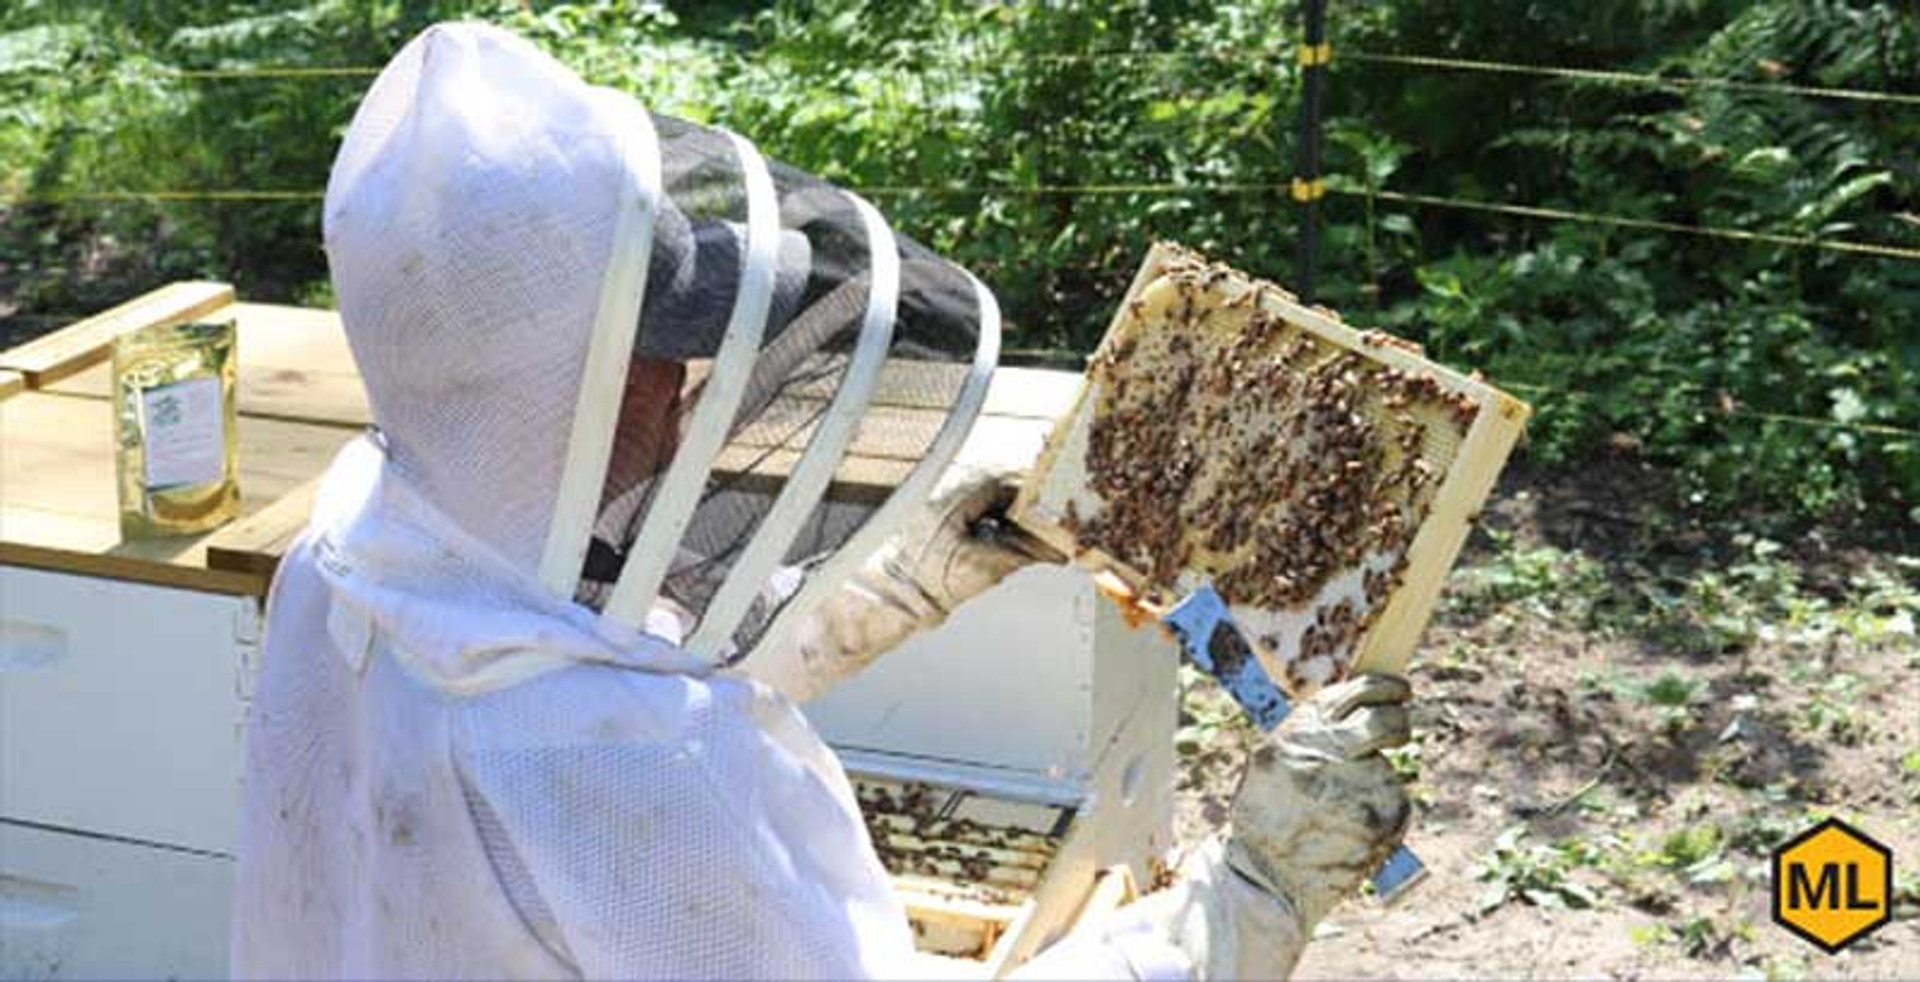
When inspection day comes around, the first thing you need to do is gear up. Protective equipment is crucial to a safe inspection. Only you can decide how much or how little you wear out to your hives.
Some beekeepers suit up from head to toe, while others are comfortable in their normal clothes with a helmet and veil. As long as your outfit helps you feel comfortable around your bees, it’s perfectly fine. In addition to protective gear, you need to grab your hive tool and bee smoker.
These are both essential tools that make the inspection easier for both you and your bees. Some beekeepers also take a journal and writing utensils out to the apiary. While this isn’t necessary, it makes it easier to write notes and keep track of everything you see, especially if you’re inspecting multiple hives at a time.
Approaching the Hive
One of the biggest tips for conducting a hive inspection—and for beekeeping in general—is to remain calm and confident. The more composed you are, the calmer your bees will be! An inspection disrupts your bees’ day.
You don’t want to agitate them further by acting nervous or aggressive around the hive. Do not obstruct the front part of the hive entrance, as it will place you directly in the flight path of worker bees. Be gentle and calm as you approach your hive.
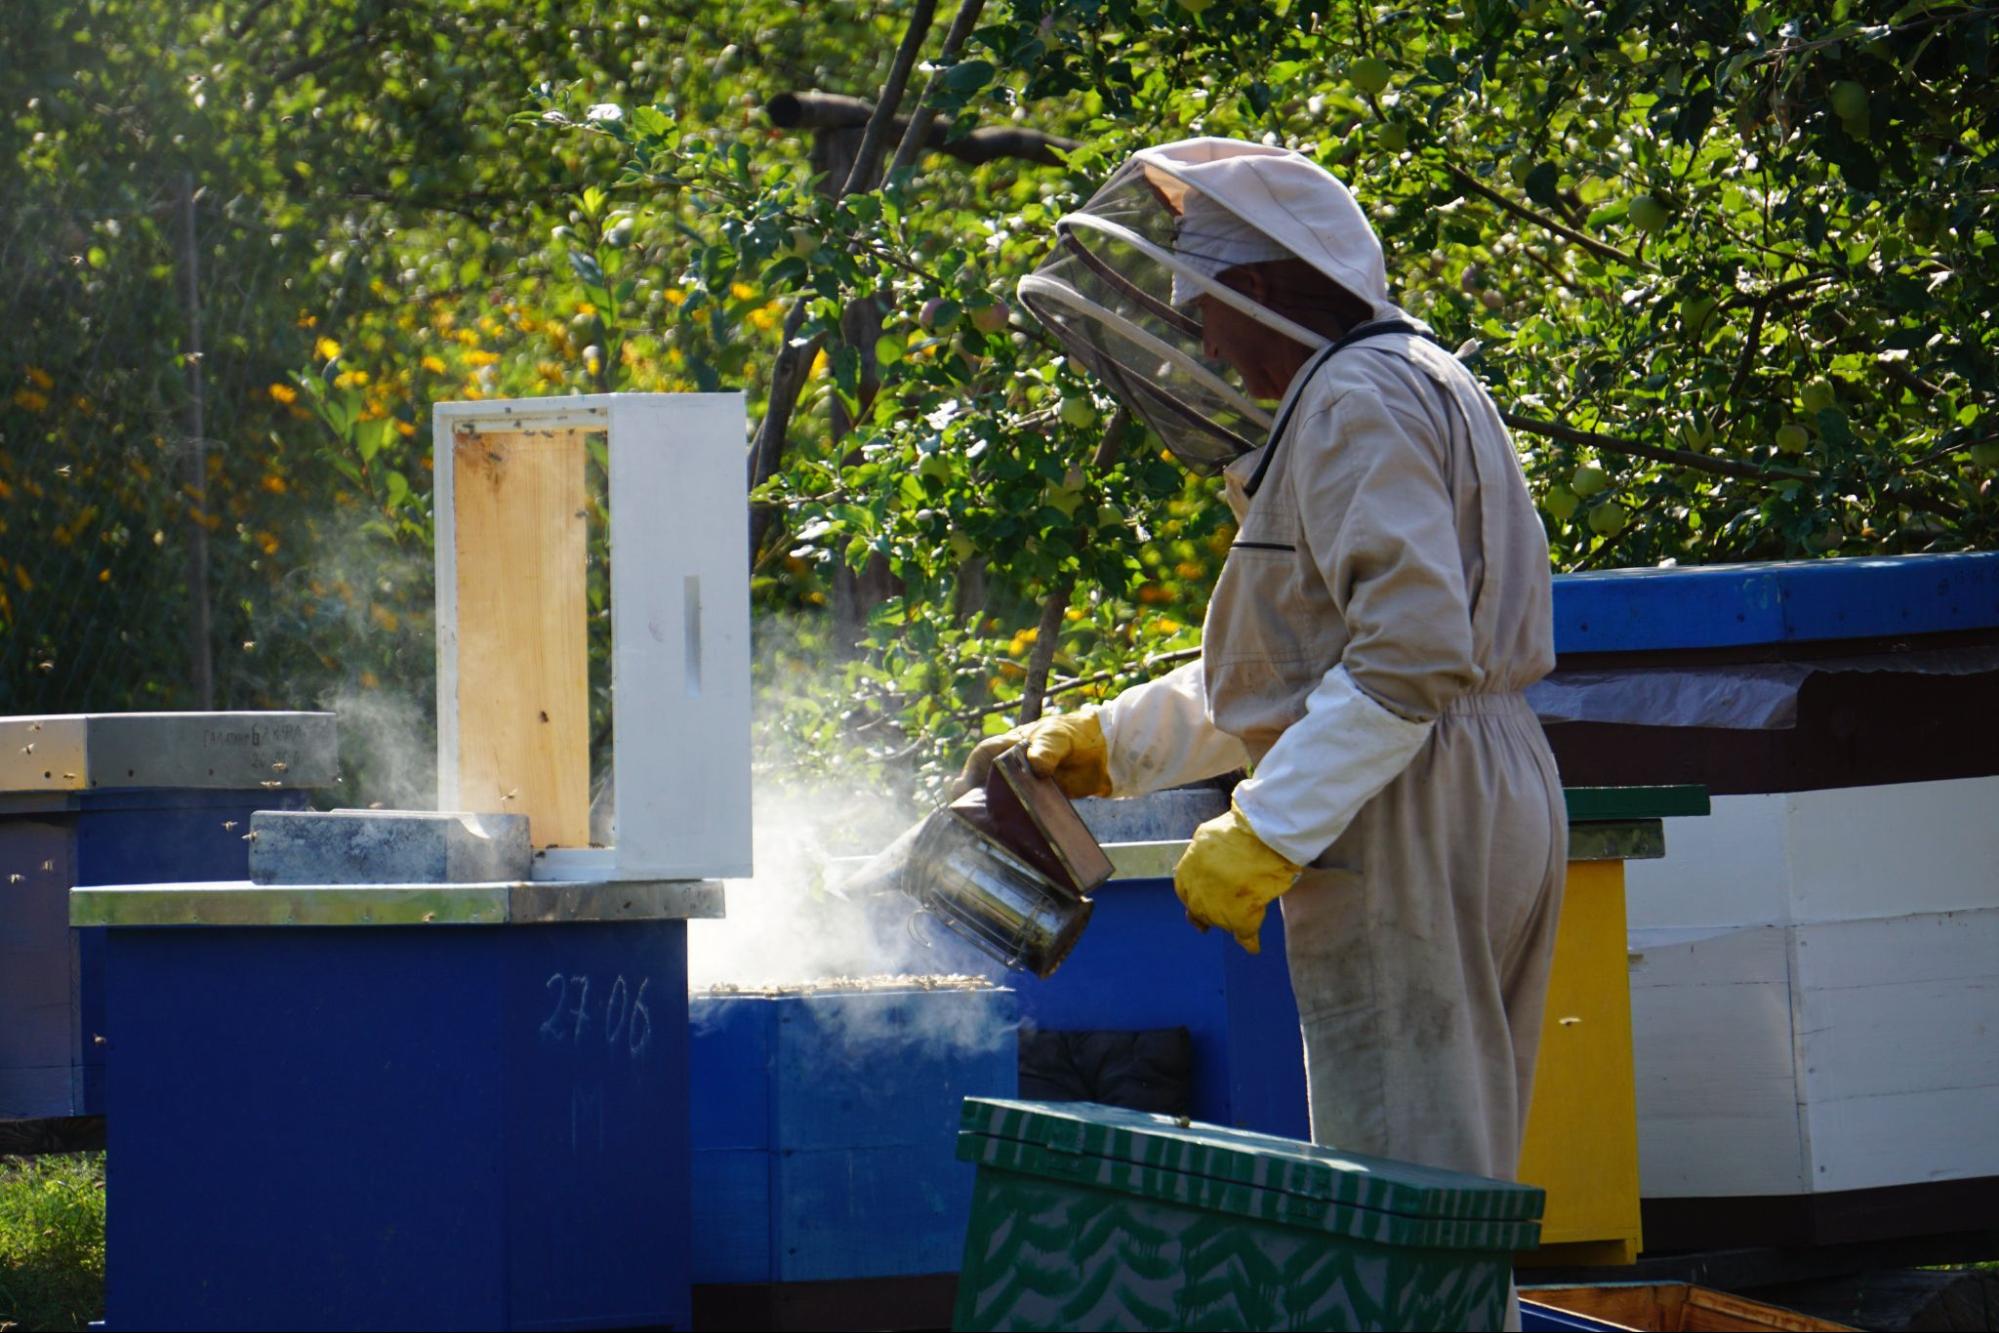
Your smoker will also help keep the bees at ease by disrupting the alarm pheromone guard bees might put off when they see you. Just be careful not to drown your hive in smoke. A gentle puff here and there should be enough to keep your honey bee colonies subdued as you work.
Opening and Disassembling the Hive
Begin the inspection from the bottom of the hive, working your way up. This means you need to first open and disassemble the hive to get to that bottom box. Start by lifting the outer cover and blowing a puff of smoke into it.
Gently lower the cover and give the smoke a moment to work through the hive. After a minute or two, remove the outer cover and set it on the ground upside down. This will serve as a stable base to stack the rest of your hive as you go.
Repeat this process for the inner cover. You might have to use your hive tool to pry open this cover and scrape off excess wax or propolis. Once the covers are off, it’s time to remove each of the hive boxes. Carefully smoke each box, lift it from the hive, and gently set it on top of the covers on the ground.
Inspecting the Hive Box
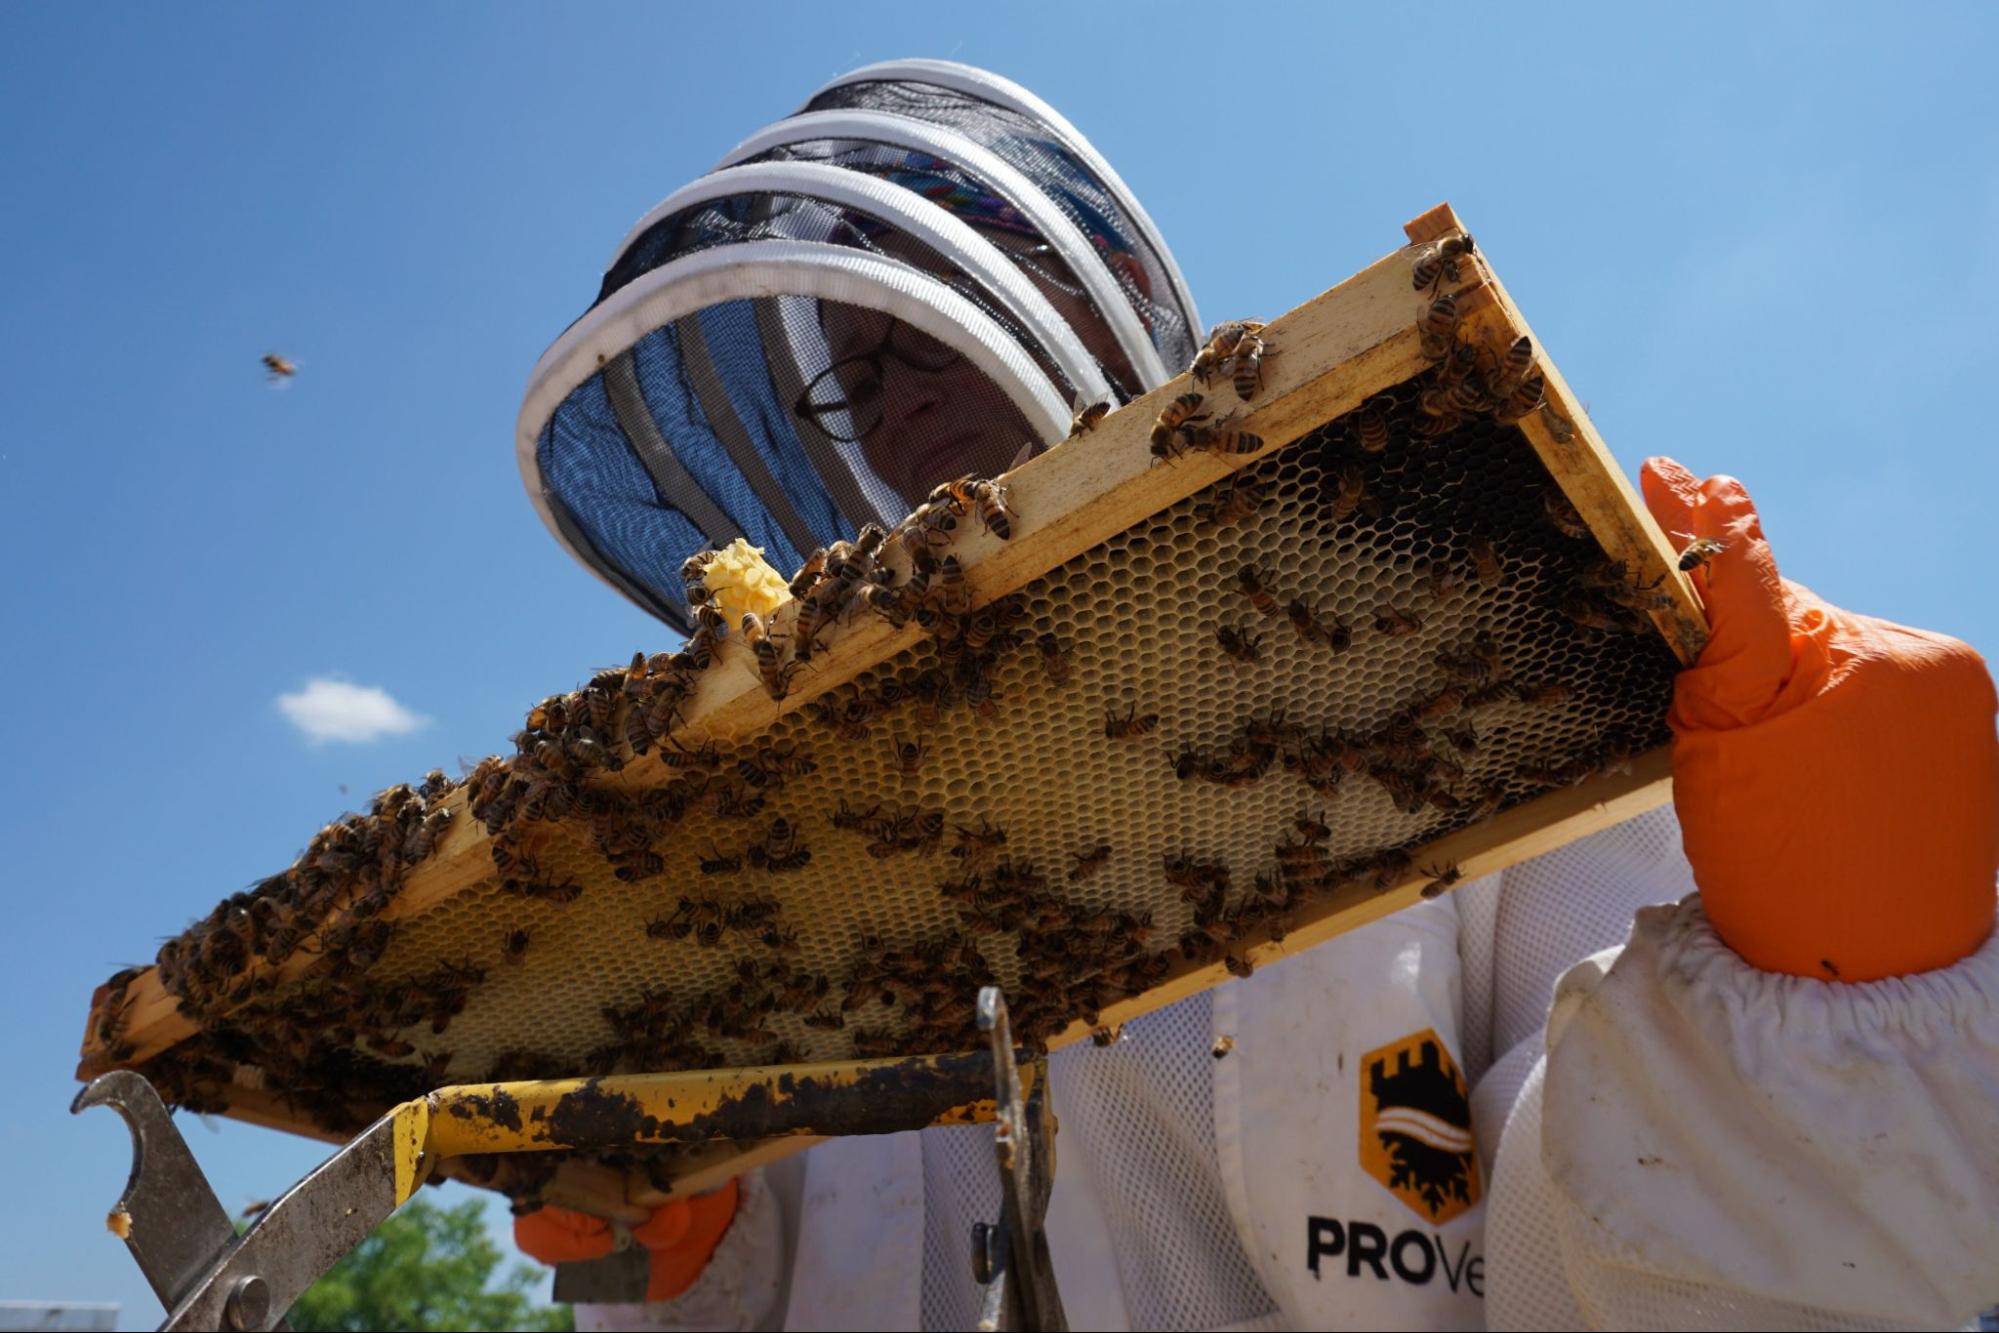
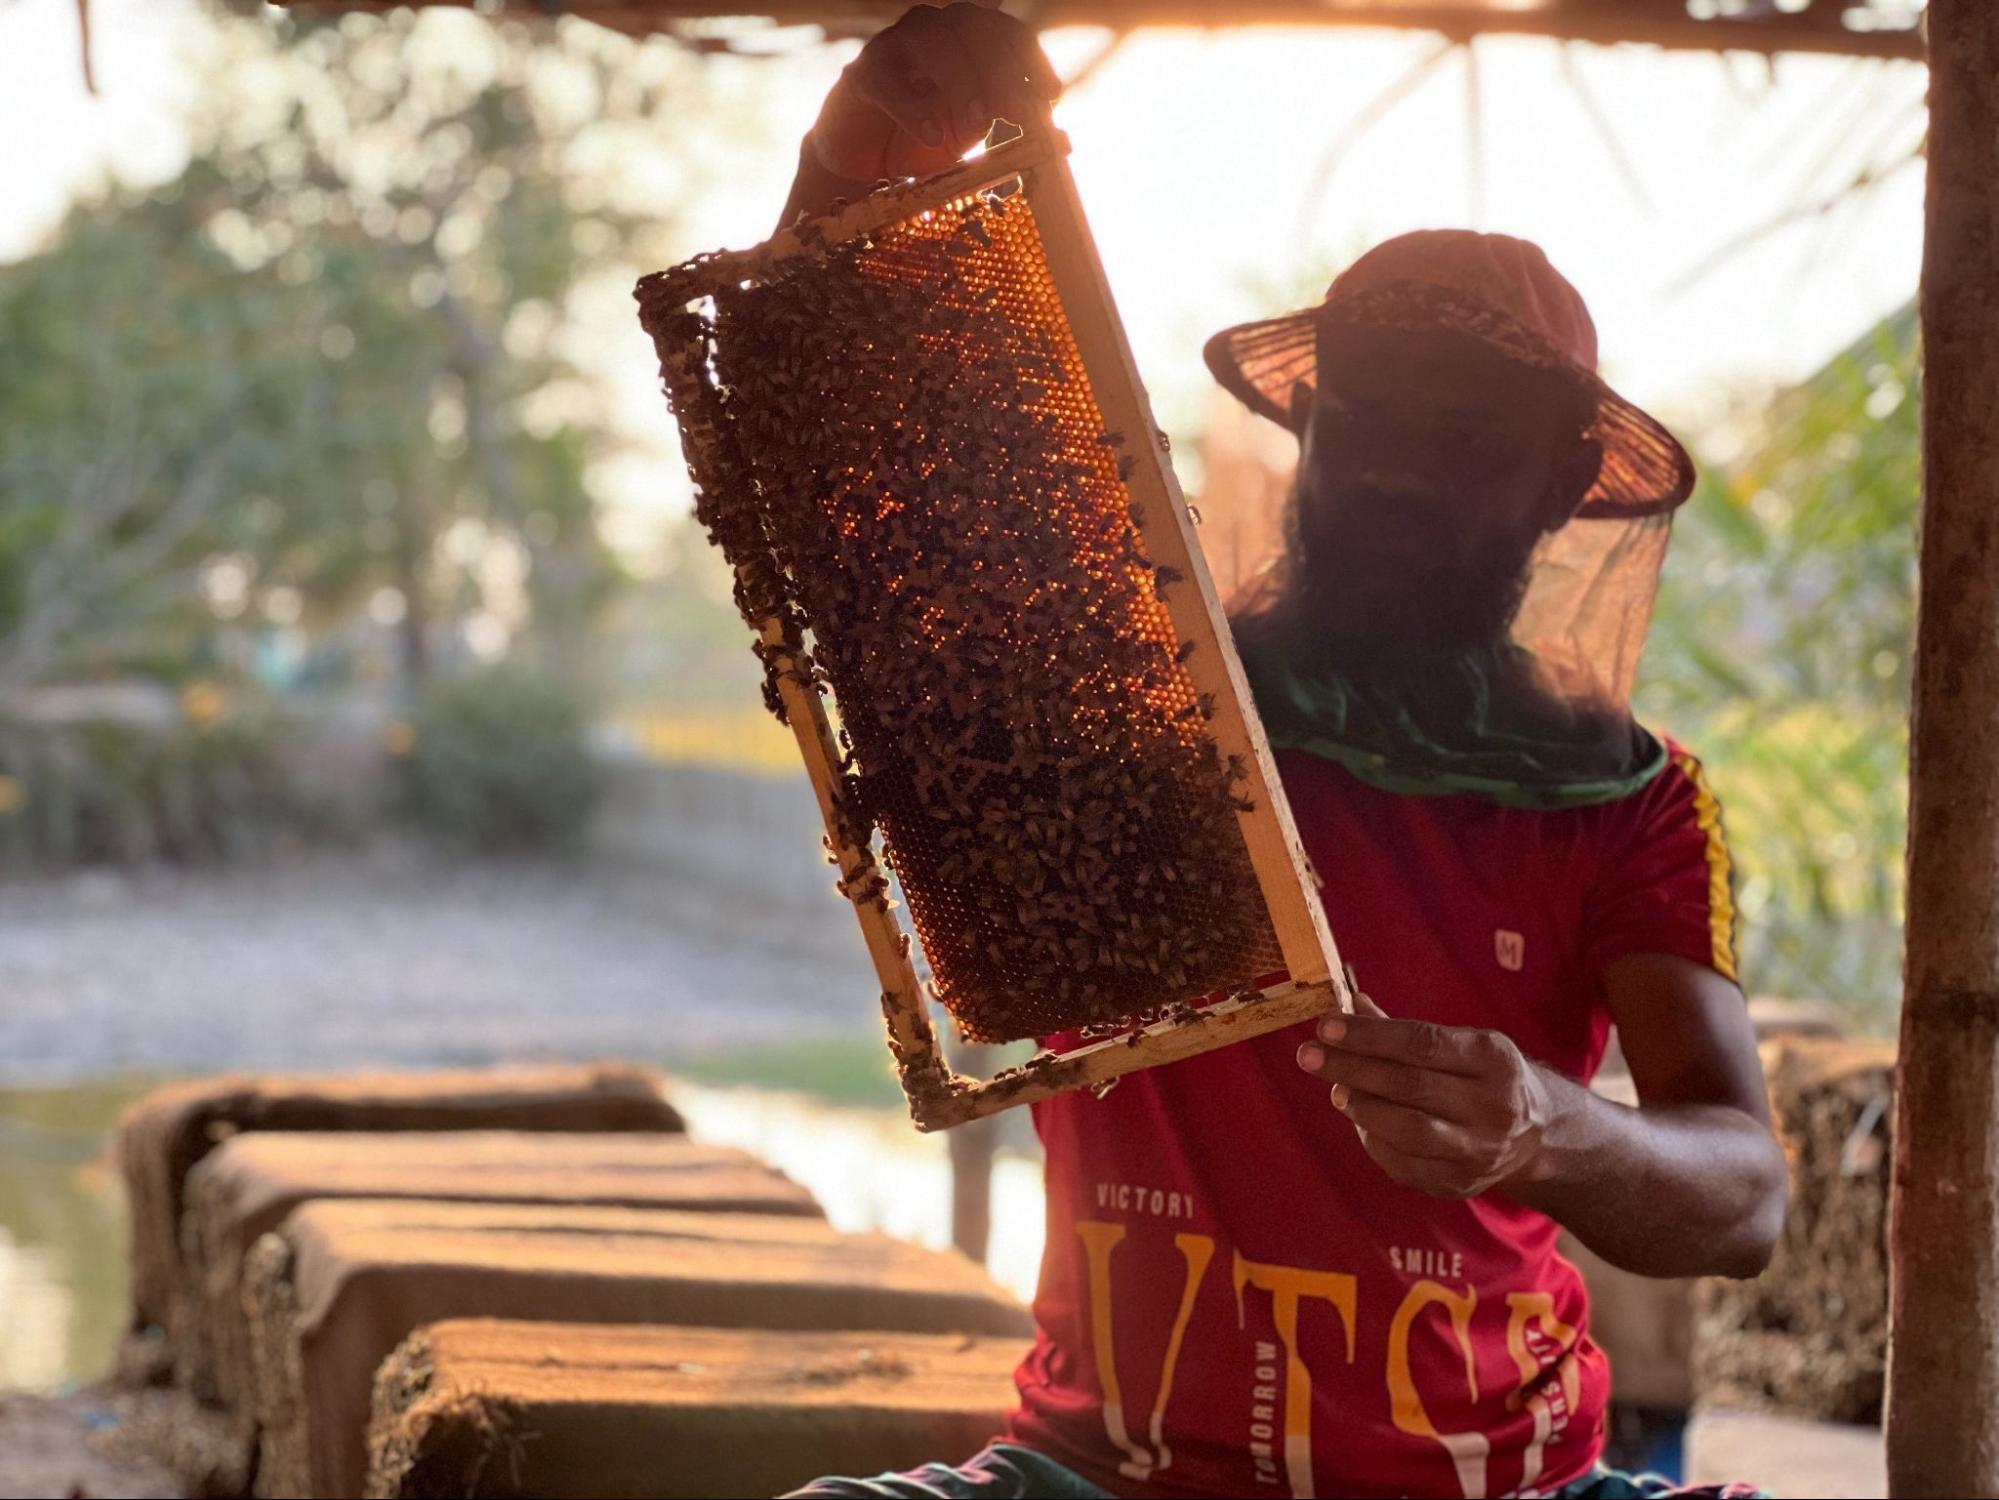
Once you reach the bottom box, you can begin the actual inspection. Start by removing the first frame and setting it on top of your other hive boxes. Be careful not to dislodge or squish any honey bees that might be on the frame.
With that out of the way, you can go through each remaining frame and lift them one at a time to inspect. Make sure you inspect each of the hive frames in order so you don’t disrupt the pattern of your hive. When you’re done with each frame, place it in the open space left behind by the last frame you removed and push it up against the frame in front of it.
This will help give you the space you need to remove and adjust your frames. Handle your frames carefully so that you don’t squish or hurt any bees in the process. As you look at each frame, keep an eye out for the following:
- A healthy and even brood pattern.
- Parasites, such as Varroa mites or wax moths, and the damage they cause.
- The queen. This is easier if you mark your queen with a marker or a touch of paint.
Wrapping Up the Inspection
When you get through the entire box, push all of the frames back so you can put the front frame back in place. This finishes the bottom box, which means you can take the next box and replace it on the hive.
Now, simply repeat the inspection process for this box and all the remaining boxes until you completely reassemble the hive. Once you make your way through the hive, replace your covers, gather your gear, and celebrate a successful inspection. When you leave your apiary for the day, check your clothes and equipment to make sure you don’t have any straggler bees with you.
Understanding Bee Behavior During Inspections
One thing to keep in mind during your inspections is bee behavior. Your bees will likely act differently when the hive is open. Nervous or aggressive behavior might be a sign that your bees feel threatened.
Seeing guard bees on high alert or a generally agitated and buzzing hive could indicate that you've disturbed them too much. Get a feel for your bees’ normal behavior so you can tell when they're unhappy or upset. Understanding these signs will not only make you a better beekeeper but also ensure your bees are happy, healthy, and productive.
Problematic Signs to Watch Out For
During your inspections, there are several suspect signs you should be wary of. An unusually high number of dead bees, queen cells, a sudden decrease in egg laying, or a lack of honey stores could all indicate a serious problem with your hive.
Any signs of disease or parasites require immediate action. Unattended problems can quickly decimate a colony. It's crucial that you're able to recognize these indicators of concern as early as possible. In some cases, catching these issues early can make the difference between a thriving and a failing hive.
Nothing replaces a keen eye and fast response when potential problems arise.
How to Improve Your Beehive Inspection Skills
Beehive inspections are both a science and an art—vital for maintaining a healthy beehive and productive bees. Inspection skills develop with time and experience, but here are a few tips to help you improve.
Always Have Your Tools
Make sure you have all the necessary tools on hand before you start. Not having your smoker or hive tool can escalate stress for you and your bees and even lead to unnecessary bee deaths.
Have Detailed Notes
It's crucial to keep detailed notes during each inspection. This practice helps you track changes over time and identify patterns in your beehive's health and productivity.
Be Gentle During Inspections
Another significant tip for improving your beehive inspections is to be as gentle as possible during the process. Rough handling can stress the bees and potentially lead to bee or brood fatalities.
Learn from Experienced Beekeepers
Don't underestimate the value of advice and feedback from experienced beekeepers. Joining local beekeeper associations or online beekeeper forums can be an excellent way to gain valuable tips, insights, and best practices.
Buzzing Off: Ending Notes on Beehive Inspections
Beekeeping is a fascinating and rewarding hobby. Like any craft, it requires patience, practice, and a bit of know-how. Mastering hive inspections is an integral part of this journey.
Familiarizing yourself with the subtle cues of bee behavior, vigilantly watching for signs of trouble, and continually honing your inspection skills will set you on the path to success.
Remember, every beekeeper started out as a novice, so embrace the learning process. Enjoy the rich experience of caring for your very own buzzing brigade.
