6 DIY Beeswax Crafts to Try This Bee-Season
TL;DR: Beeswax is one of the most versatile hive byproducts, offering endless opportunities for crafting, gifting, and everyday use. From quick beginner projects to more advanced creations, here are six ways to transform your extra wax into something practical and beautiful.
- Beeswax Food Wraps: Eco-friendly, reusable wraps to replace single-use plastic.
- Furniture Polish: A simple beeswax-and-oil mix that conditions and protects wooden surfaces.
- Lip Balm: Moisturizing, protective balms made with beeswax and nourishing oils.
- Lotion Bars: Solid, giftable moisturizers that melt on contact with skin.
- Ornaments: Molded shapes with a golden hue and honey scent, perfect for décor or gifts.
- Candles: Classic beeswax candles that burn longer, cleaner, and naturally fragrant.
Do you have a bunch of leftover cappings and some free time? It’s the perfect time to try your hand at beeswax crafts! These DIYs allow you to put your bee products to work to create practical, giftable treasures to keep, sell, or share.
Our favorite beeswax uses range from silky-smooth lip balms to furniture polish that keeps wooden surfaces gleaming. In this guide, we’ll share six tried and true beeswax craft ideas, ordered from beginner-friendly crafts to more advanced projects.
Is your mind already buzzing thinking about things to make with beeswax this season? Read on to bee inspired!
1. Beeswax Food Wraps
Difficulty: Beginner-friendly
Ditch single-use plastic and make reusable beeswax food wraps. This is one of the easiest beeswax crafts to start with. Essentially, you can infuse a piece of cotton fabric with melted beeswax. The result is a wrap that can cover bowls or wrap snacks, perfect for lunch boxes. Beeswax wraps keep food fresh and are totally compostable when worn out.
Where to Start: Check out this DIY food wrap guide from The Homesteading Family.
2. Beeswax Furniture Polish
Difficulty: Easy
Give your wood furniture a natural shine with DIY beeswax polish. It’s as simple as melting beeswax and mixing it with a food-safe oil. We prefer mineral oil or olive oil. The mixture creates a soft paste that you can rub into wooden surfaces to condition and protect them. It’s a great way to skip the harsh chemicals of commercial furniture polishes.
Where to Start: Learn two ways to make beeswax furniture polish in this guide from The Herbeevore.
3. Beeswax Lip Balm
Difficulty: Easy
Mix together beeswax and a couple of nourishing oils to create an amazingly effective lip balm! Just melt together beeswax, coconut oil, and a bit of shea butter or vitamin E, then pour into small tins or tubes. Beeswax has natural moisturizing and protective properties that soothe and protect lips, sealing in moisture.
Where to Start: Beekeeping Made Simple teaches you how to master beeswax lip balm in their DIY guide.
4. Beeswax Lotion Bars
Difficulty: Intermediate
Lotion bars are made by blending melted beeswax with skin-loving oils and butters (like cocoa butter or shea butter). The mixture will harden in a mold, creating a cute, giftable shape. The resulting lotion bar will melt when exposed to body heat, providing nourishment for the skin. These go quickly at farmers' markets and craft sales!
Where to Start: Kiku Corner has a great beeswax lotion bar DIY guide here.
5. Beeswax Ornaments
Difficulty: Intermediate
Beeswax is fun to work with because it can harden into nearly any shape if you have the right beeswax mold!
While the wax is still soft, you can insert a small loop of ribbon or twine. Once cooled and hardened, the ornaments pop out with a beautiful golden color and a light honey scent. You can even dust them with cinnamon or add a few drops of essential oil for extra fragrance! They are great for gifting or seasonal décor, and the only limit is your imagination!
Where to Start: You can learn how to create your own beeswax ornaments over at Tulips and Twill.
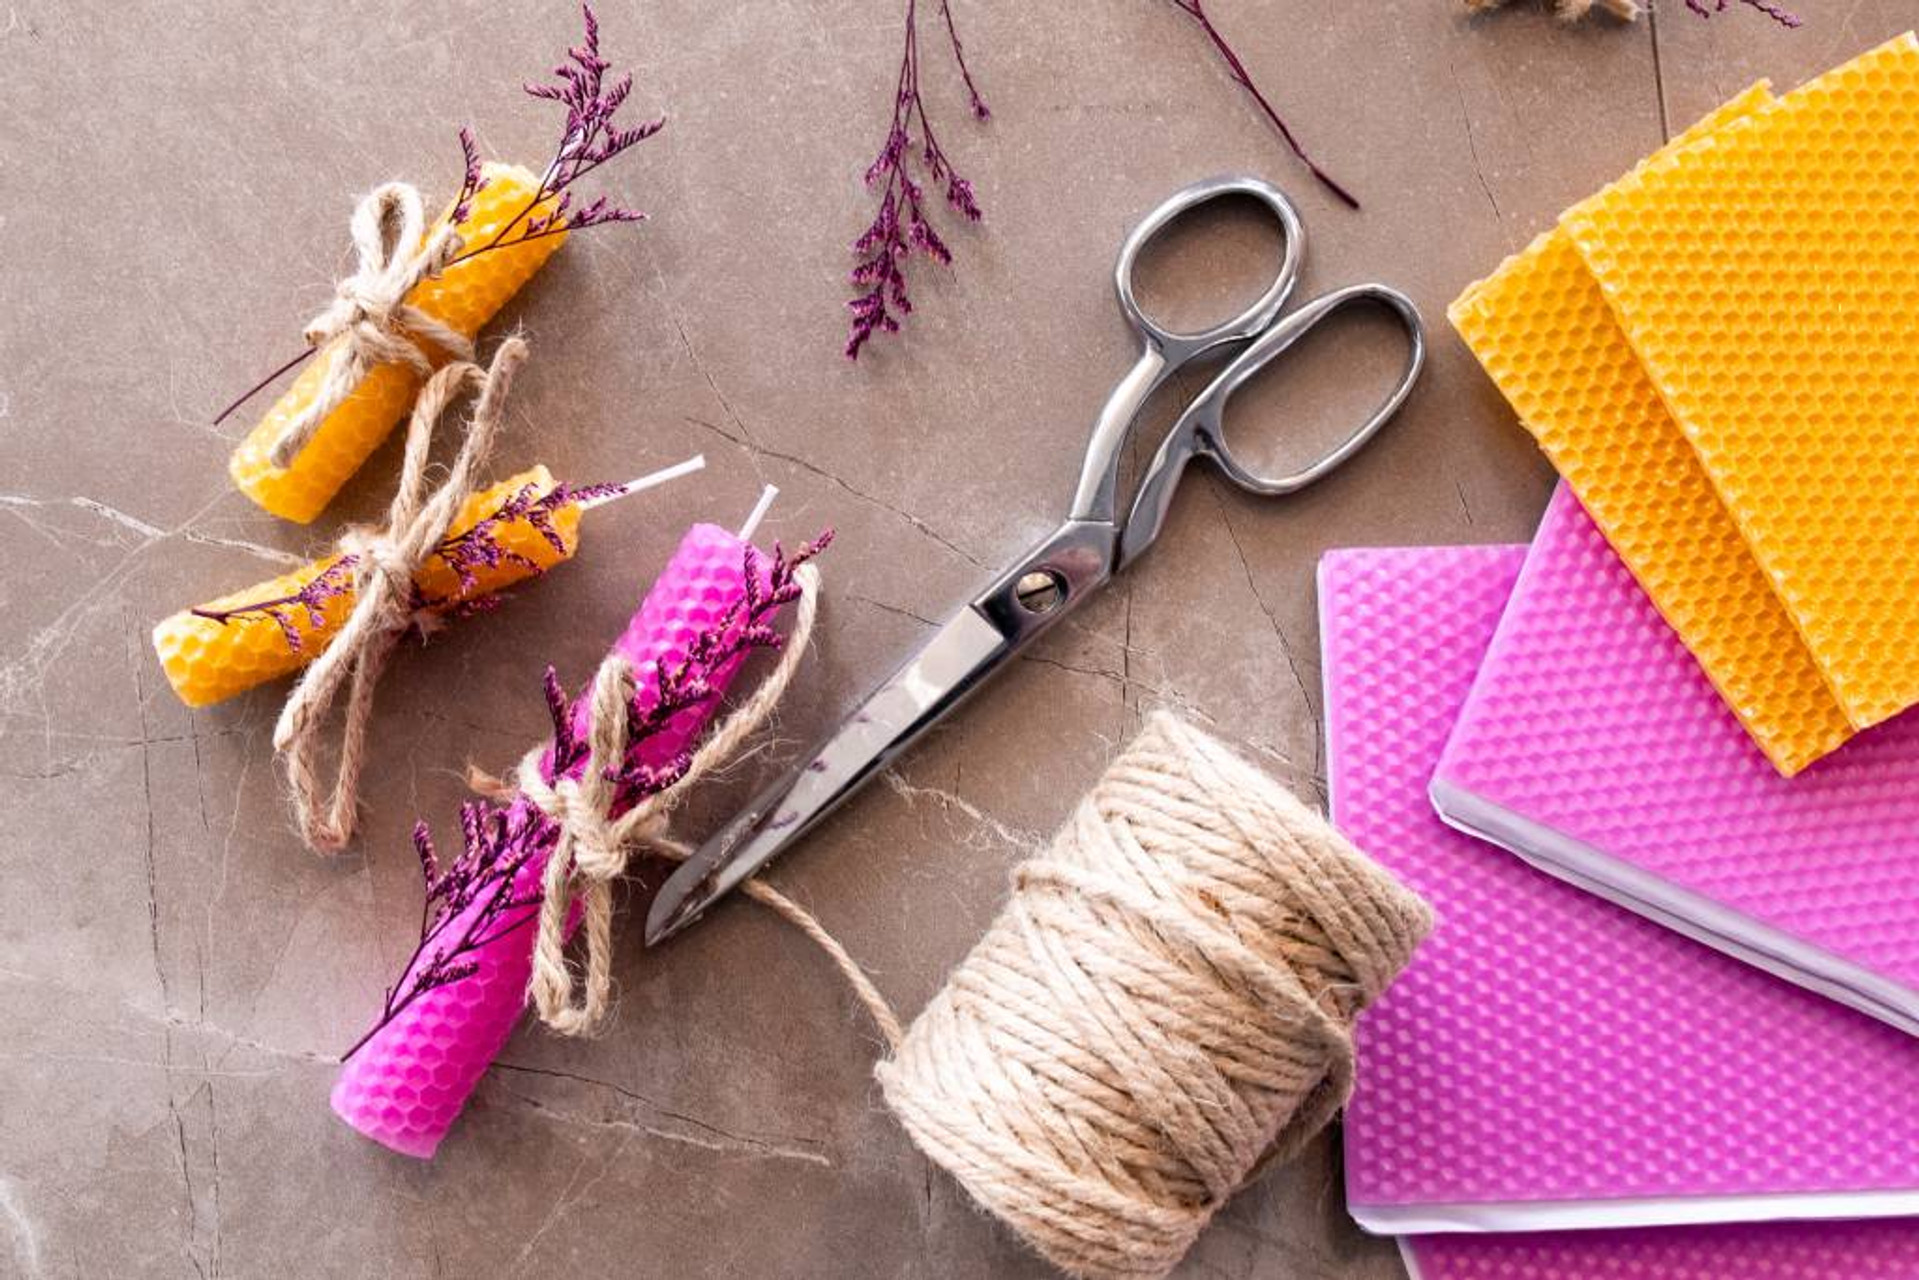
6. Beeswax Candles
Difficulty: Advanced
Candles are the quintessential beeswax craft! Beeswax burns longer and cleaner than traditional paraffin candles. To make a basic beeswax candle, start by melting filtered beeswax. Then, pour the liquid beeswax into a heat-safe mold or jar with a cotton wick.
This craft is labeled advanced only because achieving the perfect burn can take some practice. Don’t let that scare you off, however. Most folks get the hang of it after just a few experiments. You can even buy a block of beeswax to practice on before you use the wax you collect from your colony.
Where to Start: Check out our beeswax candle guide right here on the Mann Lake blog!
Get Crafting with Mann Lake
Want to make your own beeswax creations? Begin with these simple extraction tools. You’ll have plenty of beeswax to use when you try the beeswax recipes above!