Thinking About Keeping Bees? Part 3: Preparing for Your Bees
This is the third article in our series, Thinking About Keeping Bees. Read Part 1 and Part 2 here. This month we’ll cover preparing the apiary and final preparation for your bees’ arrival.
PREPARING THE APIARY
We’re assuming you’ve got your hive body assembled and painted (if you’re painting it), and its frames ready. If not, please get this done before your bees arrive.
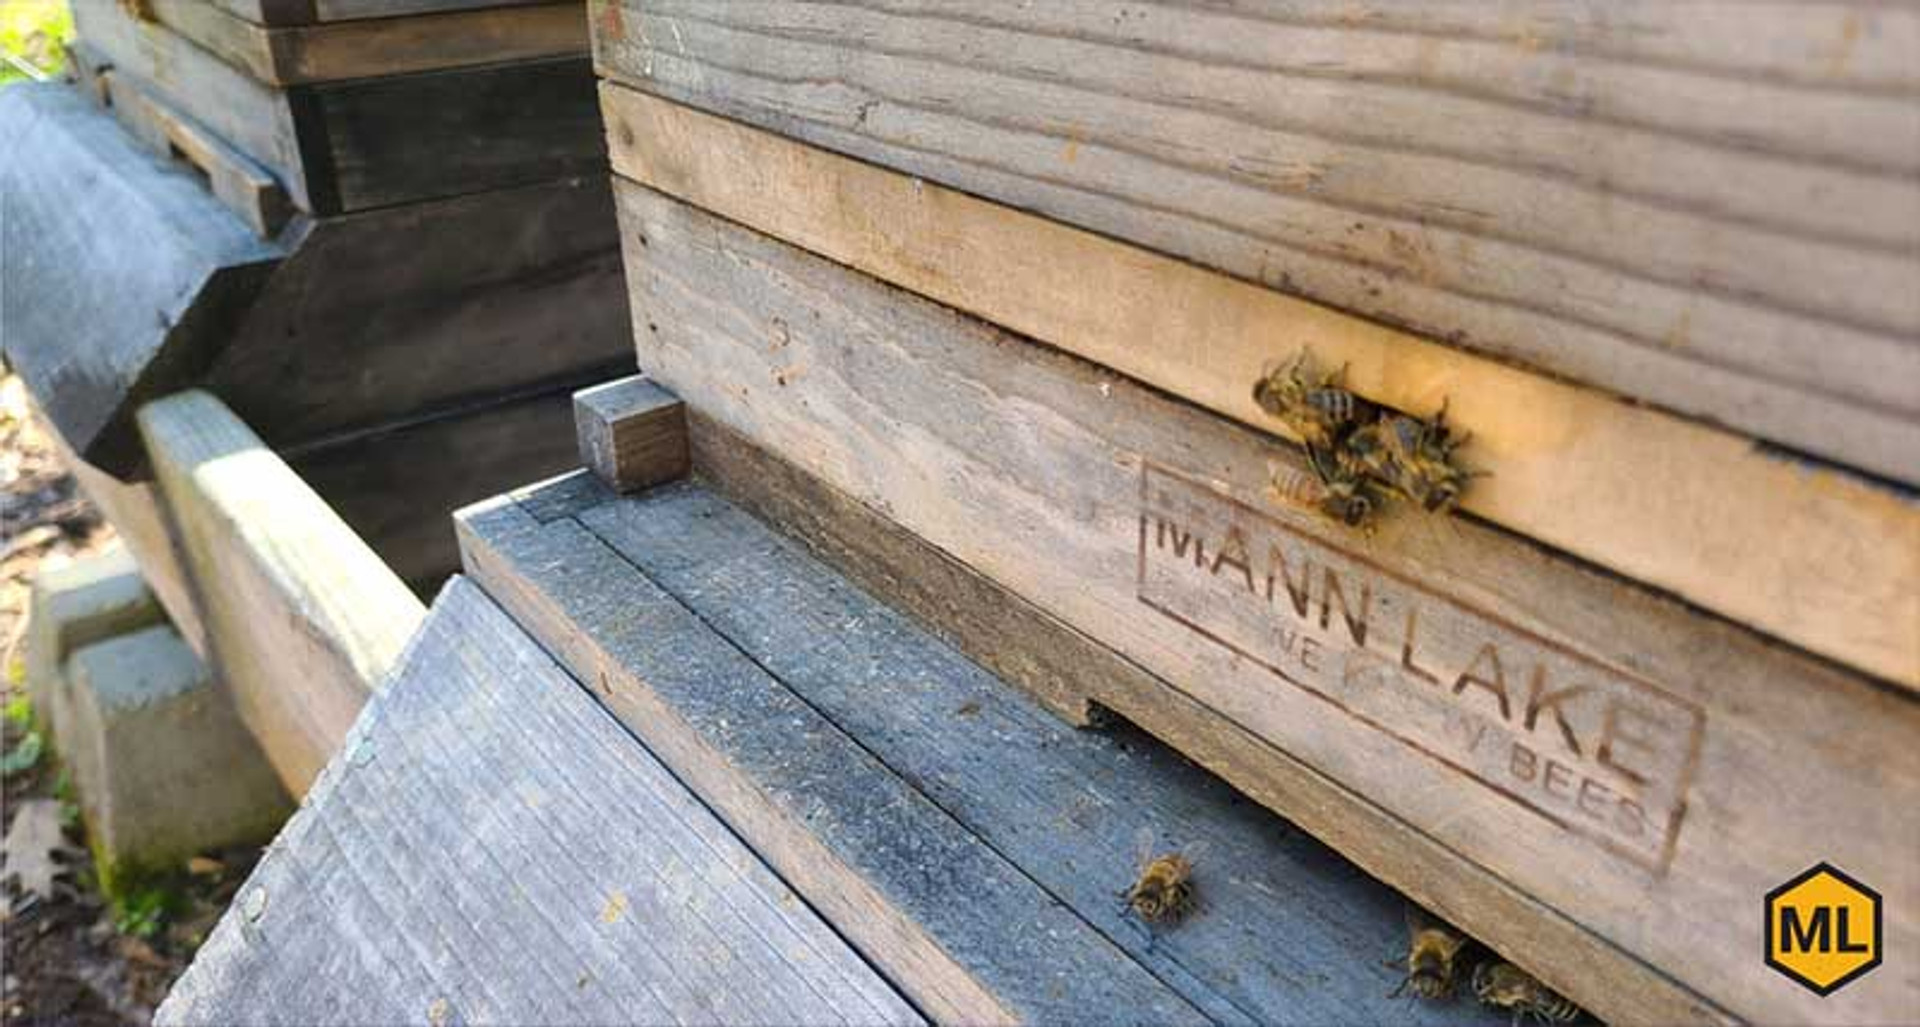
When the weather allows (like when the ground isn’t frozen) it is time to prepare the site that you selected when you were considering whether you should keep bees. You know that site—the one where the hives will catch morning sun on their fronts if possible, protection from the afternoon sun if you get a lot of heat, nearby water, easy access for you, windbreaks, airflow, etc.
There are plenty of examples of great apiaries out there, and ultimately it is the bees who decide what is perfect, but here’s an example of one that we think is well thought out. Colin Tierney from Kentucky shared information about their well-considered apiary:
- Black poly on the ground covered with stones approximately 3″ deep (helpful for inhibiting both small hive beetles and Varroa)
- Landscape logs as a weed/mow edge
- Concrete blocks raising the hives (reduces the risk of the bottom rotting, keeps mites down below when they fall off, harder for skunks to reach, less bending when working hives)
- Concrete blocks on tops to keep out raccoons and prevent tops from being blown off. Only problem was during the winter the top of one of the blocks froze and crumbled at the water line—so far only lost one block in three years
- Plastic wading pool with two concrete blocks works well for a close water source. Change water every two to three weeks.
In our opinion, that’s a great set-up for a fairly modest investment. There are certainly other ways to do it; but this is a good start.
PREPARING THE HIVE(S)
Once the apiary grounds are ready, it’s time to place the hive. You need to do this before installing the bees as some finagling of it may be required. Once the bees arrive, you want to be attentive to getting them into the hive.
Leveling
The hive needs to be level from left to right, with a slight tilt from back to front—strive for an inch. That allows any interior water to drain out the front door, as well as water from the top to flow off and hopefully over the front “porch”, and not drop onto it. Moisture in the hive is one of the largest challenges your colony will face.
For you perfectionists, go ahead and make things exact. For the rest of us, I’ve found my eye-balling it has been perfectly acceptable to bees over the years. I even once had a hive leaned severely to one side, and the bees adapted to the three-inch lower left although I don’t think they were happy with it.
Leave the hive sitting out? Depending upon when your bees will arrive, you may want to go ahead and leave the hive in position so it can adjust to the local humidity and adapt a more natural scent. There’s nothing wrong with having the hive outdoors a few weeks prior to its use. With any luck, perhaps a colony will swarm to it (not likely) and you’ll have to order another set-up (quickly!).
Review location
Having the hive out in advance also lets you be sure the location is workable, and you should practice working with its various components. Remember, you’ll start with only one level, but will hopefully make the hive much taller down the road.
Are there any branches, structures, etc. that will keep it from going up? That will keep you from standing up or easily moving around all sides of the hive? Is there room for two or more people to work the hive? Do you have room on the ground to set your equipment, the bricks you might have on the hive top, the hive top itself? Where will you place the smoker? Can you pull a wagon up to the site for easy loading and unloading of hive bodies in the future?
Practice
Having the hive in place in advance also gives you the opportunity to practice working with it. Because of the circumstances that led me to beekeeping, I was never able to open a hive and manipulate it without thousands of stinging insects reacting to my every move.
Success in working bees largely depends upon your attitude and demeanor, so take advantage of the empty hive to get more comfortable manipulating a hive. Wearing your protective clothing (because that makes a difference in how you will move), take off the top cover and ensure you have a good spot to place it while you’re working the hive, and that you’re familiar with its weight.
Take off the inner cover and be sure you know which way it goes back on. Bend, twist, make sure everything you will need can be reached. As long as you’re practicing, load and light your smoker a few times.
Frames in or out? I prefer to put my frames into the hive. While that is a remote invitation to rodents or insects to plunder them, it typically isn’t an issue in the spring, and allows the frames to air out a bit. If you’ve installed wax foundation in frames, storing them vertically is also safer.
Wax foundation in frames not vertical may deform. True, some frames will need to be removed from the hive body when the bees arrive for installation, but for now, leaving them all in the hive body is a handy place to store them.
PREPARING FOR THE BEES
What an exciting (and possibly “what-have-I-gotten-myself-into?”) time! Hopefully the weather is cooperating, and you won’t be unexpectedly out of town when the bees arrive or need to be picked up. It happens.
It may be a challenge to find a friend willing to pick up your bees if they’re arriving at the local post office when you’re gone, and care for them until your return. That’s one of the benefits of knowing other area beekeepers or joining a local club. If you need to change delivery or pick-up arrangements, let us as soon as possible.
Preparing Syrup
You’ll need to prepare sugar syrup unless you’ve researched this issue and decided not to supplemental feed in any way. We recommend supplemental feeding your package bees with sugar syrup as long as they want it, to ensure they’re off to a good start.
You may also want to use a sugar syrup spray to help distract bees during installation, whether you are transferring a package into the hive, or a nuc.
The sugar-water syrup concentration for spring feeding is light, one part water to one part sugar. Use white sugar, NOT brown sugar. There is some research that suggests cane sugar is slightly better for them than beet sugar, as well as research that suggests it doesn’t make much of a difference.
TRANSPORTING BEES
Bees may be transported inside any vehicle. If you’re transporting them in an open bed truck, please be sure that the bees have a wind break (like up against the cab of the truck.) If you’re travelling through unexpected cold weather or rain, a tarp is also a great idea.
Escaped Insects, Hitchhiking & General Freaking Out: Remember how your Mom told you hitchhiking was a bad idea? Apparently the queen mom never shared that news with her thousands of children. The scent of the queen is compelling, and therefore, any out-wandering bee who catches whiff of it may decide to hang on the outside of the cage or nuc. Folks not used to seeing this understandably find this unsettling.
Two things to keep in mind:
Hitchhiking happens. No matter how alarmed the postal workers are when they call and say the bees are escaping, chances are about 99.99% that they are not. Plus, hitchhiking honeybees are not aggressive, so advise anyone concerned to just let them be and you’ll get there as soon as possible.
If you’re transporting your bees in the back of a truck and see bees wandering outside of the box, chances are about 99.99% that they are NOT from inside the box. They’re just hanging around a very attractive scent.
Wear bee gloves or carefully look at the cage/nuc before you pick it up. If a postal worker needs to pick up the cage to hand it to you, advise them to do the same. A bee trapped under your fingers will let you know how much she doesn’t like that very quickly.
WHEN YOU GET THEM HOME
PACKAGE BEES
Immediate actions: Place the bees in a dark, cool area if possible, like a closed garage, or a basement room. Cool means about 50 degrees, much colder than that is not desirable. Dark conditions will calm them down, and keep them from too quickly eating their supplied syrup.
Set them on a couple sheets of newspaper or a sheet. There will be debris falling from the cage.
Spritz them morning and evening with the sugar solution if you’re not hiving them that afternoon. If you don’t do this, they may run out of the syrup that was shipped with them.
Bees can survive for several days in the cage, but they should only be contained when there is no other option (i.e., bad weather making it impossible to install them.) Life in the cage is stressful and the more quickly you can move them into a hive, the happier and more productive they’ll be, and the greater your chances for success.
NUCS
The bees in a nuc have resources from which to draw, and presumably are already on their way to being a thriving colony. Thus, they should be placed in the location where they will live and allowed to get to work. If the weather isn’t cooperating, it isn’t necessary to transfer the frames from the nuc box into the hive immediately. However, be sure to open the nuc box entrance so they can come and go. If there’s a nectar shortage, consider a community feeder.
Nucs can remain in the box they came in for several days—a week or more if necessary. Just be sure it is secured against gusts of wind.
INSTALLING
When to Install: Late afternoon is probably the best time to install bees. If you have a nuc, most of the foragers should be back by then. In either case the bees will know it is about time to settle in for the evening and they’re more likely to stay if installed later in the day.
While a nuc colony can remain in the nuc for a while, the faster you can get the package installed the better. So, if the weather’s cooperating and the only time you can install your package is at 9 a.m., go for it.
Protective Gear? There are plenty of awe-inspiring photos and videos of folks working bees in shorts and a t-shirt. Good for them. Based on the thousands of people I’ve talked with about bees over the years though, I will never work bees without protective equipment. I’ve heard some of the horrific stories. It only takes one accidental bumping into the hive or dropping of a hive body to get a fatal or life-altering number of stings.
We especially recommend that new beekeepers wear protective gear. Bees seem to sense any of our unease, whether it is from working them or any other problems we brought into the apiary (trouble at work, frustrations with the family, etc.).
Chances are, as a newbee, you have some apprehension. Anything you can eliminate by wearing protective gear is helpful. In time, as you learn to read their mood from the sound and their activities, you can consider not using gloves, or wearing perhaps just a veil.
Smoke? Get it going, make sure it keeps going, have more fuel handy.
Mental Preparation. When working with bees, it is best to “bee” in the moment and focus purely on them and what you intend to do. If not, they have a stinging way of reminding you to be attentive.
Have a Plan. Whenever you disrupt bees from doing what they think they should be doing, you need to be as efficient as possible. Your respect to them will result in more productive bees.
When you’re installing bees, your purpose is obviously to do just that. But for all future hive visits, be sure you know what you intend to accomplish before you open the hive.
And yes, especially for newbees, the purpose of “just wanting to see them” is a legitimate purpose, as long as it isn’t too often and at the right times.
Installing your package of bees is different from installing a nuc, click here for a how-to!