
How to Install a Queen Bee
The process of introducing a new queen bee to your hive is a transformational moment for new and experienced beekeepers. This moment marks the beginning of a new era of productivity for your hive and lays the groundwork for the future success of your beekeeping endeavors
This comprehensive guide serves as your roadmap, guiding you through each phase of the installation meticulously. It’s been designed with the goal of equipping you with the necessary insights, minimizing risks, and ensuring a successful transition.
Follow these instructions to ensure that you and your bees are ready for the big moment.
Pre-Installation Prep
Make sure you’re prepared for your bees! Ensure all equipment is assembled, painted, and placed in the bee yard before your bees arrive. Have all the necessary equipment ready to go. Make sure that your protective gear is clean and ready for use and that the hive tool is near. Don’t forget to have bee feed and a pollen substitute prepared, too!
Caring for Your Bees Before Installation
It’s important to install your bees as soon as possible. If you’re transporting them, ensure they are strapped securely and NOT covered in a blanket or winter wrap. Otherwise, the bees will overheat.
If you’re unable to install your bees right away, keep them in a dark, quiet place, preferably around 50°F to 70°F. Do not chill or overheat your bees. Feed your bees by generously spraying or brushing Pro-Sweet—a 1:1 water/sugar syrup or 1:1 water/high fructose corn syrup mix—on the screen sides 3 to 4 times daily.
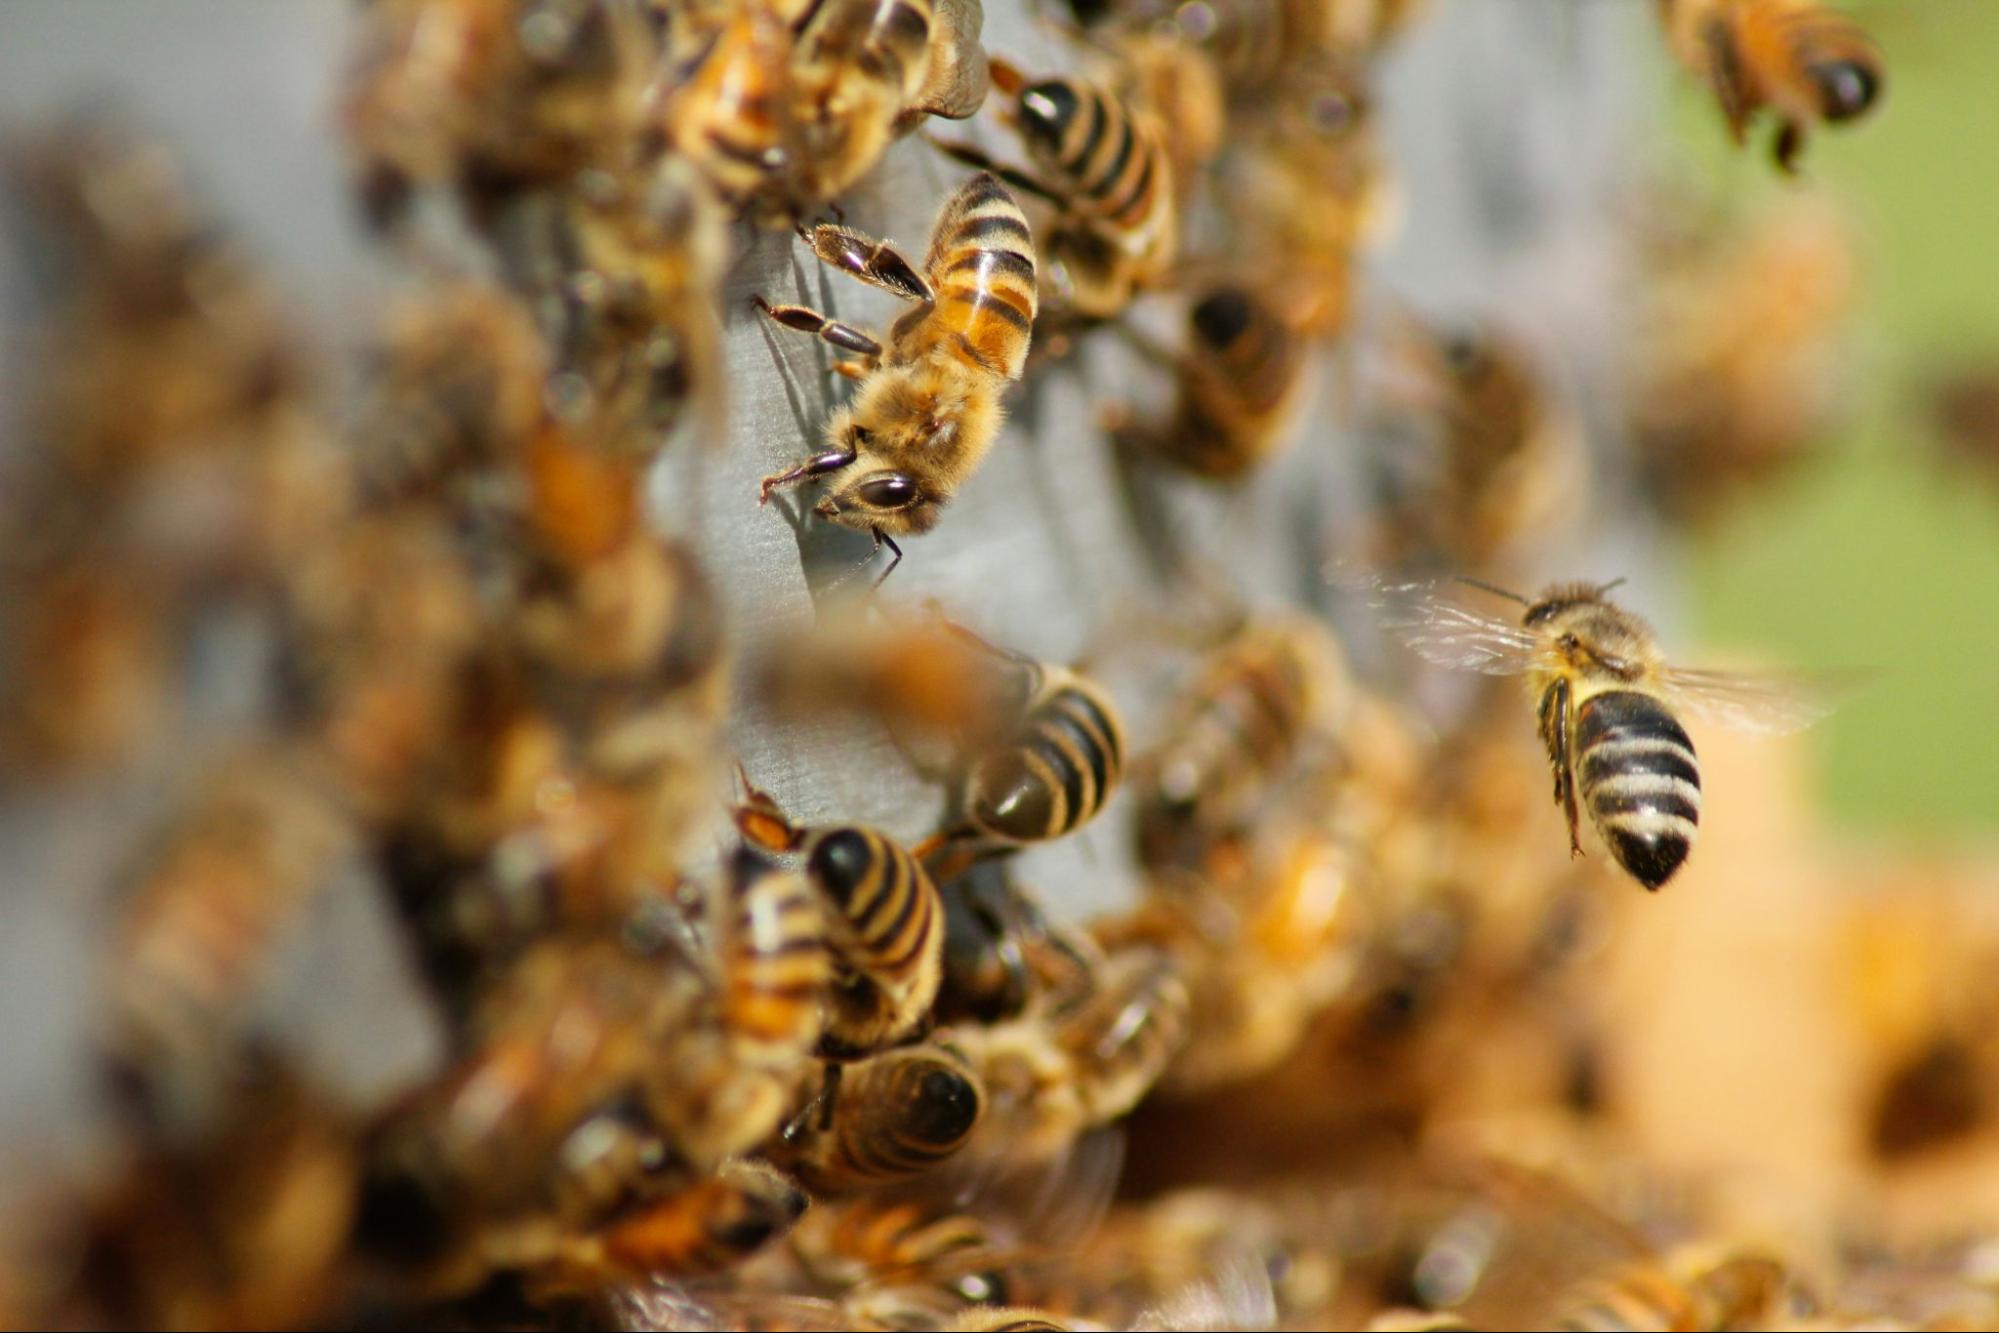
Understanding your bees’ behavior is crucial. Be observant of their movement and activity levels. Less activity could suggest stress, while higher levels of activity may indicate they are ready for their new queen bee. Try to minimize disturbances to the hive during this critical period, as this could add additional stress to the bees.
Queen Installation
If you’re replacing an existing queen, remove and destroy the old queen at least 24 hours before installing the new one. If queen cells are present, they need to be destroyed before introducing the queen.
Queen Arrival
Inspect the queen as soon as you can upon arrival. Place a small drop of water on the screen of the cage twice a day. If you can’t install her immediately, keep her out of direct sunlight at room temperature and water every day until installation. The queen cage is not a permanent living space.
Queen Installation Instructions
Embarking on beekeeping is an exciting journey, and successfully installing your queen bee is a pivotal step. For a smooth process, closely follow the instructions below or print our queen installation guide. This guide ensures you correctly introduce your queen into her new colony, setting a solid foundation for a healthy brood pattern.
Step 1: You will receive one of the three pictured queen cages below. Attach and suspend the queen cage between the middle two frames to prevent it from falling. Make sure that you’ve faced the screen towards the front of the colony. Do not remove the cork or cap for the first three days. Then, identify your queen cage and follow the instructions.

Step 2: Place the inner cover and outer cover over the hive. These covers form a barrier against weather elements and potential predators, ensuring a safe and trouble-free environment for the queen and her colony
Step 3: Feed the bees. Make sure to provide a balanced diet of sugar syrup, pollen substitute, or a premixed feed. Pay attention to their consumption rate and adjust the feed quantities as needed, always ensuring fresh supplies are readily available.
Step 4: After three days, return to the colony to release the queen bee. This adjustment period helps with acceptance and adjusts the bees to the pheromones of their new queen bee.
- 7–10 days after installing the queen: Check to see that she has been released from her cage. If the queen has not been released on the seventh day, manually release her by holding the cage (or screen on a wooden cage) close to the hive and using a hive tool to pull back the plastic tab or the screen. Make sure to allow her to walk out of the cage and onto a frame. Once the queen is released into the hive, replace the frame in the center that was removed for spacing purposes during installation.
- 10–14 days after her release: Recheck the hive approximately 10 to 14 days after the queen’s release. You should begin to see eggs. The timing can vary based on the condition of the comb and the weather. Please note: If there are no signs of her laying eggs or larvae within 10 to 14 days, please contact us at queenhelp@mannlakeltd.com.
Monitoring Hive Health After Queen Installation
Taking care of a hive doesn’t end with the installation of the queen bee. It’s just as important to monitor the hive’s conditions and the colony’s health thereafter. Here are essential tips to optimize your post-installation beekeeping practices.
Understanding New Queen Bee Acceptance
The first indication of a healthy hive is queen acceptance. Gauge this by observing the bees’ behavior around the queen cage. A lack of aggression is a positive sign. If the queen has been released from her cage, it usually means she is accepted.
Detecting Signs of Productivity
A productive queen should start laying eggs in the brood nest within two weeks or fewer after her release, leading to a steady population increase. Patterns of egg-laying can tell you a lot about the queen’s health—a healthy queen places eggs in a dense and orderly manner.
Spotting Possible Hive Issues
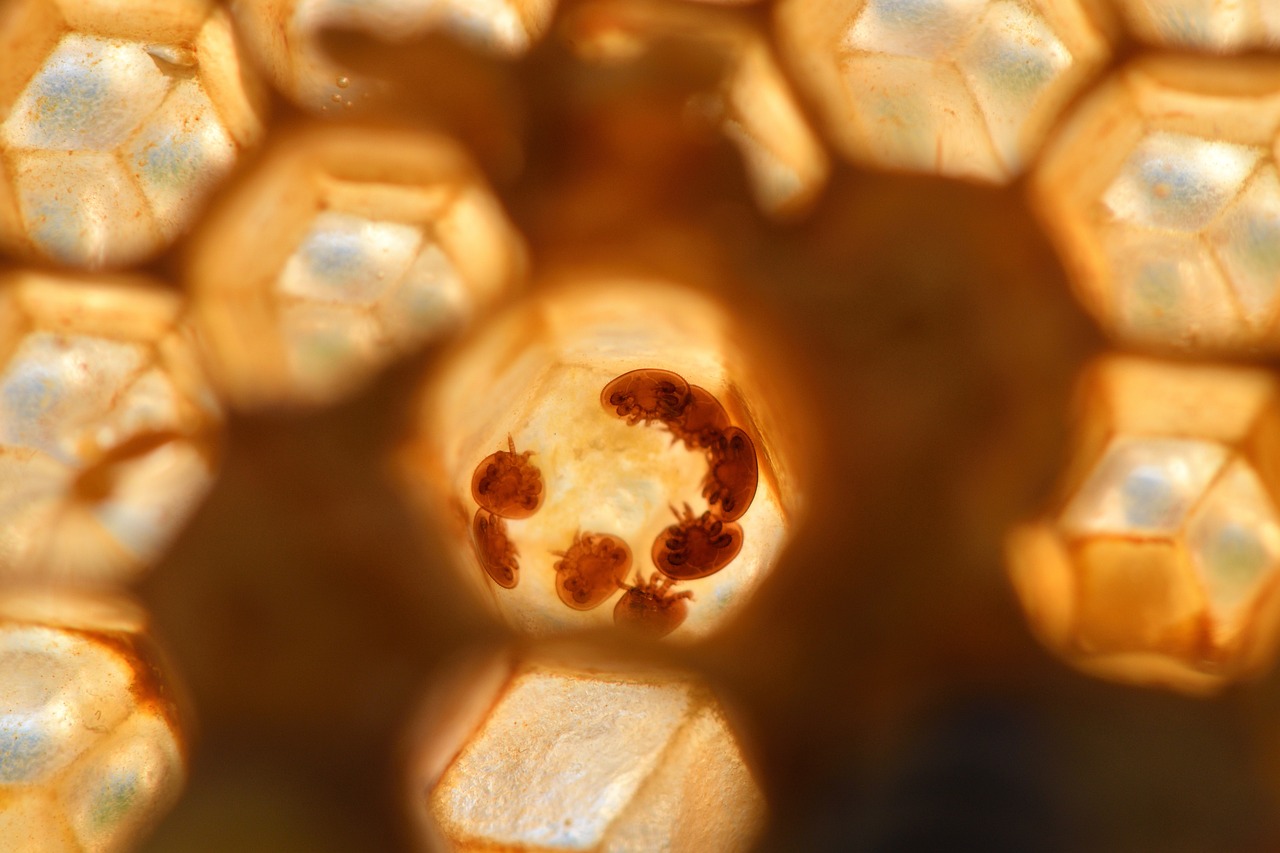
Regular hive inspections can help detect potential problems early. If you observe a sudden drop in the bees’ number of bees, it could indicate issues like Varroa mites or American Foulbrood. Early detection and remedy can ensure the long-term health and success of your colony.
Optimal Hive Conditions
Monitor the beehive conditions frequently. The temperatures within the hive should be consistently warm, and the hive should be well-ventilated. A moisture problem or drastic temperature variations can create an unhealthy environment for your bees.
Through vigilance and active monitoring, you can maintain a robust and productive hive, allowing your new queen bee and her colony to prosper.
What Do I Do If My Queen Arrives Dead?
If the queen arrives dead, DO NOT refuse her. Refusal of the shipment will result in a non-replacement of the queen. To receive a replacement queen, we require a photo of the dead queen bee.
After receiving the photo, the queen bee will be shipped on the next available shipping date. We will replace one queen free of charge. The customer will be held responsible for the full cost of the queen and shipping if a second replacement is needed.
We apologize that the queen has arrived dead. Please follow the instructions below so that we can get a replacement sent out immediately.
How to File a Claim
If your new queen bee arrives dead, promptly follow these steps to file a claim:
Step 1: Contact us within 24 hours of receipt of the queen. We will send one replacement at no charge.
Step 2: Take a photo of the dead queen bee in the queen cage and a picture of the shipping label.
Step 3: Make sure to install the dead queen bee in the beehive with BOTH corks in place. Her pheromones will keep the workers from leaving.
Step 4:Submit the photos here.
Upon completion of these steps, our team will quickly process your claim. We understand the urgency of your situation and will strive to expedite the replacement to minimize any disruptions to your beekeeping operations.
Important Tips for Claims
The following guidelines will assist you in the event that you encounter a situation with a dead queen bee.
United States Postal Service
- Report to the postal clerk upon inspection. The postal clerk will need to submit an internal PS2856 form via MYPo. You will be provided with a receipt of damage form PS3831.
- We require a photo of the queen (in the queen cage) and a photo of the PS3831 receipt to receive a replacement.
United Parcel Service (UPS)
- Report directly to Mann Lake.
- We require photos of the shipping label (tracking number must be visible), the dead queen (in the cage), and the original shipping package to receive a replacement.
Your Beekeeping Journey Begins
Thriving, productive hives are the cornerstone of successful beekeeping, and queen bees are key to such success. This step-by-step guide was created to accompany you at every step of this journey, from pre-installation preparations to beehive health monitoring.
Your dedication to understanding and following these guidelines will offer you the confidence and tools to perform a successful queen introduction. Always remember that patience and attentiveness are the best companions on this journey. Every beehive is unique and presents its own set of challenges and triumphs.
Your adventure in beekeeping is just beginning. Keep learning, stay curious, and embrace the wonderful world of bees. Happy beekeeping!