
How to Install Bees in a Hive
“What? They’re here?! But I haven’t even painted my new hive!” – Krista, Blog Writer/Minnesota Winter Survivor
Spring is finally here in the Land of Lakes and with it comes all the excitement of the outdoors minus the huge winter coat. One can finally stretch their legs and start tackling all the projects that have been previously piled under snow.
Upgrades to the Bee Yard
Now that the snow is gone, I was able to take care of some upgrades to the bee yard. After a few fence repairs, I decided that I was sick of another year mowing the lawn in the bee yard. I laid down landscaping fabric and cedar chips to combat the need for a mower. Then I lined up a rock border both under and around my electric fence. To top it all off, I switched to the Parmak Magnum Solar-Pak 12 Fencer; no more switching out the battery, the sunshine will be all I need.
As of the time of this post I still have a few more bags of cedar chips to purchase and lay down (and collect some more rocks for the border), but I think the yard is turning out both more functional and pleasing to the eye.
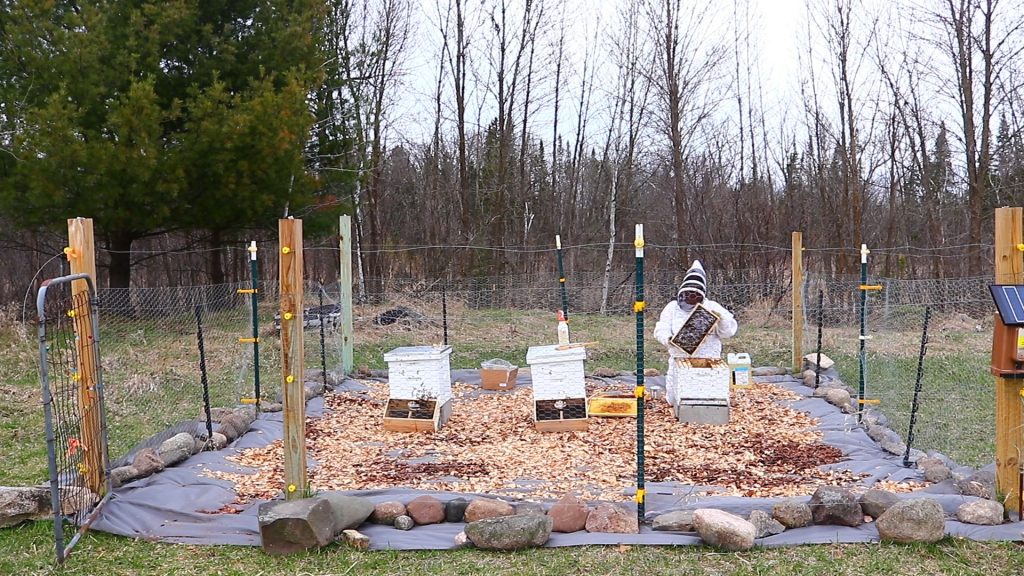
A few more rocks and wood chips added to the bee yard and she’ll be a beaut!
THE BEES ARE HERE!
Bee day snuck up on me this year. Both work and tasks on the farm had me scrambling to get ready for the big day. Unfortunately, I was unable to get any additional, creative painting done on my new hive. It was just enough to have the hives set up and all the tools ready to go, so I’m thankful I at least accomplished that. However, I can proudly say I installed three brand new packages all by myself (commence Happy Waggle Dancing)! This year I would like to introduce you to my new queens: Arya (Italian), Arwen (Carniolan), and Leia (Saskatraz); long may they reign!
I think the video of the install will be the best to explain the details. I’m excited to have the first hurdle over with. Let’s get this season going!