How To Separate Honey from Wax: A Guide for Beekeepers
TL;DR:
Beekeeping rewards you with both honey and beeswax. This guide explains how to cleanly extract wax while preserving your honey, whether you’re using traditional frames or natural combs. By following a few simple steps, you can render pure beeswax for candles, balms, and more.
- Uncap and extract honey: Remove wax cappings and spin frames in an extractor, or use the crush-and-strain method for natural combs.
- Settle honey: Let strained honey rest so wax floats to the top for easy skimming.
- Melt and render wax: Use gentle heat to melt wax cappings in simmering water.
- Clean and filter: Re-melt and strain wax through cheesecloth or coffee filters.
- Store and reuse: Pour into molds for long-lasting beeswax ready for crafts and skincare.
Beekeeping yields not only golden honey, but also precious beeswax from the same comb. Knowing how to separate honey from wax cappings empowers you to enjoy both products. Some beekeepers use beeswax for crafting homemade products like candles, salves, and cosmetics, benefiting from its natural properties.
Extracting beeswax from your honey harvest is a rewarding, straightforward process. Plus, store-bought beeswax will never give you the same satisfaction you can get from rendering your own wax straight from the comb! This is because beeswax produced at home carries an unmatched, aromatic essence that reflects your local flora.
Follow this guide to learn how to separate beeswax from honey step by step. Continue reading to discover how you can cleanly extract wax while preserving your delicious honey.
Step 1: Uncap and Extract Honey from the Comb
The extraction process starts by removing the thin wax cappings that seal each filled honey cell.
Using an uncapping knife or fork, carefully slice off this layer of beeswax. Next, place the uncapped frame into a honey extractor and spin it. The centrifugal force will fling the honey out of the comb, effectively separating most of the honey from the wax.
From there, the extracted honey drains into a collection tank or bucket. Meanwhile, the emptied comb remains in the frame. You can return these spun comb frames to your hive for the bees to refill, or set them aside if you plan to collect the wax later.
Alternative Method: Crush and Strain Comb
For honeycomb that isn’t built on reinforced frames (such as comb from a top bar hive), use the simple crush-and-strain method.
Place the pieces of honeycomb into a large bowl or bucket and crush them thoroughly using your hands or a sturdy tool. This breaks open all the wax cells and releases the honey.
Next, pour the mashed honeycomb through a fine mesh strainer or cheesecloth into another container. The strainer catches the chunks of beeswax while the raw honey filters through into the container below.
You’ll have strained liquid honey in the bucket and a batch of wax remnants set aside for the next steps.
Step 2: Let Honey Settle to Separate Remaining Wax
Depending on the technology you’re using, you can strain, settle, or filter the honey extracted from the combs. Settling honey is the simplest method, especially when cleaning honey in small quantities.
Even after straining, tiny bits of wax and other debris may be mixed into your honey. To further separate honey from wax, pour the freshly extracted honey into a clean bucket or settling tank. Let it sit for several hours.
As it rests, gravity does the work. Grit or heavy particles sink to the bottom, and lighter wax particles float to the top.
You’ll notice a thin layer of wax forming on the surface of the honey. That's because beeswax is lighter than honey. Gently skim off that top wax layer with a spoon or spatula and set it aside with your other wax.
This simple settling process makes separating honey from wax easy and avoids losing any honey. It should give you around 60% to 70% of wax. Most beekeepers render this wax to separate it from physical impurities, like larval molts, moldy pollen, or propolis.
Step 3: Melt and Render the Beeswax
To render beeswax from the honeycomb, you must melt the comb in simmering water. The first step is to wrap your pieces of honeycomb in cheesecloth. This will filter out any solids in the comb, such as pieces of honeybees.
Bring a large pot of water to a simmer, and carefully place your bundle of honeycomb inside. You may also consider using a beeswax melter to save your kitchen pots from any sticky residue.
As the comb heats up, this will melt the wax and let it seep out of the cheesecloth. Use a pair of tongs to squeeze the cheesecloth and ensure you get as much beeswax out as possible.
Once your bundle is empty, remove it and set the water aside to cool. As it does, the beeswax will float to the top of the pot and harden.
Beeswax melts at a relatively low temperature, so use gentle heat. Remember that wax will solidify as it cools and can be brittle once hard.
Step 4: Clean and Filter the Wax
After harvesting the beeswax, you’ll likely see a lot of dirt, dead bees, food waste, or cocoons in the wax. You might have to clean the wax depending on what you want to use the beeswax for.
You can melt the wax and remove any debris by scooping it out to do this. Once the water and beeswax are completely cool, you can remove the top layer of wax from the pan.
Another way to do this is to wrap the wax in a fresh cheesecloth and repeat the melting process. You can also use a coffee filter to catch even more debris and create a cleaner batch of wax.
You can opt to do additional cleanings using a double boiler. A word of warning: beeswax is flammable. Stay in the kitchen during the cleanings and inspect your wax for smoke or burning.
Step 6: Pour and Store Your Beeswax
While the wax is still liquid, pour it into molds or disposable trays to cool. Simply pour the wax into a shallow pan to create an easy-to-store block. Alternatively, you can use silicone molds to make fun shapes.
Allow the beeswax to cool at room temperature until it hardens completely. This could take a couple of hours, depending on the volume. Once solid, pop the wax out of the mold or cut it out of the tray. Your beeswax is now ready to use or store!
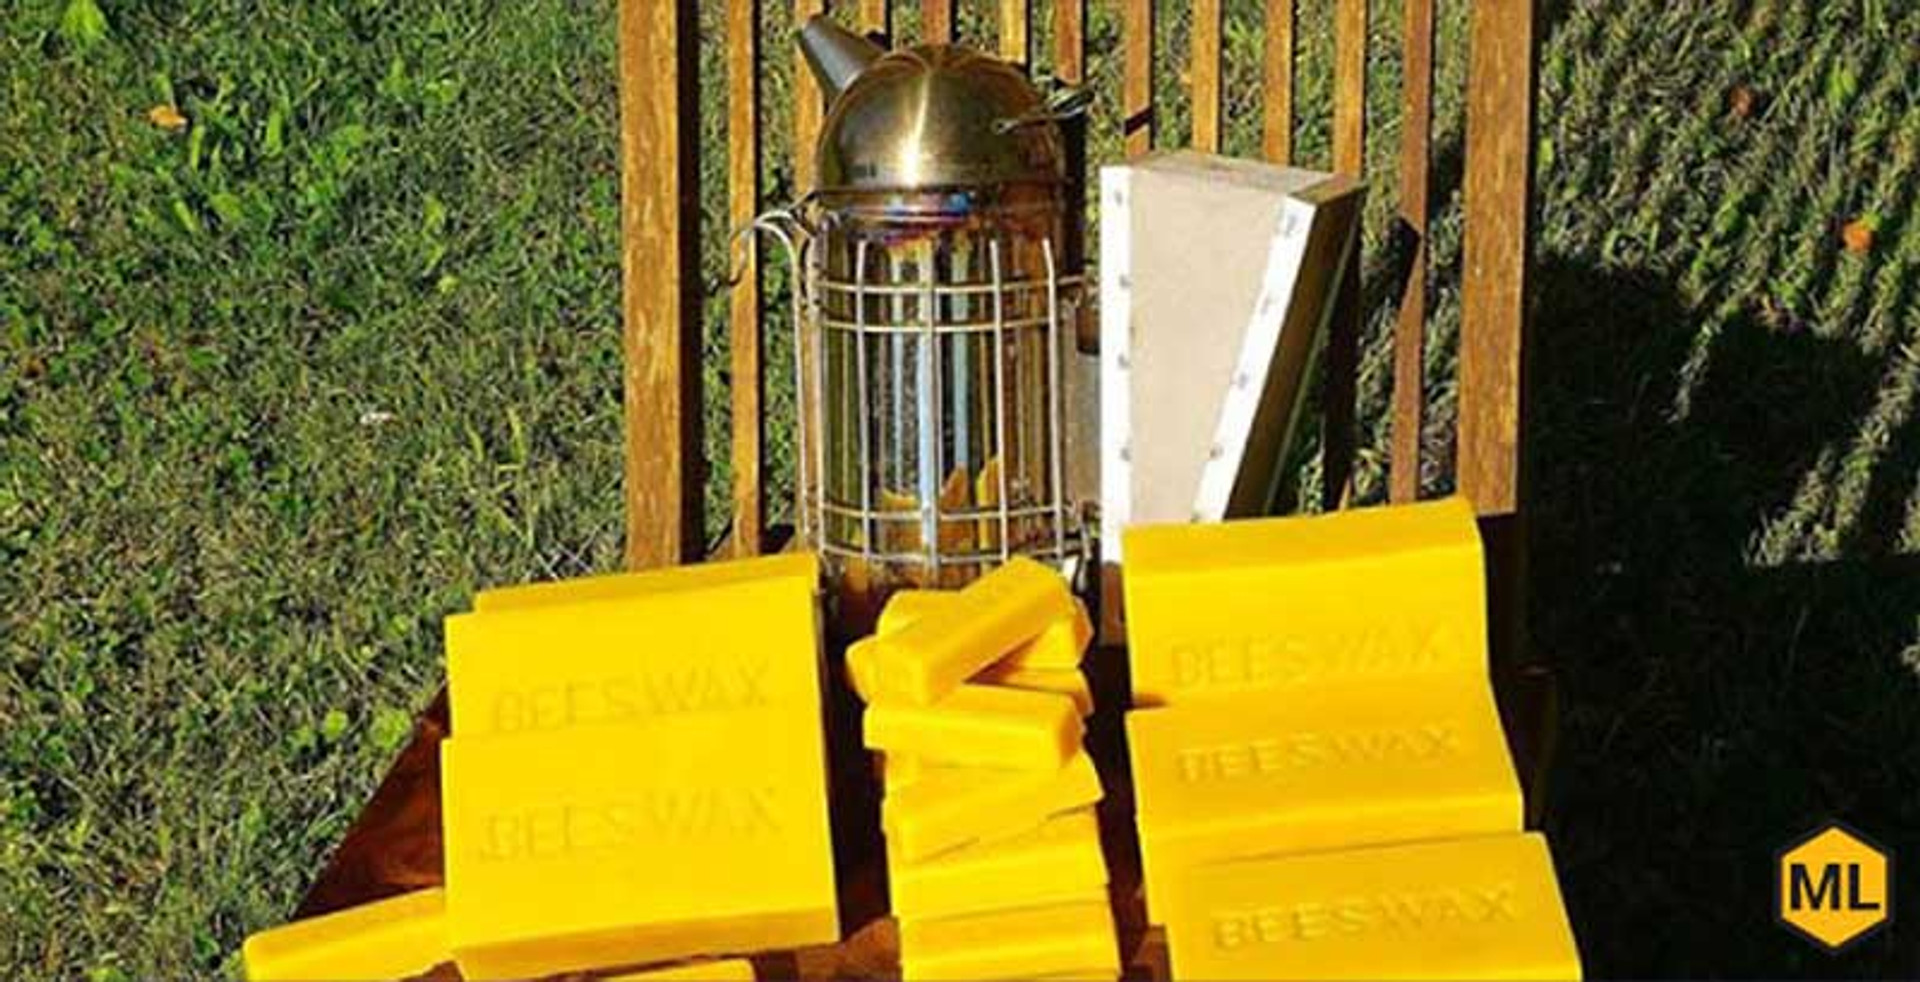
To store the wax, keep the blocks in a cool, dry place. Consider wrapping them in parchment paper or keeping them in a sealed container. Properly rendered beeswax can last for years without spoiling!
Uses for Beeswax
Once the beeswax is to your satisfaction, you can use the wax in many different ways.
Some people make home products, such as candles or furniture polish, out of their beeswax. Others create luxurious health and beauty products. The natural moisturizing properties of beeswax make it a fantastic ingredient for body butter and lip balm.
The most common uses include the following:
- Candle Making: Beeswax can be melted and poured into candle molds to create all-natural candles. Beeswax candles burn cleaner than typical paraffin candles. They give off a pleasant honey aroma that can help deodorize your space.
- DIY Skincare and Cosmetics: Beeswax is a prized ingredient in lip balms, lotions, salves, and soaps. It acts as a natural thickener and moisturizer, sealing in hydration. Thanks to vitamin A and its anti-inflammatory properties, beeswax-based creams can soothe and protect the skin.
- Wood Polish: Mix beeswax with a little mineral oil or olive oil to create a homemade furniture polish. Rubbing this balm onto wooden furniture nourishes the wood, protects it from moisture, and gives it a satiny shine. Unlike chemical polishes, pure beeswax won’t alter the wood’s color and leaves a natural finish.
- Food Wraps: You can infuse beeswax into cotton cloth to make reusable food wraps. They're an eco-friendly alternative to plastic wrap. The beeswax-coated fabric is flexible and tacky, perfect for wrapping sandwiches or covering bowls. It’s washable and reusable for months.
- Home Remedies: Thanks to its antiseptic and soothing qualities, beeswax appears in many home remedy balms. For instance, a mixture of beeswax, honey, and olive oil can be applied to minor burns or rashes. The mixture will protect the skin and promote healing.
- Health Supplements: Surprisingly, components of beeswax may benefit health when taken internally in safe, prepared supplements. Research shows that very long-chain alcohols found in beeswax can help lower LDL “bad” cholesterol by 21–29%. They can even raise HDL “good” cholesterol by 8–15%. Another study found that a daily dose of beeswax alcohols significantly reduced pain and stiffness in people with osteoarthritis.
Frequently Asked Questions
How do you separate honey from wax using heat?
You can separate honey from wax by gently melting the wax. Place your wax cappings or crushed comb in a pot of water (or use a double boiler) over low heat. As the mixture warms, the beeswax melts and rises to the top of the water, separating from the honey. Once it cools, the wax will harden into a cake you can lift off.
What temperature do you separate wax from honey?
Beeswax melts at about 62–64 °C (144–147 °F). Aim to heat your honeycomb or cappings around or just above this range to melt the wax. It’s best not to exceed roughly 85 °C (185 °F) because beeswax can discolor at high heat. In practice, a gentle simmer (around 150 °F) is sufficient to separate wax from honey without scorching either.
How long does it take for beeswax to separate from honey?
It depends on the method. If you’re letting honey and wax sit at room temperature (gravity separation), expect to wait several hours. It may take up to a full day for the wax to float to the top and the honey to settle.
If you use heat to melt the wax, the separation happens more quickly. The wax separates as soon as it melts and then cools within a few hours.
What should I do with leftover honeycomb wax?
Leftover honeycomb wax can be rendered and reused. Simply gather all the wax remnants and melt them down as described in the steps above. Once you have cleaned beeswax, you can pour it into molds and save it. This wax can then be used for making candles, balms, salves, polish, and all sorts of crafts.
Experience the Benefits of Beeswax
Beekeeping allows you to have an exciting new hobby and contributes positively to your local ecosystem. By producing pure beeswax, you take a step toward sustainable living. You’ll be reducing your reliance on store-bought products often packaged in non-eco-friendly materials.
Plus, there’s something truly special about utilizing beeswax that’s uniquely yours. The fragrance and texture are incomparable to anything you’d find in the stores.
Extract with confidence. Browse our honey extraction equipment and get your harvest started right.