Installing Honey Bee Packages & Nucs
Installing Honey Bee Packages and Nucs
TL;DR: This chapter provides a complete breakdown of how to successfully install both honey bee packages and nucleus colonies (nucs). It explains the differences between the two, outlines the preparation required before bees arrive, and delivers step-by-step installation methods, aftercare guidelines, cold-weather considerations, and key troubleshooting FAQs.
- Bee packages contain loose bees and a caged queen, while nucs arrive as a functioning mini-colony with brood and drawn comb
- Proper pre-installation prep, like equipment setup, feeding plans, and safe storage, is essential for both packages and nucs
- Installing a package requires introducing the queen gradually, while nuc installation focuses on transferring established frames
- After installation, heavy feeding and careful monitoring support colony growth, regardless of colony type
- Cold-weather handling, queen-release checks, and early brood inspection are critical for confirming a successful installation
Installing a honey bee package or nucleus colony (nuc) can be a quick and rewarding process for new beekeepers. However, we realize that the process can also feel intimidating, especially if it’s your first time.
In this chapter, we’ll share complete instructions to ensure you and your honey bees are ready for the big moment. You’ll learn the difference between packages and nucs, plus get tips for choosing one or the other. Then, once you’ve decided, read on to get the step-by-step scoop on what to do before your bees arrive, during installation, and steps to take after they’re installed.
What Is a Bee Package?
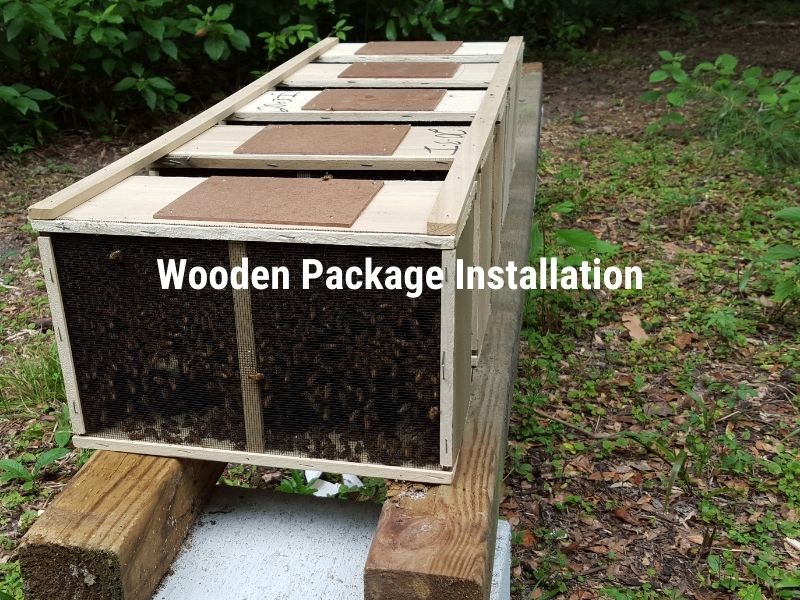
A bee package is one of the most common ways for beginners to start a new colony. A standard package includes:
- 2 to 3 pounds of worker bees
- A caged, mated queen
- A feed can
All of that will arrive within a screened wooden or plastic box. Because the queen is not originally from the same colony, the bees need a short adjustment period to accept her.
Package bees build their hive from the ground up. They must draw out comb, raise brood, and establish their population before the colony can grow. With the right early support, a package gives new beekeepers an excellent opportunity to learn the full colony-building process from the very beginning.
What Is a Bee Nuc?
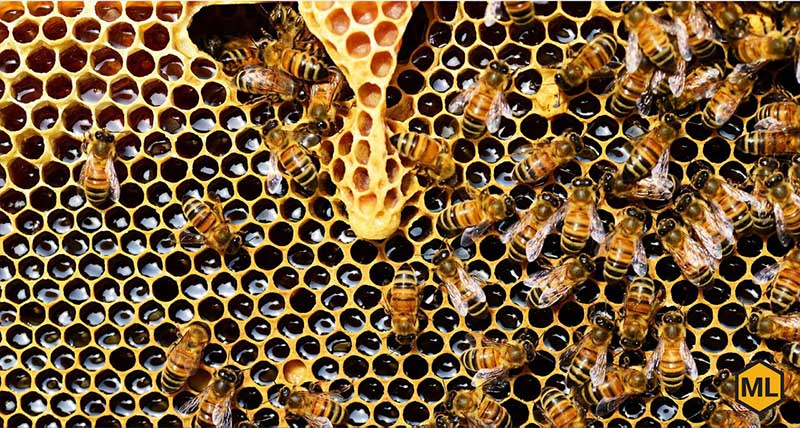
A bee nuc (short for nucleus colony) is similar to a bee package. Essentially, it’s a small starter hive that already functions as a miniature colony. While packages begin as loose bees in a box, nucs come with fully built comb and active brood.
A standard nuc includes:
- A laying queen already accepted by the colony
- 3 to 5 frames containing brood, honey, pollen, and drawn comb
- An established population of workers, nurse bees, and drones
Nucs typically grow more quickly than package bees. This makes them a popular choice for beekeepers in cooler climates. They are also a great choice for anyone who wants a strong, fast-developing colony from day one.
Bee Nuc vs. Package: Which Should You Choose?
Both bee packages and nucs can establish strong, healthy colonies. The best choice generally depends on your experience level and, occasionally, your local climate.
Consider Choosing a Bee Package If:
- You want the most affordable option
- You want to observe and learn each stage of colony development
- You live in a warm climate with a long nectar season
- You don’t mind feeding heavily during the first weeks
Consider Choosing a Bee Nuc If:
- You want a faster-growing colony
- You live in an area with late springs, cold weather, or short nectar flows
- You prefer a head start with drawn comb and active brood
- You want a queen that is already accepted and laying
Packages are ideal for learning. Nucs are ideal for speed and strength. Both can be successful when installed correctly and given proper care.
Pre-Installation Prep
Whether you’re installing a honey bee package or a bee nuc, the hive setup process is the same. Everything should be assembled and in place before bees arrive.
Ensure you're ready for your bees by giving yourself plenty of time to prepare. Assemble, paint, and position all equipment in the bee yard before your bee packages arrive. This includes the hive stand, hive body, frames, a bottom board, and the bees’ feeder. All these items should be installed and ready to go.
If you’ve never put together a hive before, the pre-installation prep is a great time to check and double-check your hive equipment to ensure the space is safe for your bees. For nuc installations, make sure you remove only the number of empty frames needed to make room for the nuc’s 3 to 5 existing frames.
Because nucs contain brood, they should be installed as soon as possible after pickup or delivery. If you must wait, keep the nuc shaded and well-ventilated to prevent overheating.
Hive Equipment Necessary to Install Package Bees and Nucs
As you prepare the area for a new colony, here’s the beekeeping equipment you’ll need at the ready.
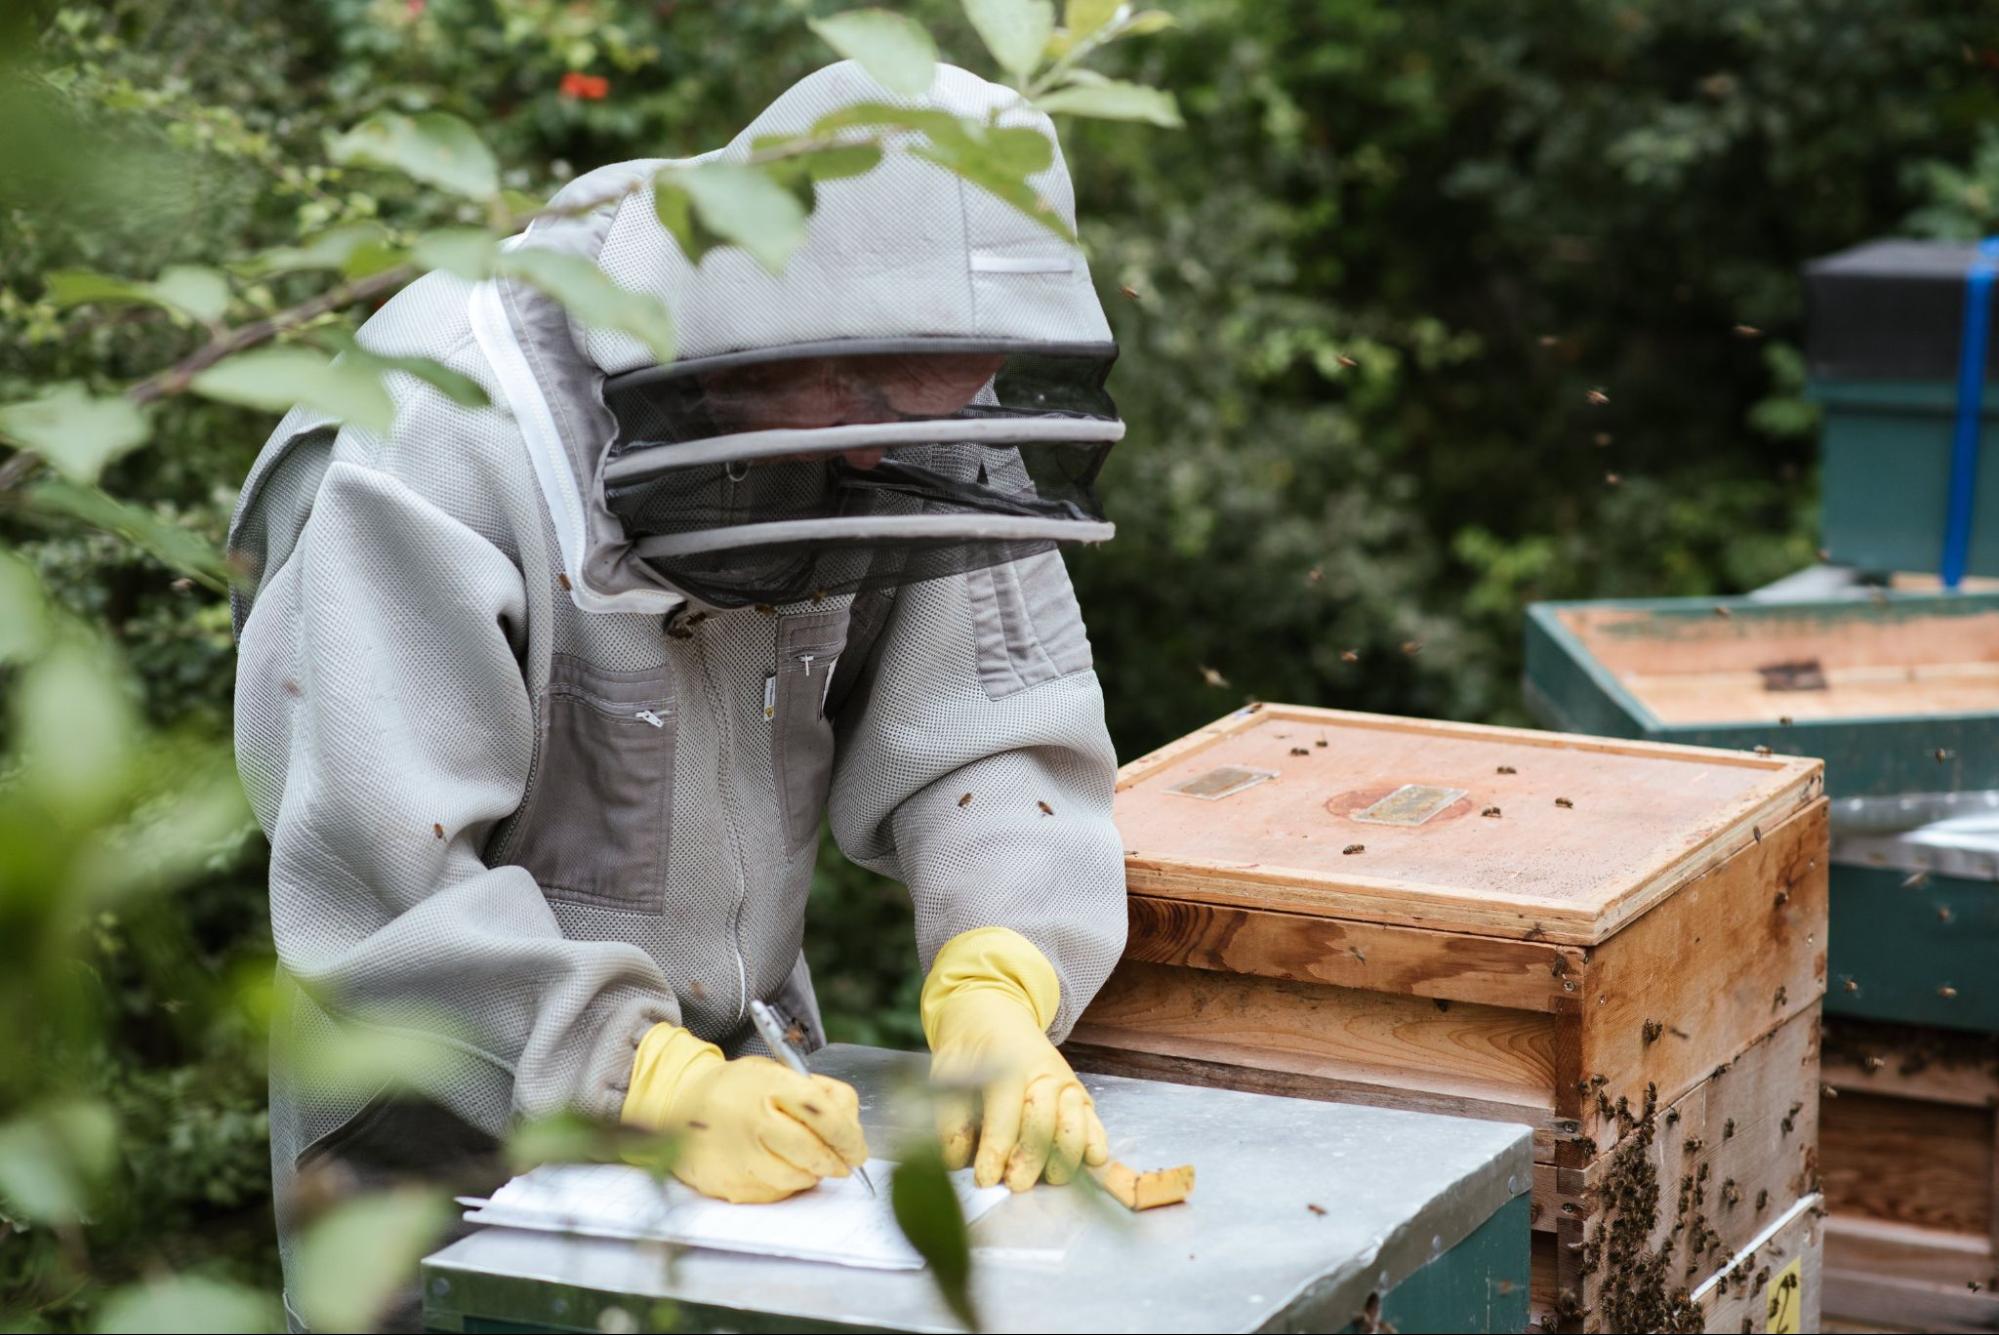
- Protective gear, including a bee suit or jacket, gloves, hat, and veil
- A hive tool, your best friend in beekeeping
If you're installing a bee nuc, you’ll also need:
- Space in the hive for the nuc’s 3 to 5 frames
- A strap or ratchet tie
- A nuc box or transfer box (if your nuc arrives in a returnable or temporary box)
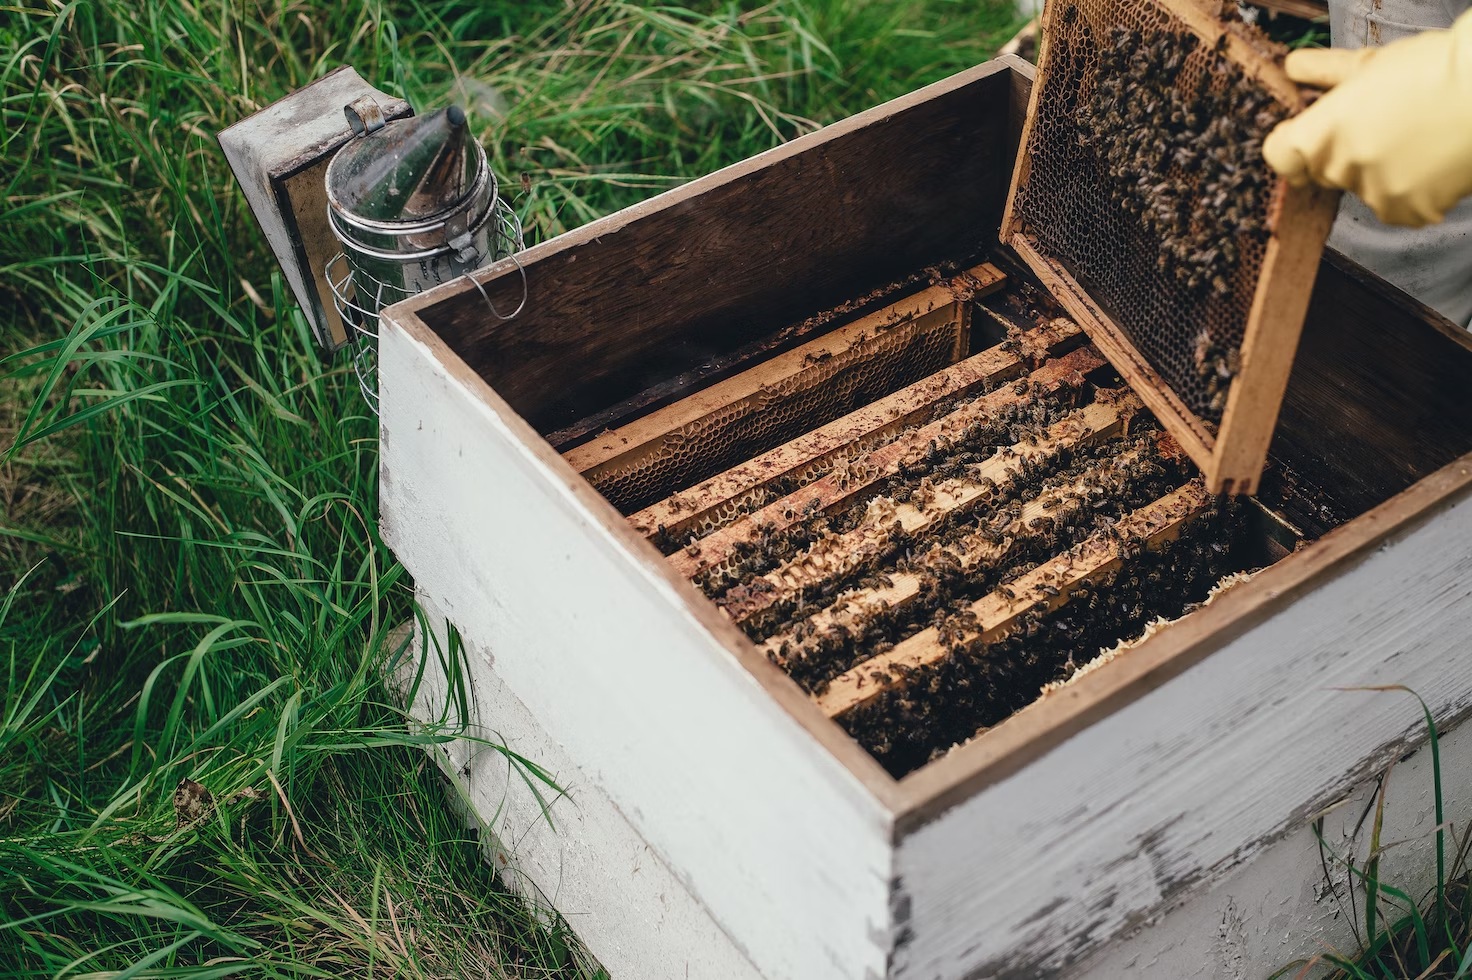
- A smoker
- Extra feeder capacity, since nucs often build up faster
Caring for Your Package Bees Before Installation
Once you receive your bees, installing them as soon as possible is critical. However, if you will be filing a claim on shipped package bees, you must take photos prior to installation.
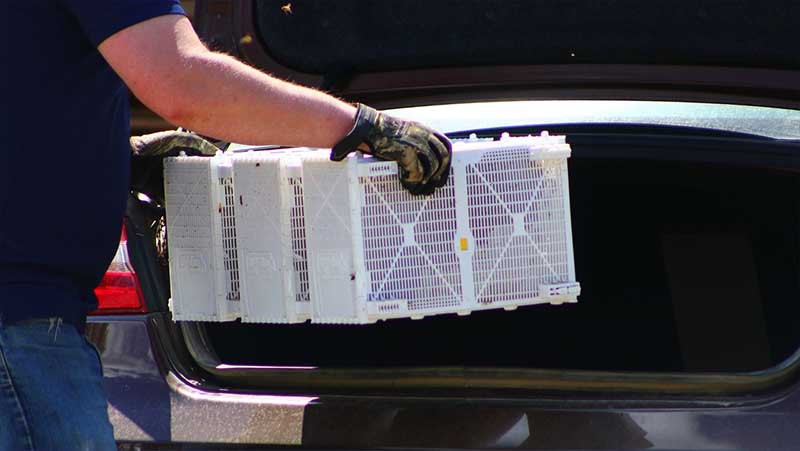
If you plan to transport your bees, make sure they are strapped securely and NOT covered in a blanket or winter wrap. The bees will overheat quickly, which can be dangerous to the colony’s health.
If you are unable to install your bees right away, keep them in a dark, quiet place, preferably around 50°F to 70°F. Do not chill or overheat your bees.
Feed your bees by generously spraying or brushing Pro-Sweet, a 1:1 water/sugar syrup, or 1:1 water/high fructose corn syrup mix on the screen sides three to four times a day.
How to Install a Bee Package
Installing your package bees right away gives the colony the best chance of survival. Make sure the bees have access to sugar syrup multiple times throughout the day to keep them well-fed and calm.
Follow the instructions below or print our instructions guide.
Step 1: Put on your protective clothing.
As a new beekeeper, safety is essential. Review Chapter 2: Essential Beekeeping Equipment: Beginner’s Gear, if you’re unsure where to start.
Step 2: Start Your Hive with Only One Hive Body
Remove four to five frames from the center of the hive and set them aside. Place the entrance reducer on the smallest opening as the exit. Keep the entrance reducer in place until the colony is well established. This generally takes a week.
Step 3: Separate the Packages
If you received more than one package, cut any zip ties connecting the packages, then separate them by pushing them apart where they are connected. Always work one package at a time.
Then, remove the cover of the can using a hive tool.
Step 4: Remove the Feed Can and the Queen’s Cage
The following steps must be done relatively quickly to remove the queen cage from the package and prevent bees from escaping.
- Lightly mist the bees in packages with sugar water using the all-purpose sprayer. Skip this step if installing when the weather is below 40°F.
- Tap the package of bees on the ground lightly to drop bees to the bottom of the package.
- Remove the feed can and set it aside.
- Remove the queen cage and store it in a safe space out of the wind and cold (if your queen is dead, please contact us within 24 hours). We recommend installing the queen cage. The deceased queen's pheromones are still present and will help prevent absconding.
Step 5: Install the Package Bees
- Pop open the tabs at the end of the package to open the door. This might prove difficult; we suggest placing a hive tool under the tab and prying it open.
- Flip the package so the open door is over the hive.
- Rock the package back and forth while tapping the bottom and sides of the package, dumping the bees into the opening created by the frames you removed. Note: Most of the bees will fall out during the process.
- Place the near-empty package at the hive opening. Any remaining bees will enter the hive.
Step 6: Replace the Frames
Replace three or four frames in the center of the hive, being cautious to avoid squishing any bees. Leave one frame out of the center of the hive to allow enough space to install the queen bee. Install the queen cage and use the appropriate method below based on the specific cage:
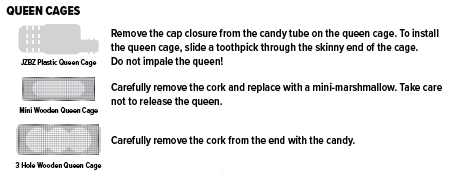
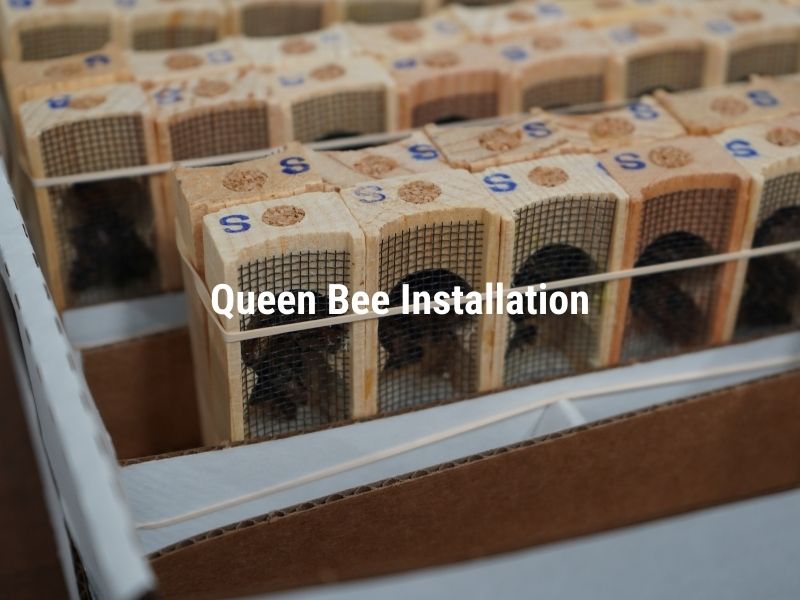
Step 7: Add the Queen Cage
Attach and suspend the queen cage between the middle two frames so that it will not fall. Make sure you’ve faced the screens towards the front of the colony. Add a pollen substitute patty, like Ultra Bee, and fill your feeder with syrup. Then,
place the inner cover and outer cover over the hive.
Step 8: Feed the Bees
See “Care After Installation of Package Bees.”
Step 9: Attend to the Queen
Three to five days after installing your package bees, check on the queen to make sure that she has been released from her cage.
If the queen has not yet been released by the fifth day, manually release her by holding the queen cage close to the hive and using the hive tool to pull back the plastic tab, allowing the queen to walk out of the cage and onto the frame.
As the queen assimilates into the hive, we recommend marking her using a safe marker so you can always spot her in the hive. Queen markers make it easy to locate the queen and keep track of her age. Once the queen is released into the hive, replace the frame in the center that was removed for spacing purposes during installation.
**Be sure to re-check the queen in 10 to 14 days to ensure you can see eggs and larvae in the hive. If no eggs or larvae are present in the hive, fill out a claim on our website. Report your claim within 14 days of receiving your queen to honor our queen guarantee.
Caring for a Bee Nuc Before Installation
If you’re installing a bee nuc rather than a package, your pre-installation steps will look different. Unlike package bees, a nuc contains several frames of brood, food stores, and an actively laying queen. Because the colony is already established, nucs should be installed as soon as possible after pickup.
Keep the nuc in a cool, shaded area until installation. Avoid direct sunlight because nucs can overheat quickly, especially during transport. Unlike package bees, nucs do not need to be sprayed with sugar syrup, as they already have resources inside the frames.
Keep the entrance screened or closed, but make sure the bees have good ventilation. Try not to store a nuc indoors unless it’s in a well-ventilated garage or outbuilding, since airflow is essential to prevent overheating.
Whenever possible, install your nuc within 24 hours. In very hot weather, you may need to install it immediately to prevent comb collapse or stress on the brood.
How to Install a Nucleus Colony
Installing a nuc is simpler than installing a package because the bees already function as an established colony. Still, careful handling ensures a smooth transition:
Step 1: Prepare the Hive
Set up your hive with a single deep box and 5 to 10 frames. Remove the number of frames that matches the nuc (usually 3, 4, or 5).
Step 2: Open and Inspect the Nuc
Gently remove the lid and check the frames for the queen, brood, and food stores. Avoid shaking or jarring the bees.
Step 3: Transfer Frames in Order
Move each frame from the nuc box into your hive in the exact same order and orientation. This preserves brood patterns and prevents chilling.
Step 4: Shake Remaining Bees Into the Hive
After transferring the frames, gently shake or brush the remaining bees into the hive entrance or over the open box.
Step 5: Close the Hive and Provide Feed
Replace the missing frames, install the inner and outer covers, and provide light syrup feeding for the first week while the colony adjusts.
Step 6: Check Back in a Few Days
Look for eggs, brood, and queen activity. Most nucs settle quickly, but a follow-up inspection ensures the colony is growing as expected.
Post-Installation: Caring for Your Honey Bees
Feed your bees heavily until the colony is well established (at least the first three weeks) using Pro-Sweet liquid feed or a 1:1 sugar ratio water mix.
If using sugar water, consider adding a stimulant such as ProHealth, which prevents fermentation and is easily mixed with sugar water. Do not add a second deep or supers until bees have drawn out 7 of 10 frames. We recommend using an in-hive Pro Feeder to ensure bees have access to feed no matter the temperature.
If you installed a package, consistent feeding is especially important. After all, the colony begins with no drawn comb or stored food. A steady supply of syrup helps them build comb quickly so the queen can start laying.
If you installed a nuc, feeding is still beneficial. Even though nucs arrive with brood, food stores, and drawn comb, providing syrup supports expansion. It also prevents early stress on the queen and developing brood.
Tips for Cold Weather Bee Package Installation
If the weather is too cold to hive your bees (under 40°F), here are some tips to keep them warm and healthy until you can safely install them.
- Place your package of bees in a dark, cool area (garage, basement, etc.) The ideal temperature should be 50°F to 70°F.
- Once inside, try not to break the cluster.
- Apply a light mist of sugar water to the screens of your package twice a day.
- Try to install your bees as soon as possible.
Learn more about how to care for a beehive in the winter.
H3: Tips for Cold Weather Nuc Installation
When temperatures drop, nucs require extra care. Because they contain brood and drawn comb, they are more sensitive to temperature fluctuations than package bees. Use the following guidelines to keep your nuc healthy until you can safely install it.
- Never spray nucs with sugar syrup, since they already contain food stores and developing brood.
- Keep the nuc in a cool, shaded, well-ventilated area. Direct sunlight can quickly overheat the colony inside the confined box.
- Avoid storing the nuc indoors in heated spaces; a ventilated garage or sheltered outbuilding is ideal.
- Maintain airflow at all times. Keep the entrance screened or partially closed during transport but ensure ventilation holes remain open.
- Install the nuc as soon as possible, ideally within 24 hours, to prevent chilling, comb collapse, or stress to the brood.
FAQs: Installing Honey Bees
Below are answers to the most common questions new beekeepers ask when installing package bees and nucs.
What time of day should I install my bees?
Package bees should be installed in the hive in the late afternoon or early evening on a day with mild weather. If it’s drizzling or cold, installing the bees is generally still safe, but if temperatures drop below 40°F, we recommend waiting for a warmer day.
How long can I delay the installation of my bees?
Opinions differ on this, but generally speaking, you should install your bees within 48 hours of receiving them. Ensure the bees are consistently fed and in a comfortable, quiet space while waiting for the hive to be ready. Happy, well-fed honey bees are much easier to install.
Why does the queen need to stay in her queen cage after installation?
Bees take time to grow accustomed to the queen, and they initially treat her as an intruder. The queen cage keeps her safe while the worker bees adjust to her presence and pheromones, preventing them from stinging her to death or otherwise harming her.
How Long Does It Take a Bee Package or Nuc to Settle Into the Hive?
Most package bees settle within a few days after the queen is released. A nuc stabilizes even faster because it already contains brood and drawn comb. In both cases, you should see eggs and larvae within one to two weeks. If not, it may indicate queen issues that require intervention.
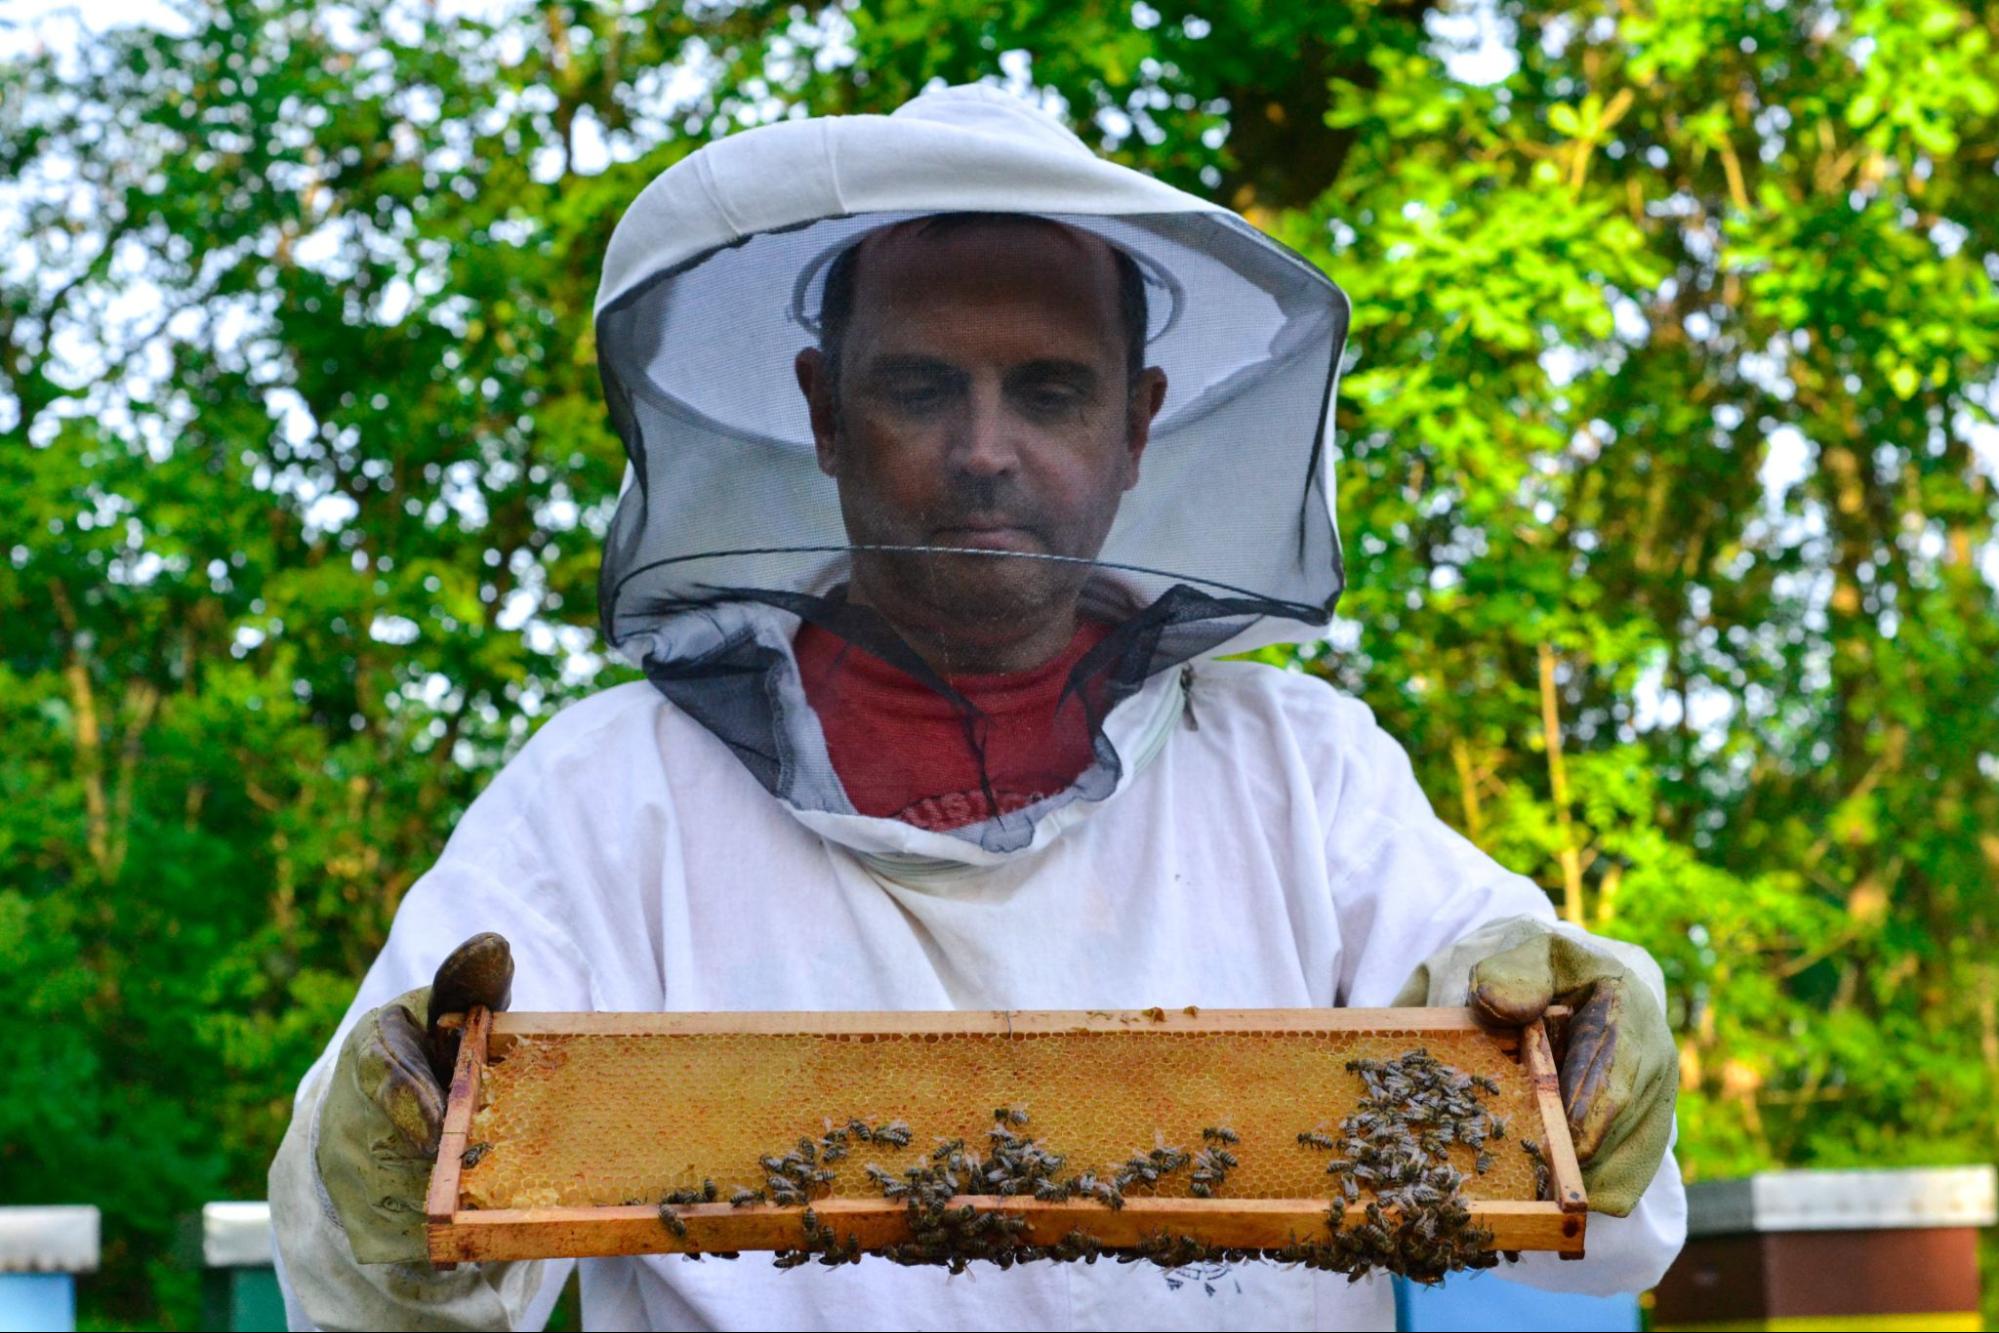
How Do I Know if My Bee Package or Nuc Installation Was Successful?
A successful installation shows calm bee behavior, steady traffic at the entrance, and bees beginning to draw comb. Within 7 to 14 days, you should see eggs, larvae, and expanding brood patterns. New comb, increased bee activity, and growing food stores are all signs the colony is settling well.
The Final Buzz on Bee Installation
Installing a new colony is one of the most exciting and rewarding parts of beekeeping, but it has unique challenges for any beekeeper. The best thing you can do is to be as prepared as possible with the right equipment and tools to ensure a smooth installation.
There might be mishaps or mistakes made, but you will learn from those and become a better beekeeper in the process.
Now that your bees are safely installed, it’s time to make sure they’re well-fed. Learn the best ways to feed your new bee colony in our next guide.
Shop honey bee packages & nucs today!