The Best Way to Install Package Honey Bees
Installing honey bees into their new hive can be a quick and rewarding process for new beekeepers and seasoned professionals. Whether you’re preparing for your first colony or you’ve been at it for years, the installation process is unique every time.
Follow these instructions to ensure you and your honey bees are ready for the big moment.
Pre-Installation Prep
Ensure you're ready for your bees by giving yourself plenty of time to prepare. Assemble, paint, and position all equipment in the bee yard before your bee packages arrive. This includes the hive stand, hive body, frames, a screened bottom, and the bees’ feeder. All these items should be installed and ready to go.
If you’ve never put together a hive before, the pre-installation prep is a great time to check and double-check your hive equipment to ensure the space is safe for your bees.
Hive Equipment Necessary to Install Package Bees
As you prepare the area for a new colony, here’s the beekeeping equipment you’ll need at the ready.
- Protective gear, including a bee suit or jacket, gloves, hat, and veil
- A hive tool, your best friend in beekeeping
- Bee feed and pollen substitute
- A sharp tool to remove the queen from the queen cage
Caring for Your Bees Before Installation
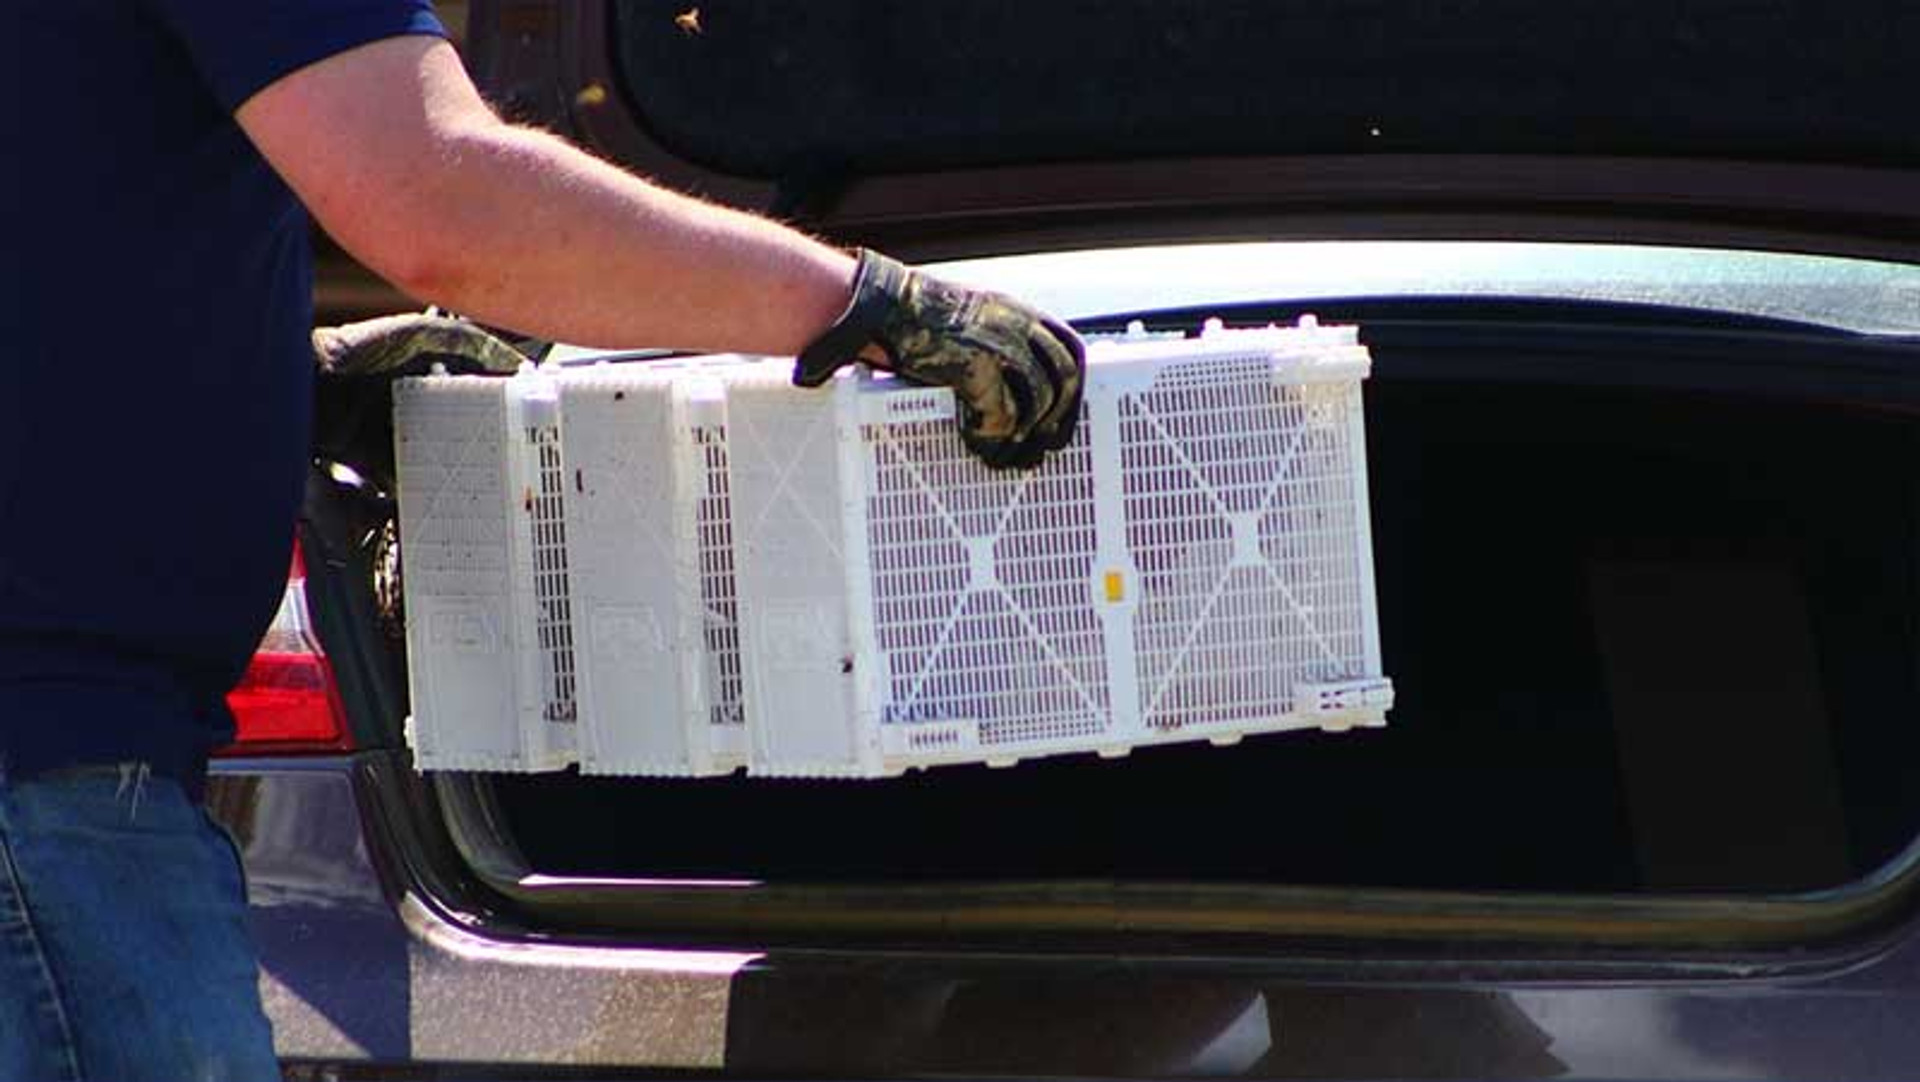
Once you receive your bees, installing them as soon as possible is critical, however if you will be filing a claim on shipped package bees, you must take photos prior to installation. If you plan to transport your bees, make sure they are strapped securely and NOT covered in a blanket or winter wrap. The bees will overheat quickly, which can be dangerous to the colony’s health.
If you are unable to install your bees right away, keep them in a dark, quiet place, preferably around 50°F to 70°F. Do not chill or overheat your bees.
Feed your bees by generously spraying or brushing Pro-Sweet, a 1:1 water/sugar syrup, or 1:1 water/high fructose corn syrup mix on the screen sides three to four times a day.
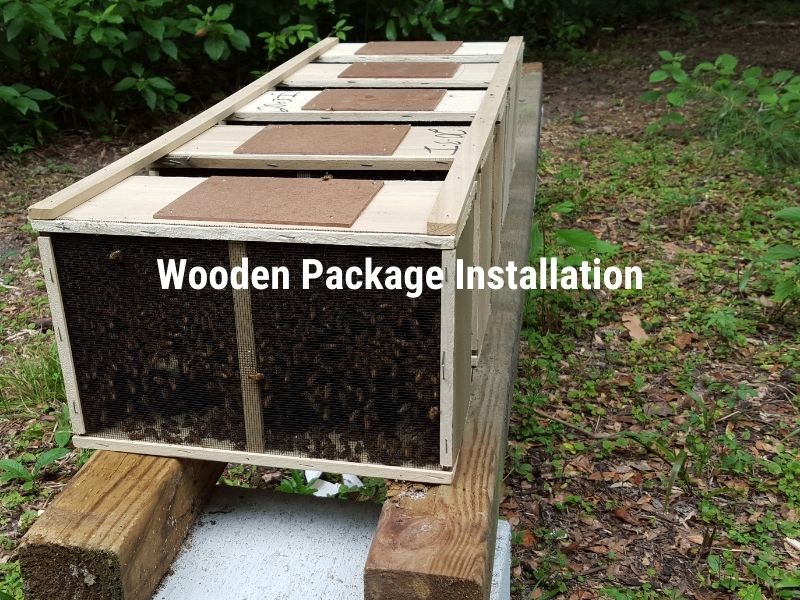
Plastic Cage Package Bee Installation Instructions
Follow the instructions below or print our instructions guide.
Installing your bees right away gives the colony the best chance of survival. Make sure the bees have access to sugar syrup multiple times throughout the day to keep them well-fed and calm.
Here are the instructions for installing bees:
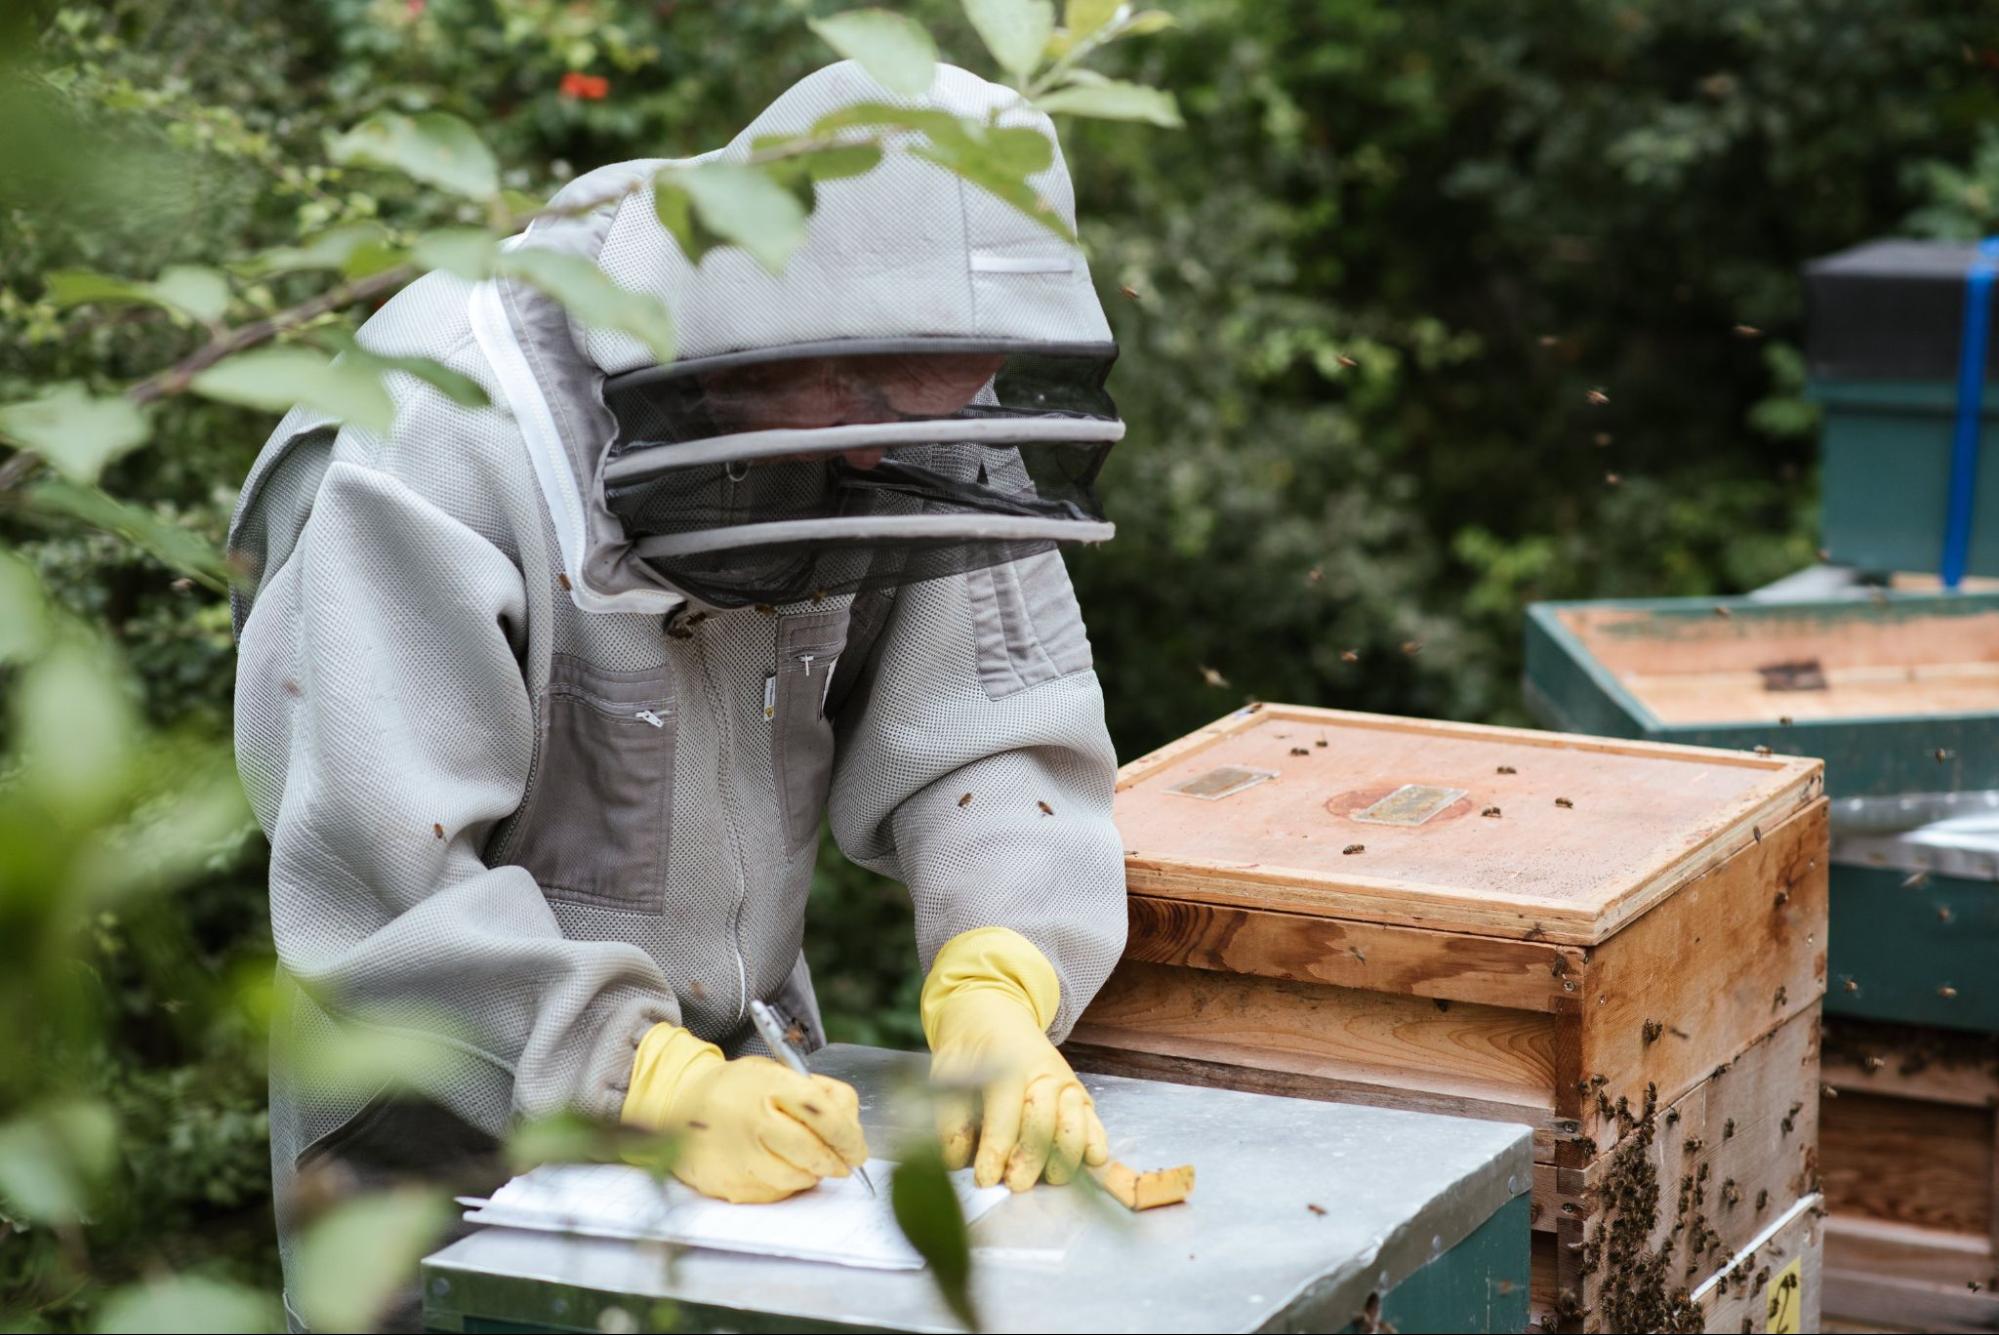
Step 1: Put on your protective clothing.
Step 2: Start your hive with only one hive body. Remove four to five frames from the center of the hive and set it aside. Place the entrance reducer on the smallest opening as the exit. (Keep the entrance reducer in place until the colony is well established—this generally takes a week).
Step 3: If you received more than one package, cut any zip ties connecting the packages, then separate them by pushing them apart where they are connected. Always work one package at a time.
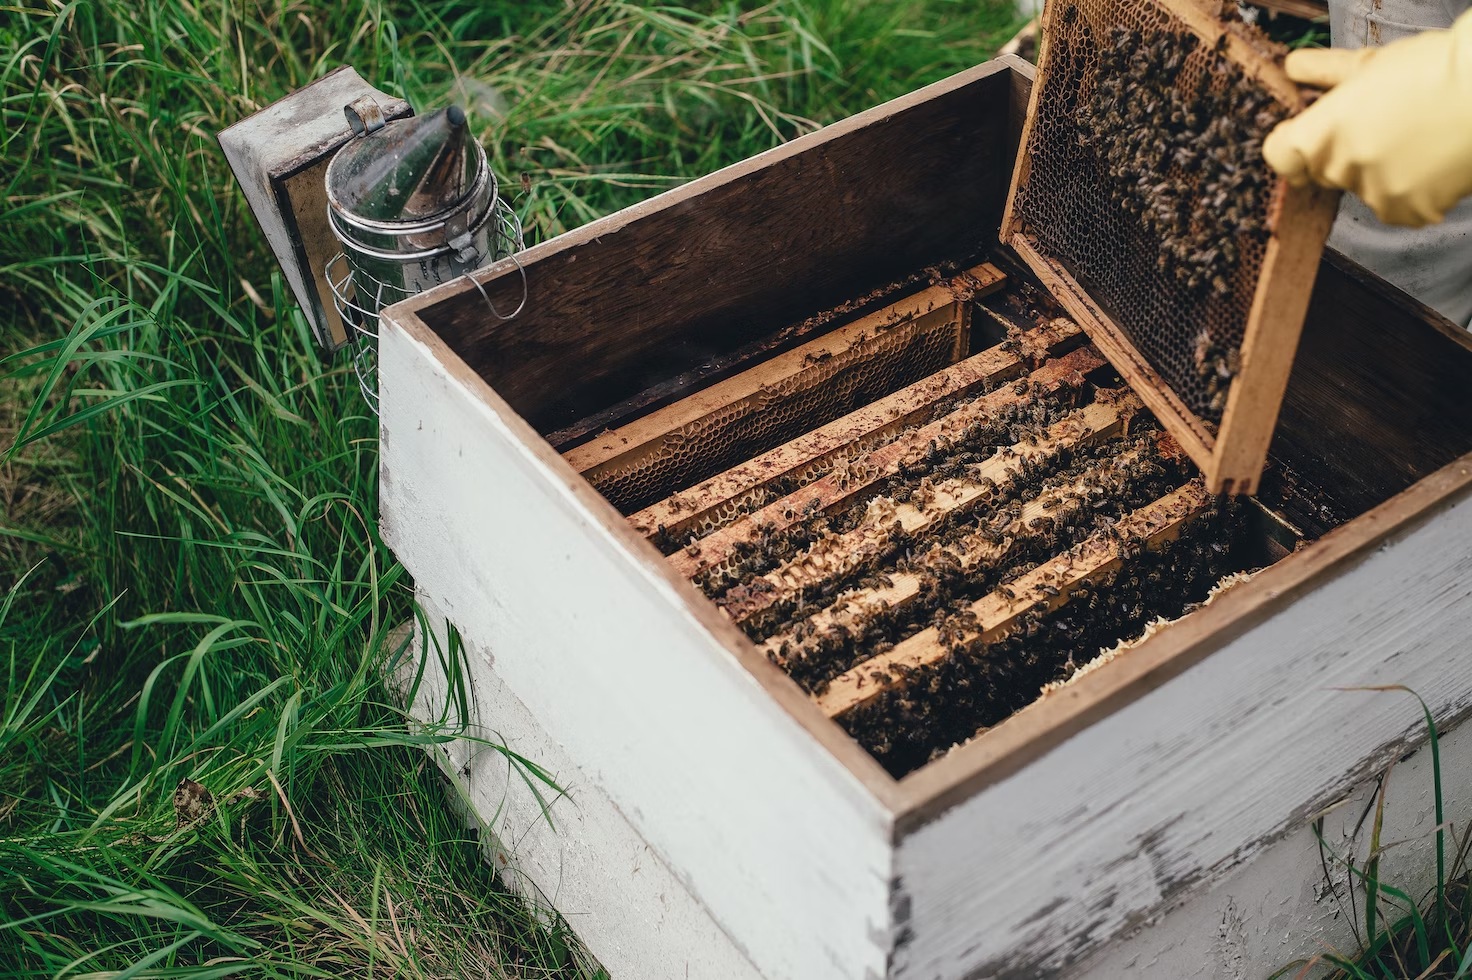
Step 4: Remove the cover of the can using a hive tool.
Step 5: Remove the feed can and the queen’s cage. The following steps must be done relatively quickly to remove the queen cage from the package and prevent bees from escaping.
- Lightly mist the bees in packages with sugar water using the all-purpose sprayer. Skip this step if installing when the weather is below 40°F.
- Tap the package of bees on the ground lightly to drop bees to the bottom of the package.
- Remove the feed can and set it aside.
- Remove the queen cage and store it in a safe space out of the wind and cold (if your queen is dead, please contact us within 24 hours). We recommend installing the queen cage. The deceased queen's pheromones are still present and will help prevent absconding.
Step 6: Install the package bees.
- Pop open the tabs at the end of the package to open the door. This might prove difficult; we suggest placing a hive tool under the tab and prying it open.
- Flip the package so the open door is over the hive.
- Rock the package back and forth while tapping the bottom and sides of the package, dumping the bees into the opening created by the frames you removed. Note: Most of the bees will fall out during the process.
- Place the near-empty package at the hive opening. Any remaining bees will enter the hive.
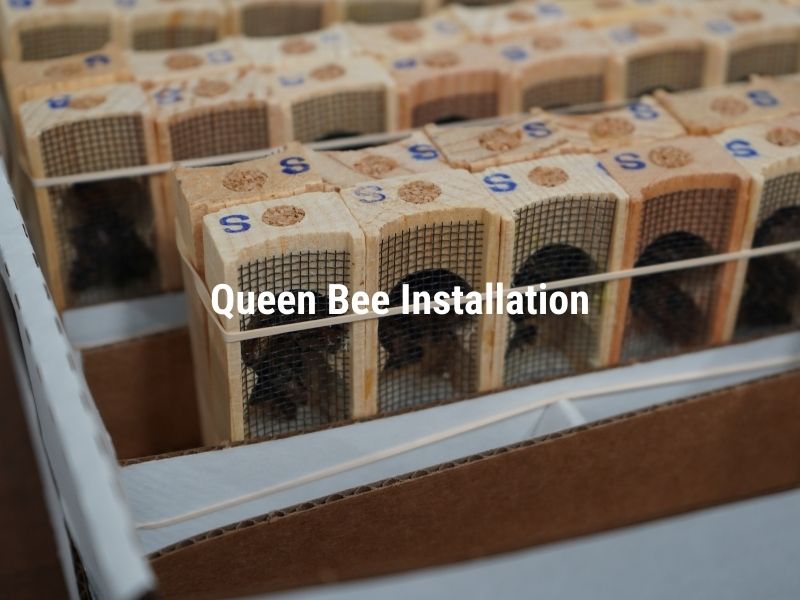
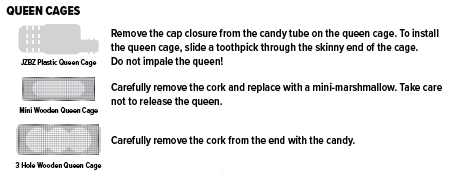
Step 7: Replace three or four frames into the center of the hive, being cautious to avoid squishing any bees. Leave one frame out of the center of the hive to allow enough space to install the queen. Install the queen cage and use the appropriate method below based on the specific cage:
Step 8: Attach and suspend the queen cage between the middle two frames so that it will not fall. Make sure you’ve faced the screens towards the front of the colony.
Step 9: Place the inner cover and outer cover over the hive.
Step 10: Feed the bees. See “Care After Installation of Package Bees.”
Three to five days after installing your package bees, check on the queen to make sure that she has been released from her cage.
If the queen has not yet been released by the fifth day, manually release her by holding the queen cage close to the hive and using the hive tool to pull back the plastic tab, allowing the queen to walk out of the cage and onto the frame.
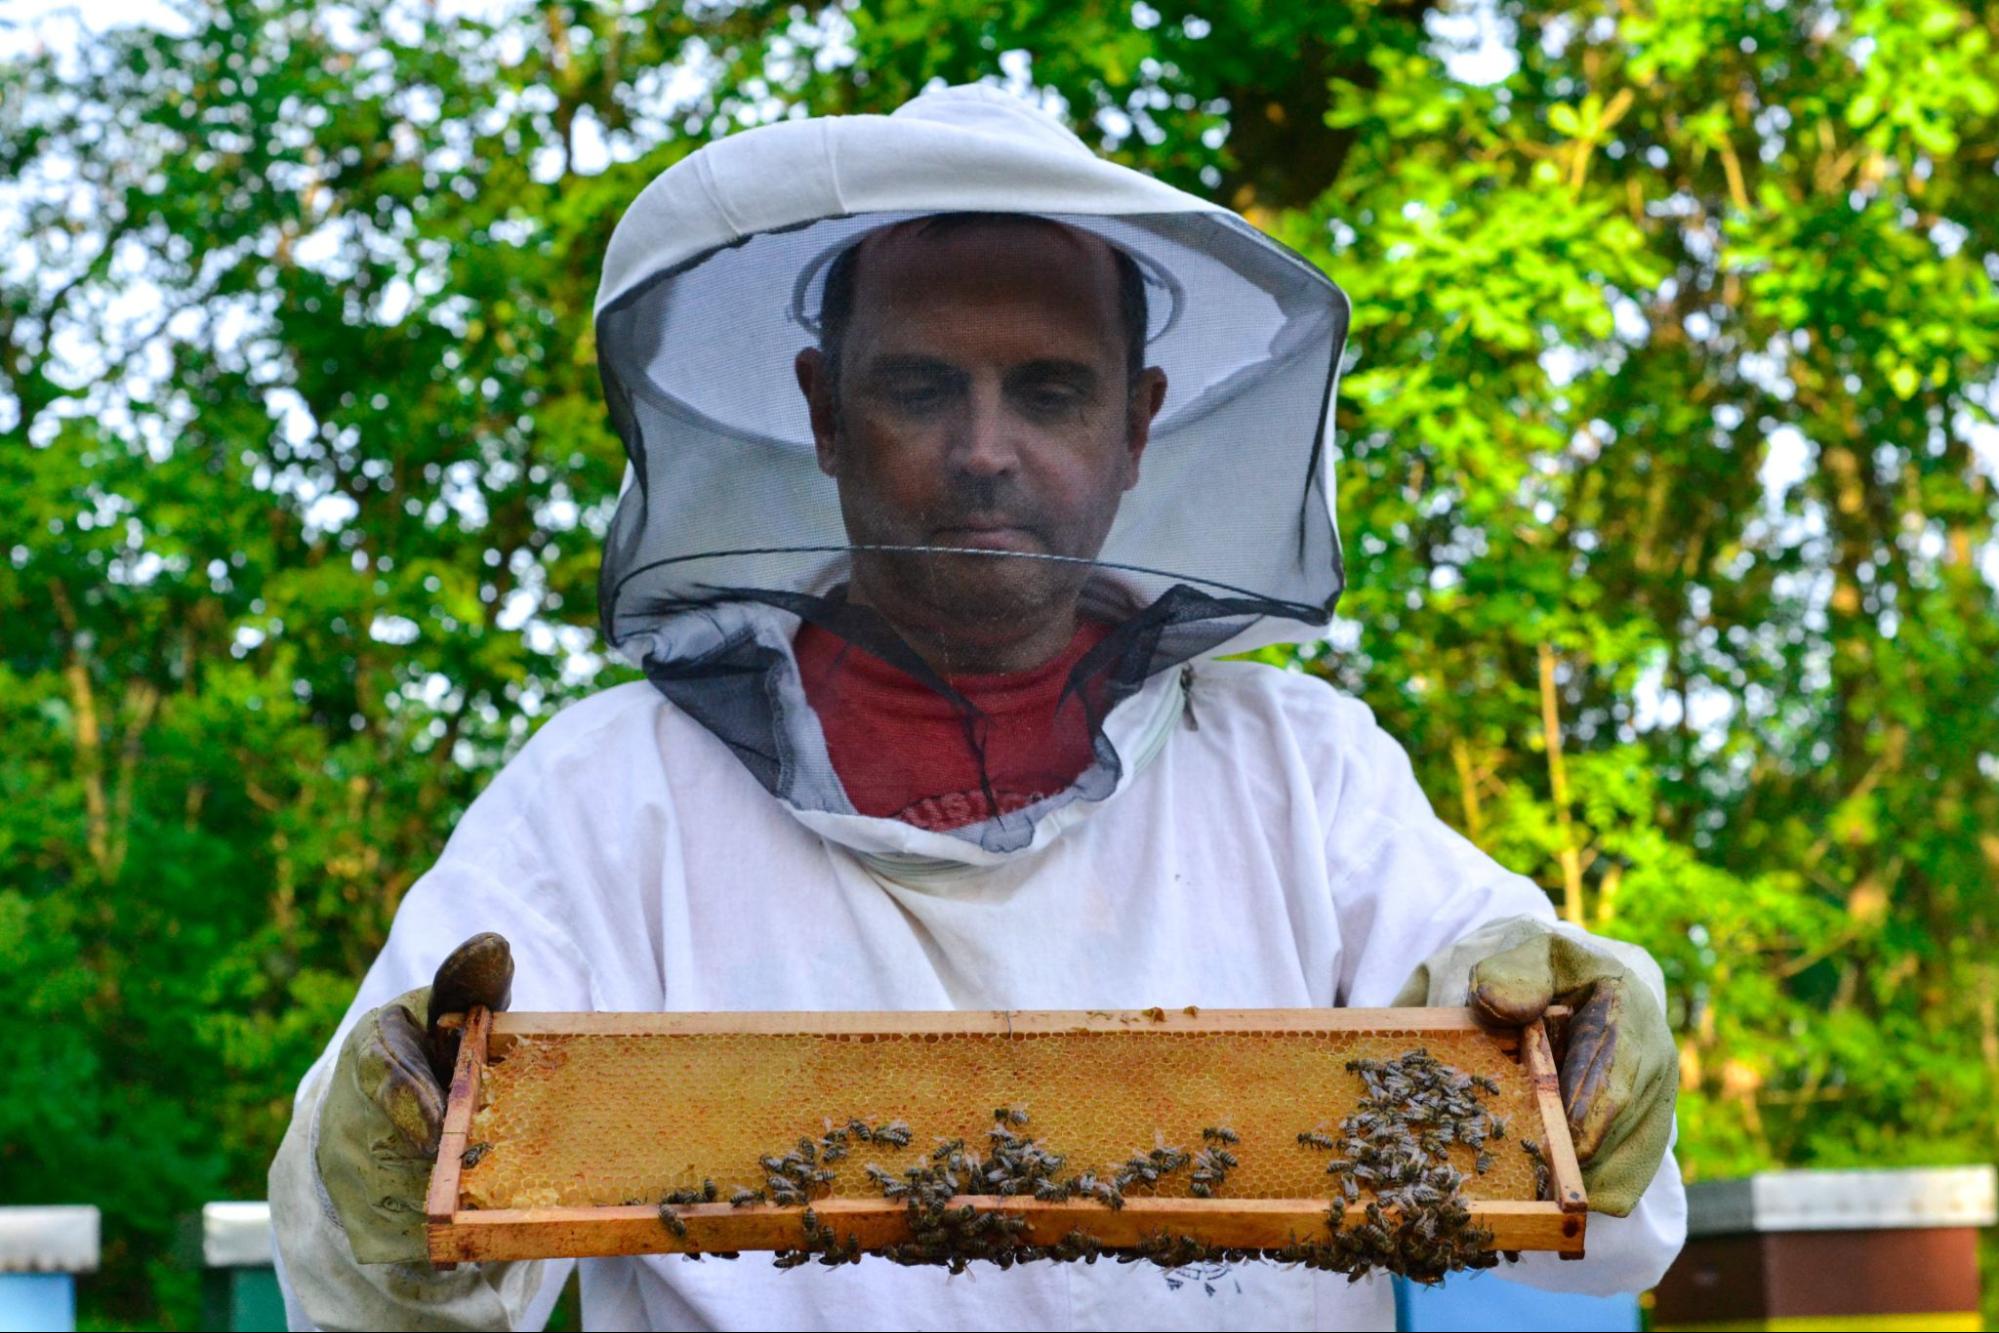
As the queen assimilates into the hive, we recommend marking her using a safe marker so you can always spot her in the hive. Queen markers make it easy to locate the queen and keep track of her age. Once the queen is released into the hive, replace the frame in the center that was removed for spacing purposes during installation.
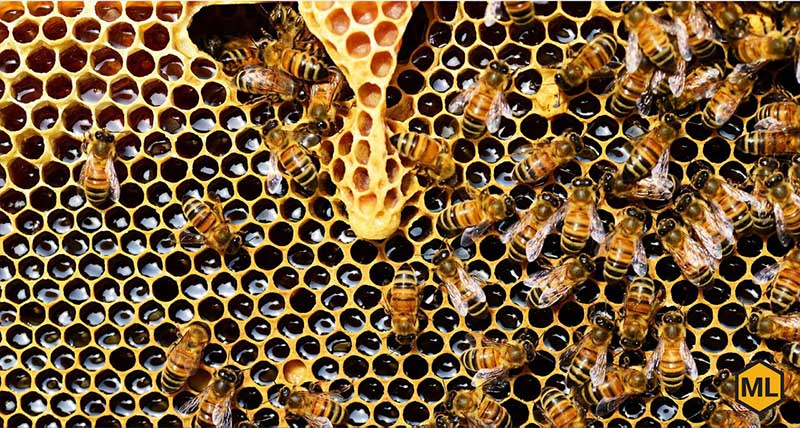
**Be sure to re-check the queen in 10 to 14 days to ensure you can see eggs and larvae in the hive. If no eggs or larvae are present in the hive, fill out a claim on our website. Report your claim within 14 days of receiving your queen to honor our queen guarantee.
Post-Installation: Caring for Your Honey Bees
Feed your bees heavily until the colony is well established (at least the first three weeks) using Pro-Sweet liquid feed or a 1:1 sugar ratio water mix.
If using sugar water, consider adding a stimulant such as ProHealth, which prevents fermentation and is easily mixed with sugar water. Do not add a second deep or supers until bees have drawn out 7 of 10 frames. We recommend using an in-hive Pro Feeder to ensure bees have access to feed no matter the temperature.
Tips for Cold Weather Installation
If the weather is too cold to hive your bees (under 40°F), here are some tips to keep them warm and healthy until you can safely install them.
- Place your package of bees in a dark, cool area (garage, basement, etc.) The ideal temperature should be 50°F to 70°F.
- Once inside, try not to break the cluster.
- Apply a light mist of sugar water to the screens of your package twice a day.
- Try to install your bees as soon as possible.
Learn more about how to care for a beehive in the winter.
FAQs: Installing Honey Bees
Get your questions answered about how to successfully install bees in this section.
What time of day should I install my bees?
Package bees should be installed in the hive in the late afternoon or early evening on a day with mild weather. If it’s drizzling or cold, installing the bees is generally still safe, but if temperatures drop below 40°F, we recommend waiting for a warmer day.
How long can I delay the installation of my bees?
Opinions differ on this, but generally speaking, you should install your bees within 48 hours of receiving them. Ensure the bees are consistently fed and in a comfortable, quiet space while waiting for the hive to be ready. Happy, well-fed honey bees are much easier to install.
Why does the queen need to stay in her queen cage after installation?
Bees take time to grow accustomed to the queen, and they initially treat her as an intruder. The queen cage keeps her safe while the worker bees adjust to her presence and pheromones, preventing them from stinging her to death or otherwise harming her.
The Final Buzz on Bee Installation
Installing a new colony is one of the most exciting and rewarding parts of beekeeping, but it has unique challenges for any beekeeper. The best thing you can do is to be as prepared as possible with the right equipment and tools to ensure a smooth installation.
There might be mishaps or mistakes made, but you will learn from those and become a better beekeeper in the process.
For years, Mann Lake has been providing beekeepers of all skill levels with the proper education, resources, and equipment to properly install bees and help their colonies thrive.
Whether you’re new to beekeeping or need help with a specific issue, explore our blog or check out our library of educational bee videos to become the best beekeeper possible.